Configuring the ServiceNow Application
To configure the ServiceNow application:
|
1.
|
Deploy the ServiceNow MID Server by doing the following: |
|
a.
|
Install the ServiceNow MID server on the Data Platform server or a server in the same local network as Data Platform. |
|
b.
|
After the MID server installation, create a subfolder named Export under the MID server install path. |
Note:If the MID server is not installed in the same server as the Data Platform, create a Windows file share to the Export folder and ensure the Data Platform server and service account has READ access to this file share.
|
c.
|
Connect the MID server to the ServiceNow instance where the ServiceNow Flexera Integration will be installed. |
|
3.
|
Configure the MID Server and Export Properties by doing the following: |
|
a.
|
After the application is installed on the ServiceNow instance, access the Navigation menu, search and select Flexera Integration > Export Properties. |
|
b.
|
Lookup and choose the new MID server that was installed when the application was installed. |
|
c.
|
Keep export file path field as a forward slash / because doing so places the export files into an /export subfolder under the MID server install path. |
Note:Confirm the folder /export exists under the midserver install path. If not, create it.
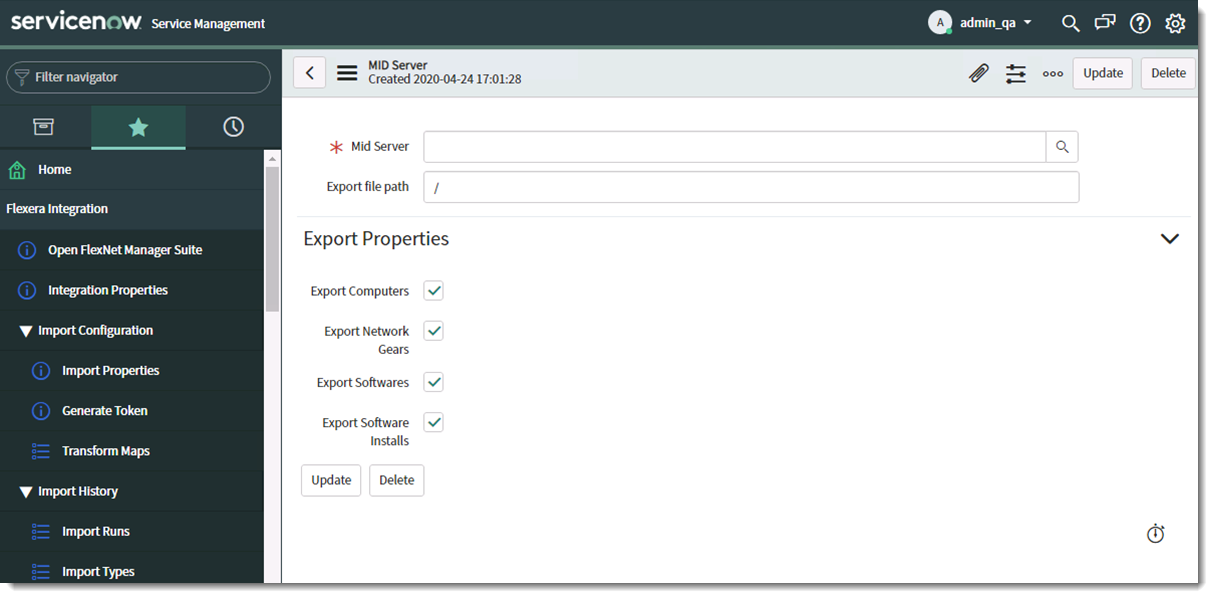
Note:If there are specific use case not to integrate certain data type with Flexera Integration, user can de-select specific data type under this menu. Leave the check box with default values for standard deployment use case.
|
4.
|
Configure role and generate access token |
|
a.
|
The ServiceNow integration user should be assigned the role of x_fls_flexera_fnms.admin. |
|
b.
|
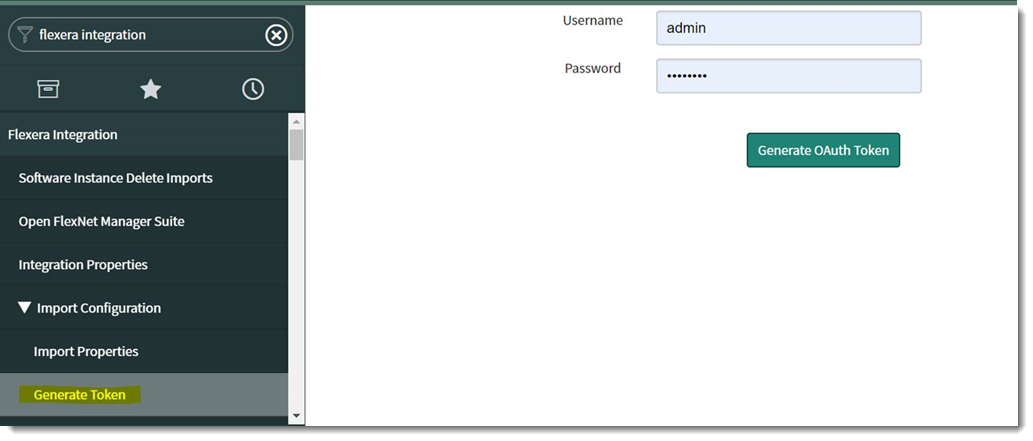
From the Navigation Menu, search and select Generate Token. |
|
c.
|
Enter a username and password that has admin access. Click the Generate OAuth Token button. This will generate the OAuth Token to be entered into the Data Platform. |
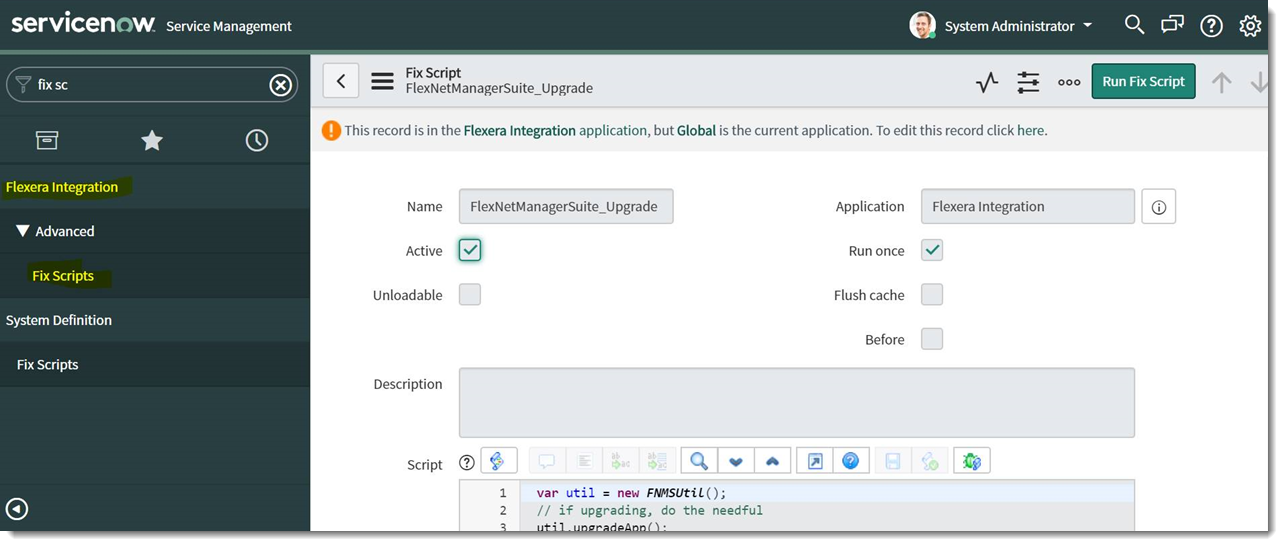
Note:In case ServiceNow has error generating the token, run this Fix Script below: