Package Drive Relative
To add a Package Drive Relative fixup, perform the following steps:
To add Package Drive Relative fixups:
| 1. | Select an application in the Applications node, click the Apply button in the MSIX Editor ribbon, and then select File Redirection Fixup > Package Drive Relative from the menu. |
Note:You could also select an application, right click, and select Apply File Redirection Fixup > Package Drive Relative from the context menu.
The File Redirection Fixup Configuration view opens.
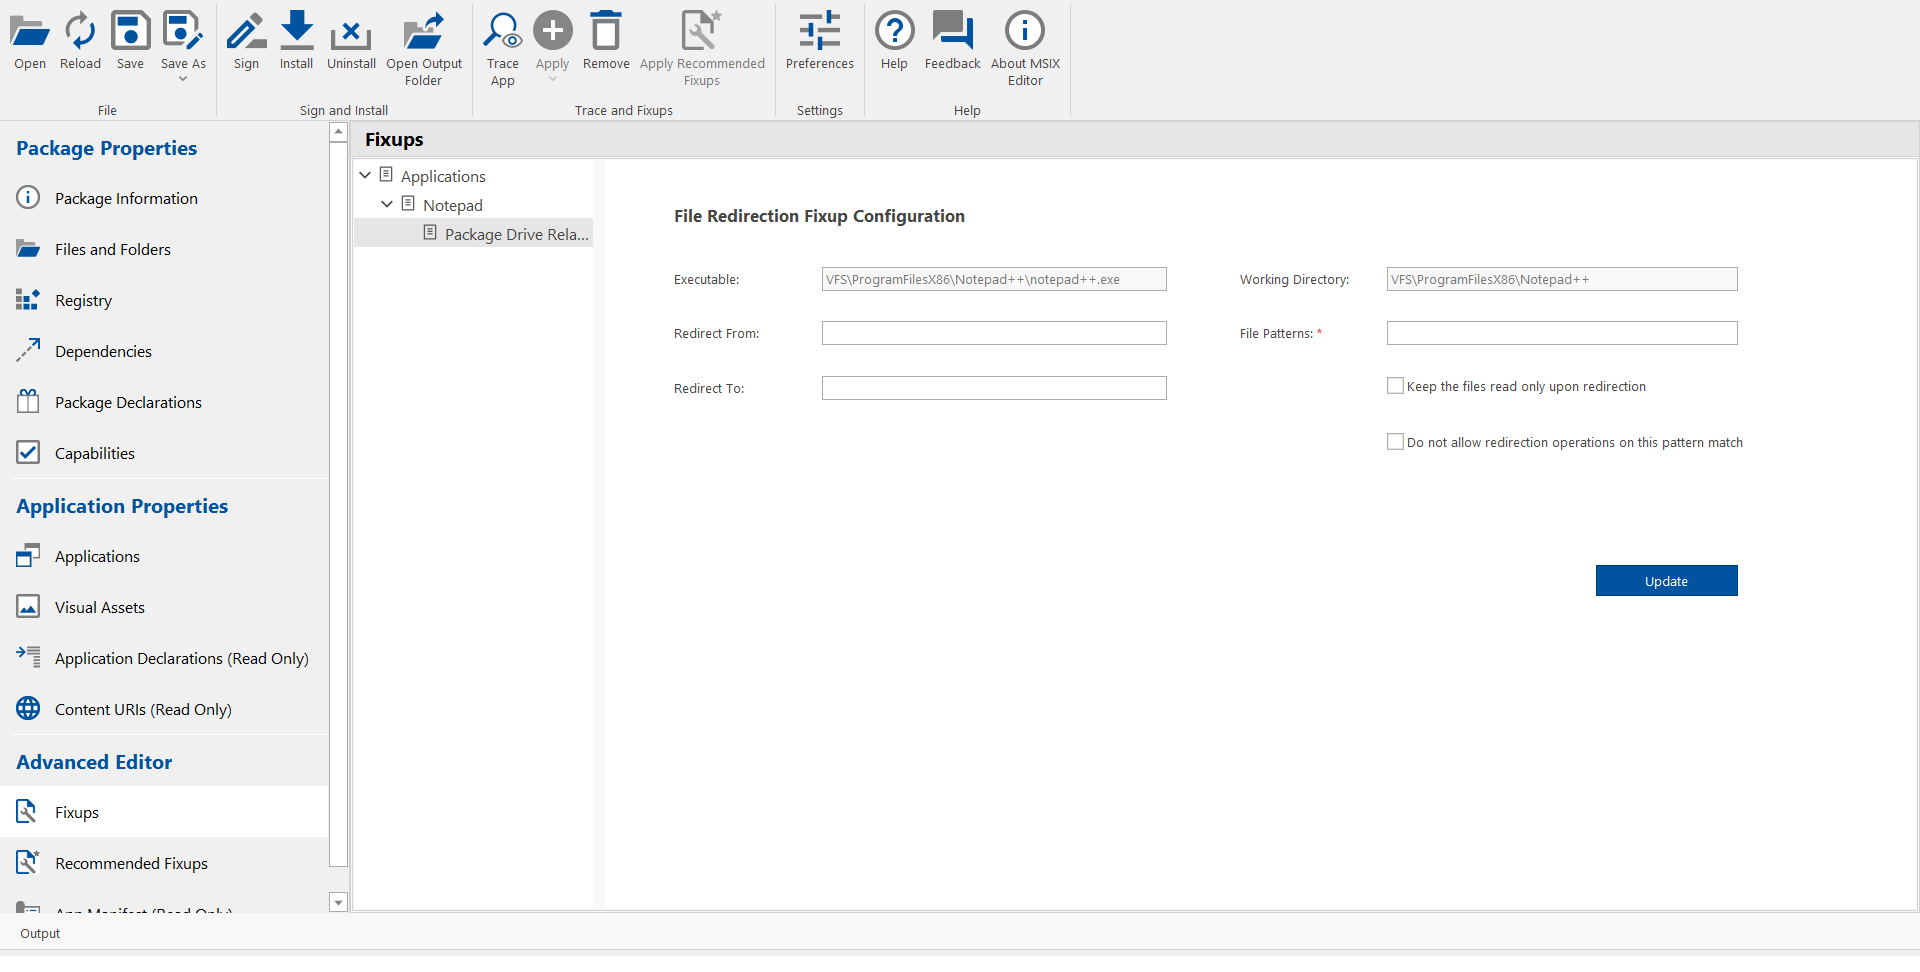
| 2. | Enter the following information: |
|
Property |
Description |
|
Executable |
This property displays the executable that will be invoked when the application is launched. This is a non-editable property. |
|
Redirect From |
Microsoft refers to this property as base. Specify the path where the file is expected to be created by the application in the drive where the package is installed. This property should be a folder path that should be relative to the drive where the package is installed to (generally C:). Note:If not specified, then the working directory of the application will be used. |
|
Redirect To |
Microsoft refers to this property as redirectTargetBase Specify the folder where you wish to redirect the file to. Note:If not specified, the file will be redirected to the LocalAppData folder on the device. |
|
Working Directory |
This property displays the working directory of the application. This is a non-editable property. |
|
File Patterns |
Microsoft refers to this property as patterns. Specify the file extensions to be considered for the file redirections. If you wish to redirect any file extension or all the file extensions then specify .* This is a mandatory property. |
|
Keep the files read only upon redirection |
If you select this check box, then a copy on access and redirection operation is performed. The redirected files will be read-only and non-edited. By default this property is unchecked. |
|
Do not allow redirection operations on this pattern match |
If you select this check box, then redirection operations are not allowed on this pattern match. By default this property is unchecked. |
| 3. | After adding the above fields, click Update button. |
| 4. | Click Save or Save As in the ribbon for the change to take effect. |