Bulk Migration of Applications from ConfigMgr to Intune
AdminStudio 2024 | 27.0 | Application Manager
Edition:Application Manager is included with AdminStudio Professional and Enterprise Editions.
AdminStudio supports bulk migration of applications from ConfigMgr to Intune from Application Catalog using the Migration Wizard. While migrating, it converts to intunewin format, and then publishes to Intune distribution system. To migrate an application, perform the following steps.
To migrate an application from ConfigMgr to Intune distribution system:
| 1. | Set ConfigMgr and Microsoft Intune connection settings in the Distribution System, as described in Creating Multiple Named Connections to Distribution Systems. |
| 2. | Open Application Manager and select the Home tab in the ribbon. |
| 3. | In the ribbon, click Migration Wizard. The Server Connection Details panel opens. |
Note:The Migration Wizard enables in the ribbon only when you set up ConfigMgr and Microsoft Intune connections in the Distribution System.
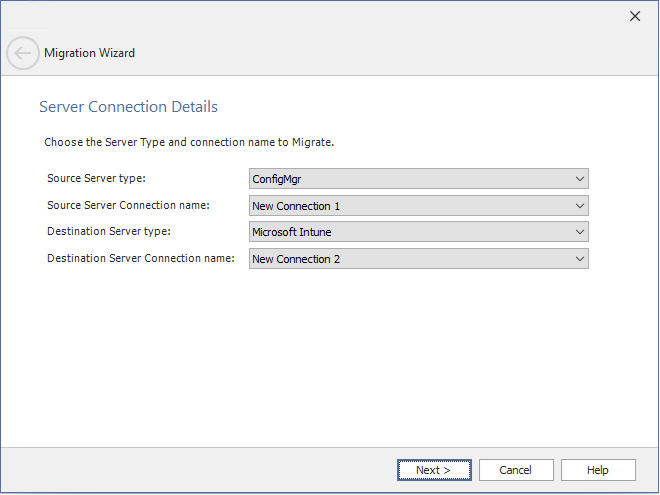
| 4. | On the Server Connection Details panel, the default Source Server type is ConfigMgr, and select the necessary connection from the Source Server Connection name drop down to specify where data will be sourced from. Similarly, the default Destination server type is Microsoft Intune, and select the required connection from the Destination Server Connection name drop down to indicate where data will be migrated. Click Next. |
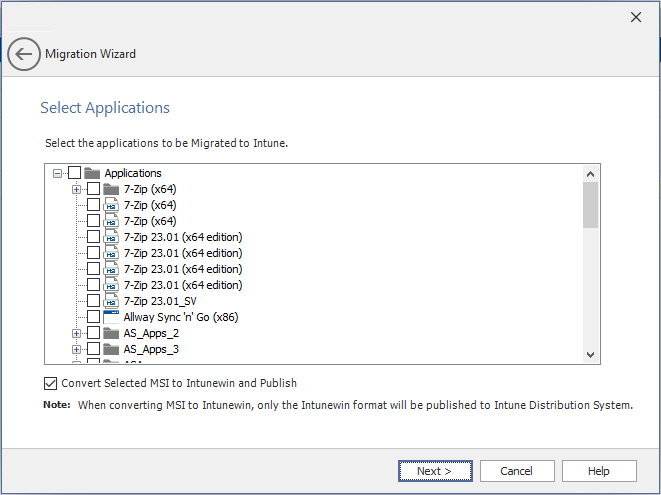
| 5. | On the Select Applications panel, select the application that are available in the ConfigMgr which you want to migrate to Intune. Click Next. |
Note:The Select Application panel includes MSI, EXE, PS1, and MSIX applications.
Note:Multiple selections are allowed.
By default, the Convert Selected MSI to Intune and Publish check box will be selected, which means that the selected MSI application will be converted to Intunewin format and published to Intune distribution system. If the check box is not selected, the MSI application will be migrated as is to the Intune portal. It will not be converted into Intunewin format, but published to Intune.
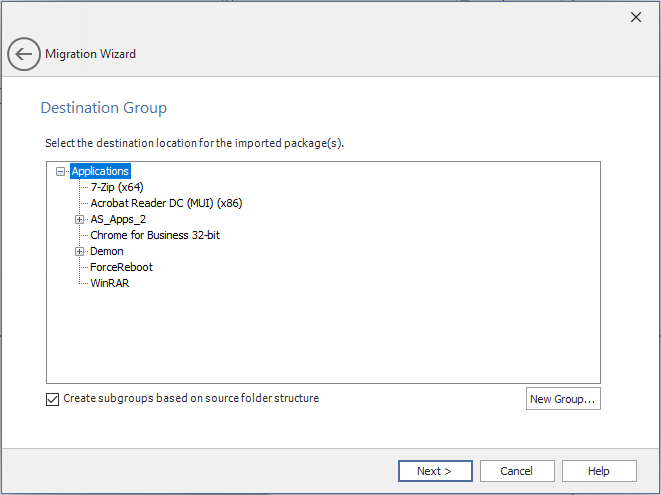
| 6. | On the Destination Group panel, select the destination location for the imported package(s). |
To create a new Destination Group, click the New Group button. In the New Group dialog box, enter name of the group, and then click OK.
Note:Nested groups can be created.
Based on the details provided, the package will go to the destination group in the Application Manager Catalog.
Click the Create subgroup based on source folder structure check box, if you want to create folder structure for groups and subgroups similar to the ConfigMgr.
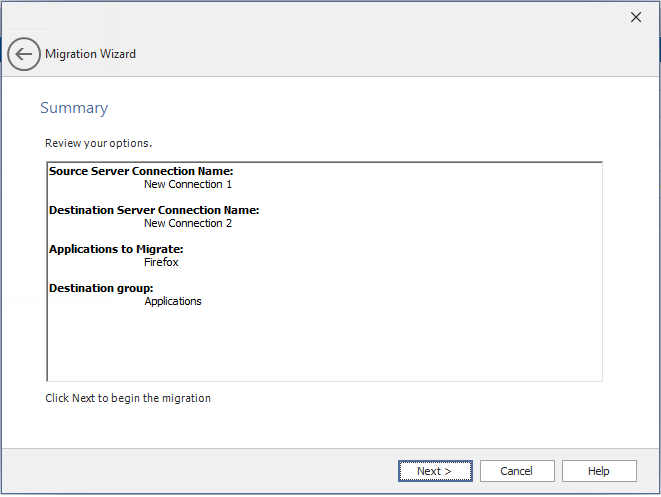
| 7. | The Summary panel displays a summary of all settings configured in the previous panels. When you click Next, the migration begins and the Running the Migration panel is displayed. |
| 8. | The Running the Migration panel displays a progress bar and status messages during migration. When migration is complete, click Finish. |
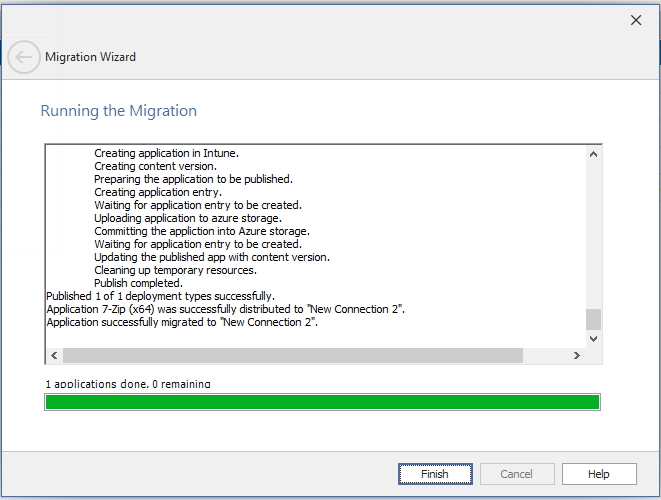
| 9. | Upon successful action selected application will be imported to the catalog, converted to intunewin format, and then published to Intune distribution system. |