Setting Microsoft Intune Conversion Options
AdminStudio 2024 R2 | 28.0 | Application Manager
Prior to using the Conversion Wizard to convert an MSI or EXE or PS1 package to Microsoft Intune format, as described in Converting MSI/EXE/PS1 Packages to Intunewin Format Using the Conversion Wizard, you first need to perform the following steps to set Microsoft Intune conversion options in Application Manager.
To set Intunewin conversion options:
|
1.
|
In Application Manager, select Options on the Application Catalog menu. The Options dialog box opens. |
|
2.
|
Open the General options > Plugin Options tab. |
|
3.
|
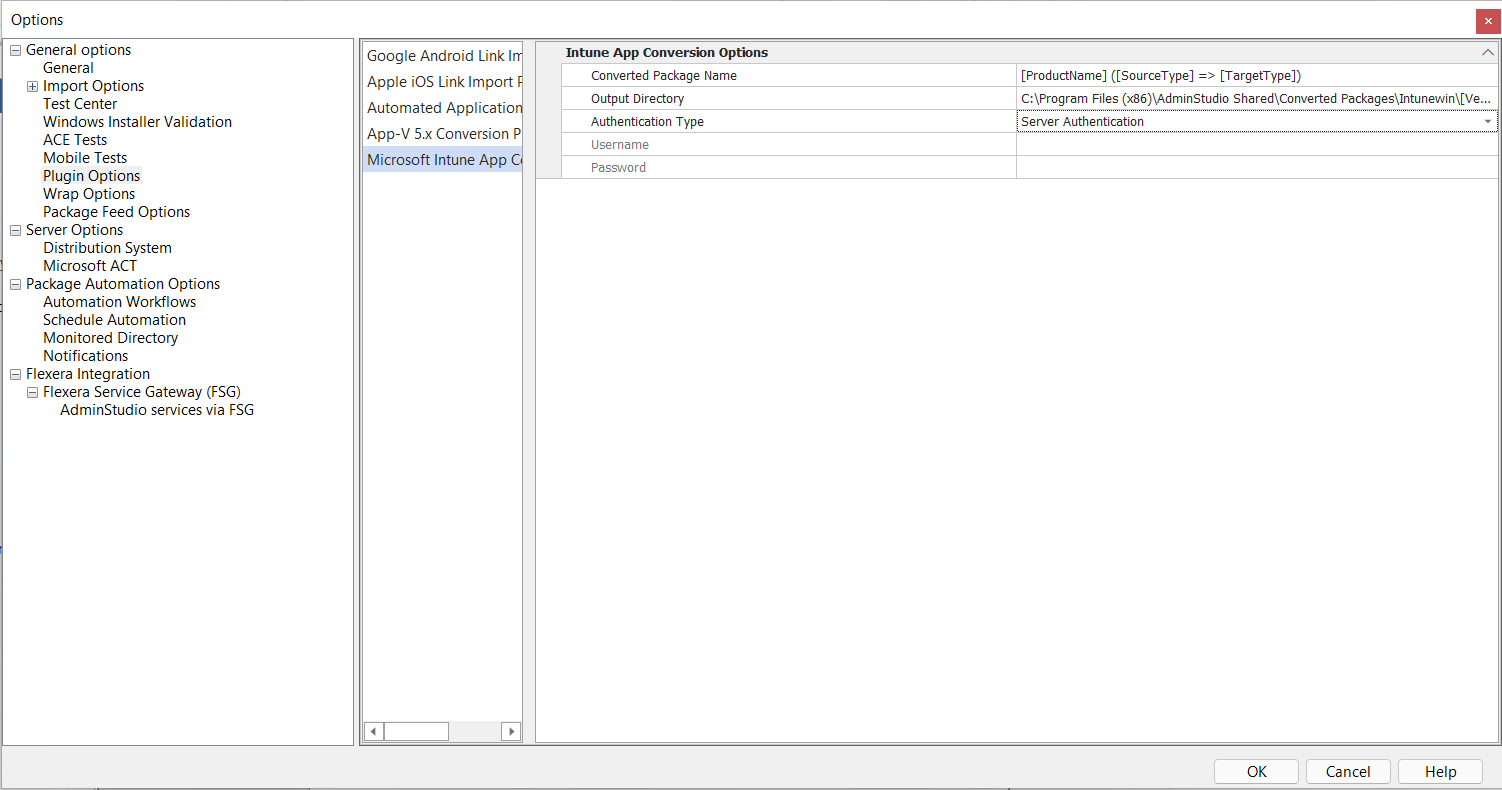
In the middle pane, select Microsoft Intune App Conversion Plugin. The Microsoft Intune App Conversion Plugin options are displayed in the right pane. |
|
4.
|
In the Converted Pacakge Name field, enter the format of the converted page name to differentiate it from the converted version of the package from the original version. By default, this field will be populated with: |
[ProductName] ([SourceType] => [TargetType])
|
5.
|
In the Output Directory field, Specify the output folder where you want the converted Intunewin packages to be located. By default, the Output Directory is: C:\Program Files (x86)\AdminStudio Shared\Converted Packages\Intunewin\[Vendor]\[Product Name]\[Version] |
Note:Supported placeholders are: Vendor, Product Name, Version, Setup Type, Platform, and Language.
|
6.
|
In the Authentication Type drop down field, choose one of the following: |
|
a.
|
Server Authentication—Choose this option if you want to use server login identification to log into this server. Then enter the appropriate Username and Password. |
|
b.
|
Windows Authentication—Choose this option if you want to use Windows network authentication (your network login ID) to log into this server. |