Step 5: Set Target Project Information
AdminStudio 2024 R2 SP1 | 28.01 | Repackager
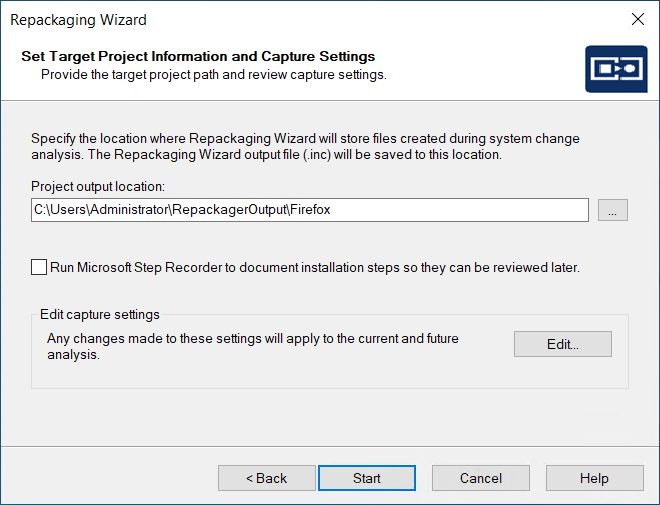
In this step, you identify the location where you want files created by Repackager to be stored.
To set target project information and capture settings:
| 1. | On the Collect Product Information Panel, click Next. The Set Target Project Information and Capture Settings Panel opens. |

Note:The output folder created by the repackager will have access allowed to the Administrators group and the current logged-in user only.
You can also enter the name of a new folder in the Project path to store files field, and you will be prompted to create it when you exit this panel.
Note:When browsing to a folder that is accessible only to the Administrators group and the currently logged-in user, the system will proceed with the repackaging process. Make sure that the folder has the appropriate permissions set to avoid access issues during repackaging.
| 3. | Continue with Step 6: Set Capture Settings (Optional). |
 ) button next to the