Converting App-V Packages to MSIX Format
You can convert an App-V package or group of packages to MSIX format directly from Application Catalog using the Conversion Wizard.
Important:To convert App-V to MSIX, the MSIX Packaging Tool needs to be installed to proceed with the conversion. Make sure that the latest version of MSIX Packaging Tool (Version 1.2024.405.0) is installed.
To convert App-V packages to MSIX format, perform the following steps:
To convert an App-V package to MSIX format:
| 1. | Set App-V to MSIX conversion options, as described in Setting App-V to MSIX Conversion Options. |
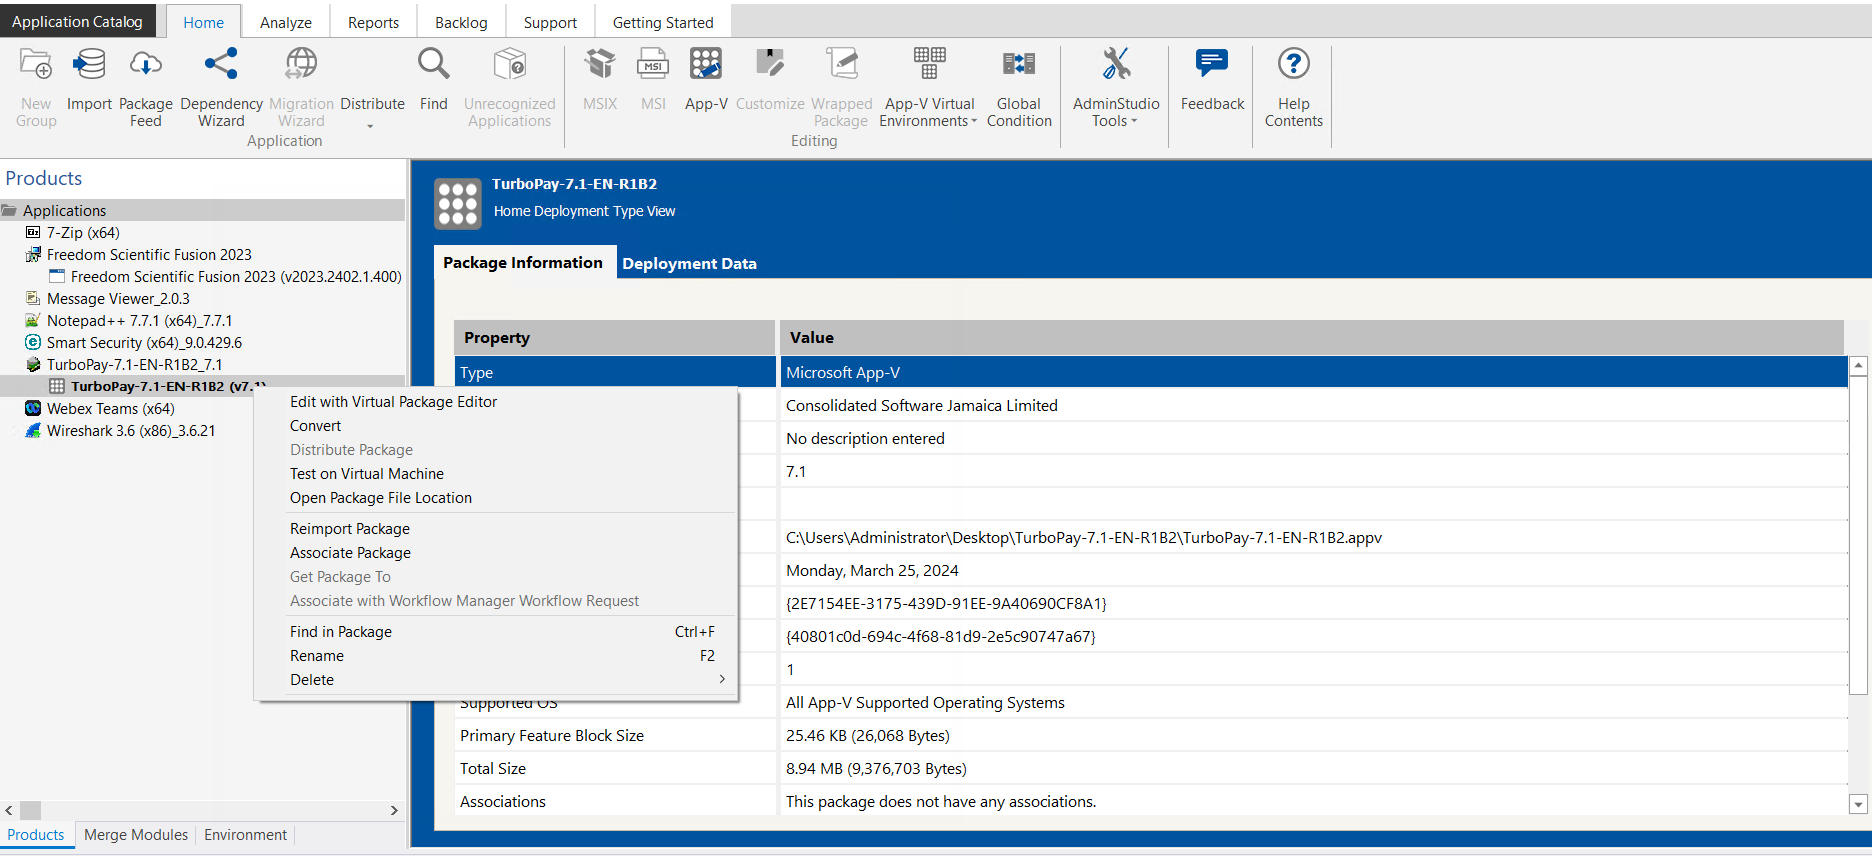
| 2. | On the Application Manager Home tab, right-click on one of the following in the tree: |
| • | App-V package |
| • | Application containing an App-V package |
| • | Group containing one or multiple App-V packages |
| 3. | Select Convert from the context menu. This will launch Conversion Wizard. |
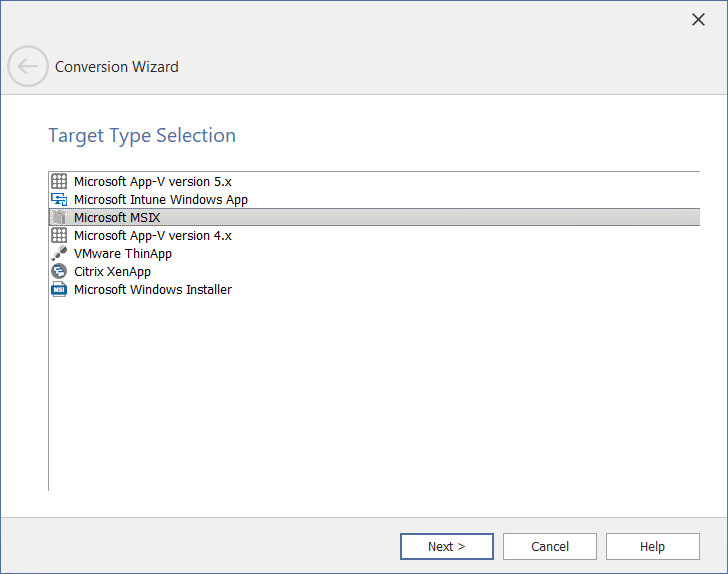
| 4. | In the Target Type Selection panel, select Microsoft MSIX, and then click Next. |
The Select the Package(s) to convert panel opens.
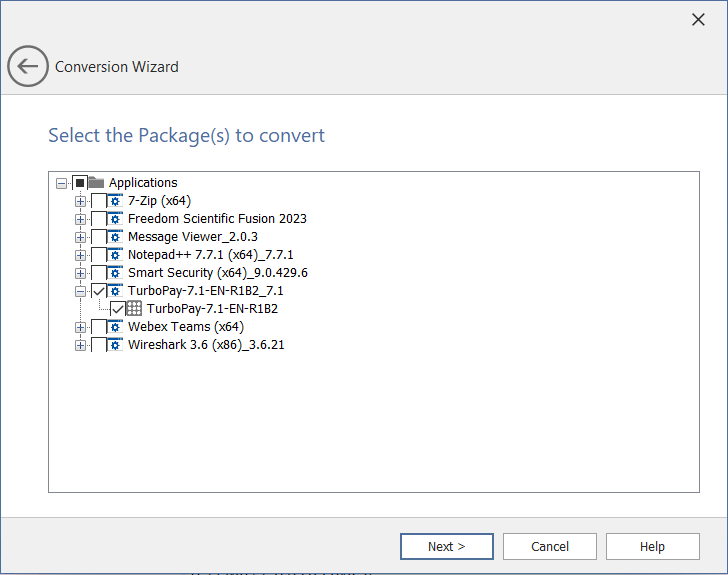
| 5. | In the Select the Package(s) to convert panel, select the App-V packages or packages that you had selected when you invoked the Conversion Wizard are selected. Select additional packages, if desired, and click Next. The Package Output Location panel opens. |
Note:The Package Output Location panel and the Certificate Information panel appear when a single package is selected for conversion. These panels will not be displayed if multiple packages are selected or if the Conversion Wizard is launched from either application node or group node. The information configured in the Appv to Msix Conversion Plugin will be populated when you launch Conversion Wizard from the package node.
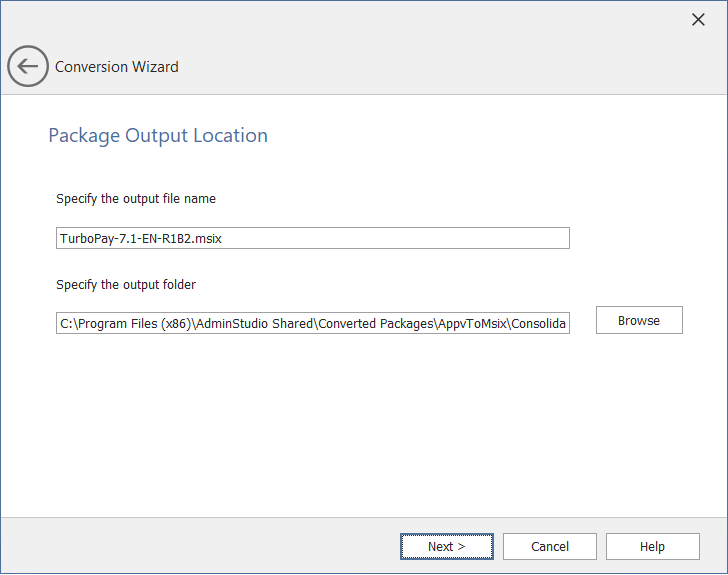
| 6. | In the Package Output Location panel, By default, the source package name will be displayed in the Specify the output file name text box. If required, enter the desired name in the text box. |
If you want to select different output location, click Browse and select preferred location (if required), and then click Next.
The Certificate Information panel opens.
| 7. | In the Certificate Information panel, specify certificate details to sign MSIX packages. |
In the Signing Type drop down, choose one of the following.
| • | Standard—Uses this option to digitally sign MSIX packages with a pre-configured certificate. Suitable for most common signing scenarios. |
| • | Custom—Use this option to configure and use a custom signing solution for digitally signing MSIX packages. This is useful for automation scenarios where the standard signing option doesn't meet your requirements. |
If you select Standard, perform the following:
In the Select Certificate for Signing drop down, select either Certificate File (.pfx) or Certificate Store.
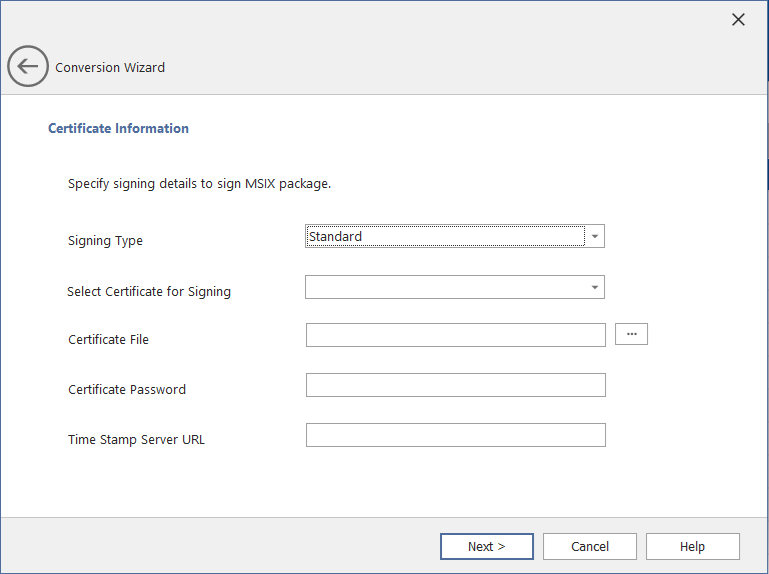
| • | Certificate File (.pfx) |
| • | Certificate File—Specify a path to a valid PFX certificate file. Click ellipses (...) to browse and select the valid path. |
| • | Certificate Password—Specify the password for the PFX certificate file. |
| • | Time Stamp Server URL—Specify the valid Time Stamp Server URL. |
| • | Certificate Store |
| • | Certificate Store Location—In the Certificate Store Location drop down, select either User or Machine |
| • | Certificate Store Name—In the Certificate Store Name drop down, select any one of the store name from the drop down list. |
| • | Certificate Subject—In the Certificate Subject drop down, select respective certificate subject from the drop down list. Click View Details button to view the details of the selected Certificate. |
If you select Custom, perform the following:
Note:The Publisher Name in the MSIX package must exactly match the Subject in the signing certificate.
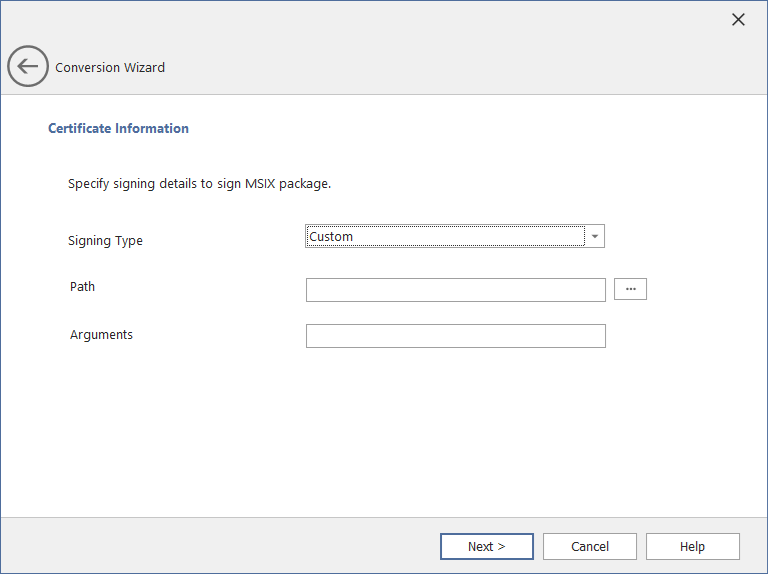
| • | Path—Specify the location of the signing tool or a script. Supported file types include: .exe (Executable), .bat (Batch Script), .vbs (VBScript), or .ps1 (PowerShell Script). |
Click ellipses (...) to browse and select the valid path.
Examples:
<ProgramFilesFolder>\Windows Kits\10\bin\<WinSDKVer>\x86\signtool.exe
| • | Arguments—Specify the required command-line arguments for the Signtool or custom script file. These arguments will be passed at runtime during signing process. |
Enter the valid command-line parameters for the specified Path field.
Examples:
sign /fd SHA256 /f <ProgramFilesFolder>\testCA.pfx /t http://timestamp.digicert.com /p 123 /v "[Filename]"
Note:Always include the "[Filename]" placeholder where the MSIX file path should appear. At runtime, this will be automatically replaced with the actual MSIX file path.
For more information, see Custom Signing with HSM Support.
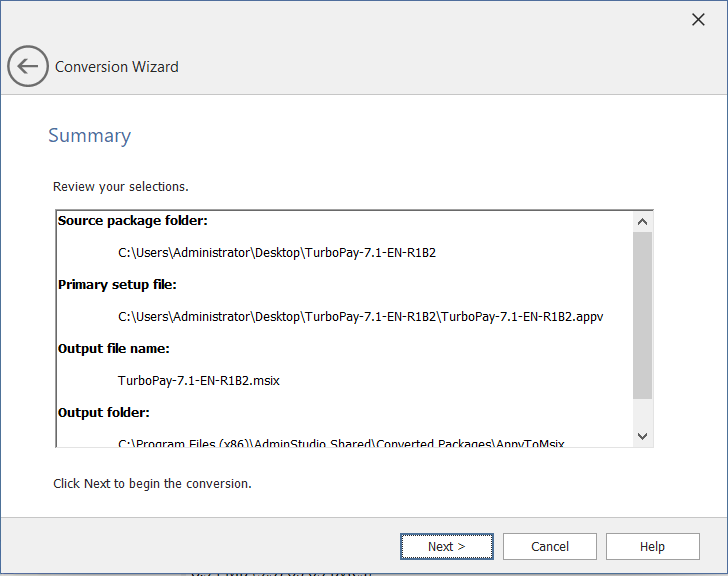
Click Next button. The Summary panel opens.
| 8. | The Summary panel lists the selections you have made in the wizard. Click Next to begin conversion. |
| 9. | In the Converting the Packages Panel, during conversion status messages are displayed. When conversion is complete, the results of the conversion are listed. |
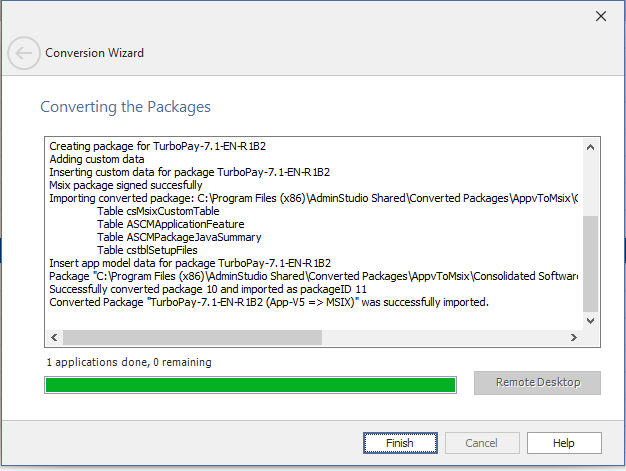
| 10. | Click Finish to close the wizard. The converted package is now listed in the tree. |