Importing an Application Using The Package Feed Module
Edition:
The AdminStudio Package Feed Module can save countless hours by leveraging a curated setup database covering thousands of products. This helps you to more quickly add new applications to the AdminStudio application catalog. From here you can generate reports, wrap it with a script template you have created, and pass it off to any of the several popular deployment solutions to which integration is provided.
The Package Feed Module helps you to do the following:
| • | Download and import the latest version of a product |
| • | Identifying the silent installation parameters for the particular version of the product |
Note:The installation parameter available in the Silent Command Line Arguments panel of the Package Feed Module is validated
The Package Feed Module supports the below package types:
| • | EXE |
| • | MSI |
| • | PKG |
| • | DMG |
| • | MSU |
| • | MSIX |
To learn more about the Package Feed Module, click here.
Important:Note the following to activate the Package Feed Module:
| • | To avail complete use of the Package Feed Module, please contact your sales representative or contact us online at: https://www.flexera.com/about-us/contact-us.html |
| • | To activate the license key for the Package Feed Module, refer to the Flexera Product Download and License Guide for AdminStudio |
To download and import an application into the Application Catalog using the Package Feed Module:
| 1. | On the Home tab of the Application Manager ribbon, click the Import button. The Source panel opens. |
| 2. | Select Import using Package Feed module and click Next. The Search for an application in Package Feed panel opens. |
Tip:You can directly select the Package Feed button on the Home tab of the Application Manager ribbon. The Search for an application in Package Feed panel opens.
When the Package Feed Module is in evaluation mode (AdminStudio evaluation activation, Enterprise/Professional License), then only evaluation packages will be listed in the Package Feed Search Grid.

| 3. | When package feed module is in activation mode, you can search for the packages in the search grid. |
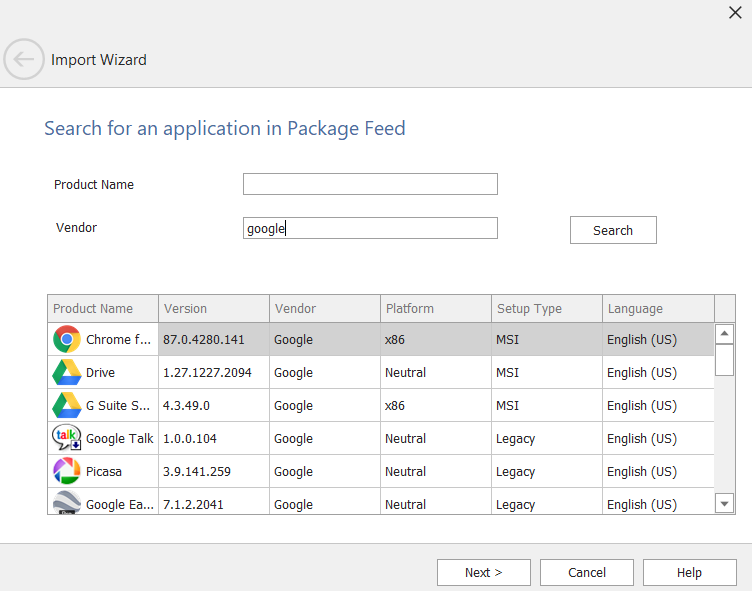
Note:During the search for an application, do not use asterisk (*) along with the name; for example, Adobe*.
| 4. | Click Next. The Provide Vendor Setup file panel loads. |
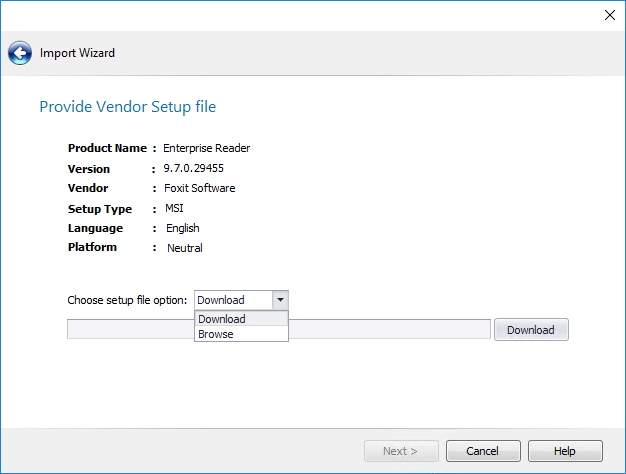
| 5. | Click Download to download the setup file or you can Browse to selected the setup file. |
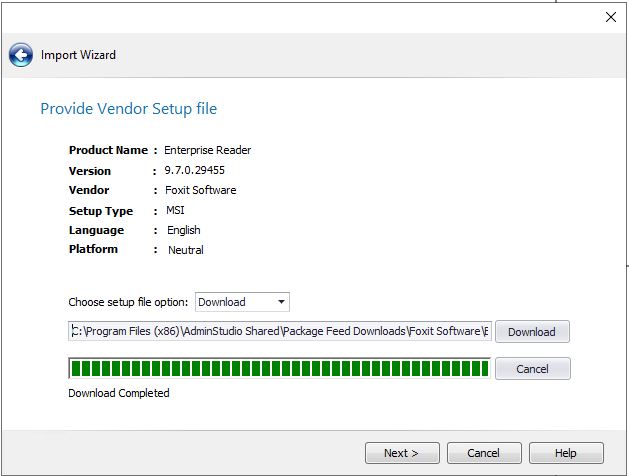
Note:Package downloaded from Package Feed Module will get validated against the MD5 checksum.
| • | If MD5 value is matching, then the downloaded package will be retained in the configured Package Feed download directory. |
| • | If MD5 value is not matching, then downloaded package will get deleted from the configured Package Feed download directory. |

| 6. | If the downloaded file is of zip format, click the Extract button, and then browse and open the extracted setup file, and click Next. |

Note:If you don’t Browse and click Next, an error message will appear.
| 7. | When you have finished downloading the setup file to the package feed configured download path, click Next. The Silent Command Line Arguments panel loads. |
Note:To define your desired download folder path see Package Feed Options Tab
| 8. | In the Silent Command Line Arguments panel, Install Command Line and Uninstall Command Line fetched from the package feed module of the package. If package can be customized then Create transform file mst file with additional custom installation options will be enabled and checked by default if deployment type is msi. |
Note:Customization option is available for only MSI packages.

If customization options are not available, then check box will be disabled and unchecked.
Note:If the customization is available, then the wizard will appear as Silent Command Line Arguments (Customization Available).
| 9. | Click Next. When using the Package Feed Module, dynamic custom panels will appear in the Import Wizard based on the settings defined for each package. For example, when importing the Google Chrome package, several dynamic custom panel will appear, including the Options panel. |
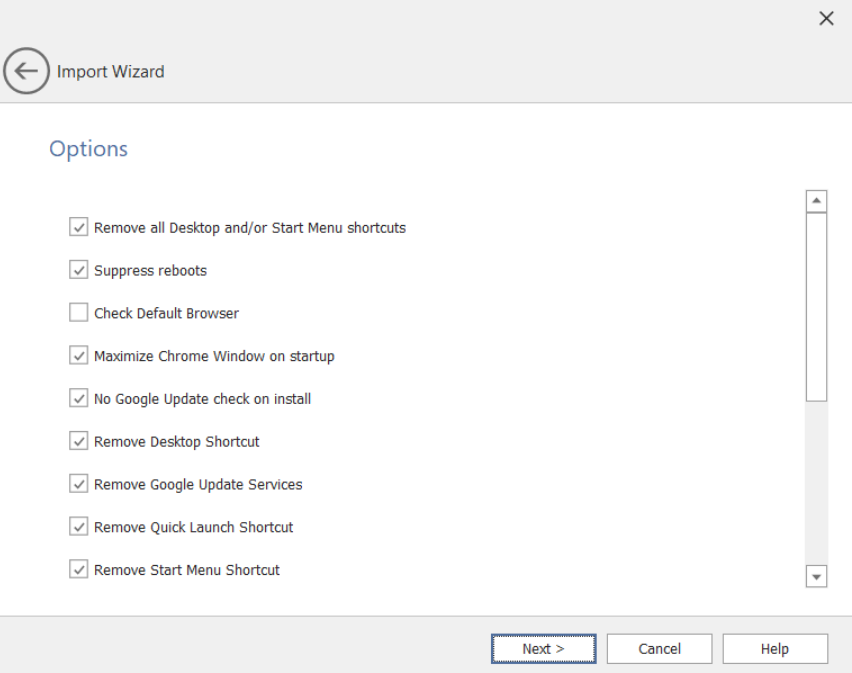
| 10. | Edit the settings in the Options panel and click Next. The Home Page Preferences panel opens (for the Google Chrome package). |

| 11. | In the Default Homepage text box, you can add or edit the default home page. If you want to open the default home page when you create a new tab, then select Homepage is new Tab Page check box button. |
| 12. | Click Next. The Distribution preferences panel loads (for the Google Chrome package). |
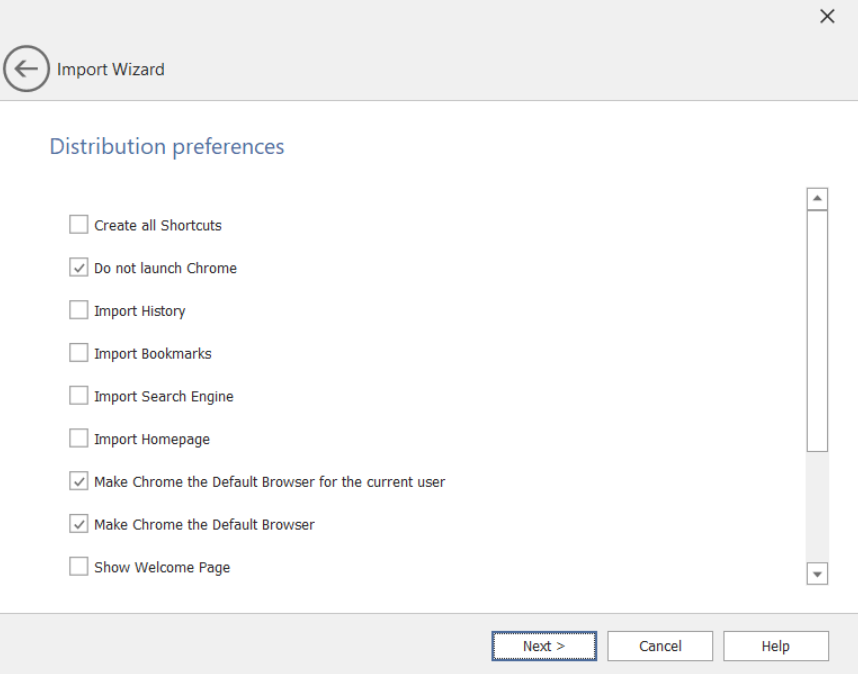
| 13. | Select the desired preferences by clicking on the check box button. |
| 14. | Click Next. The Release notes panel loads (for the Google Chrome package), which displays release updates of the product. |
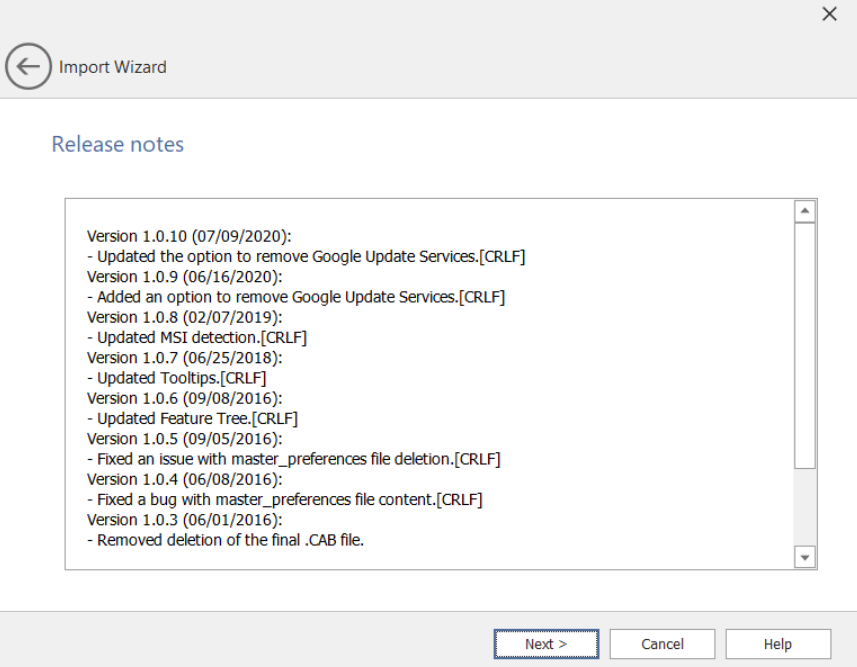
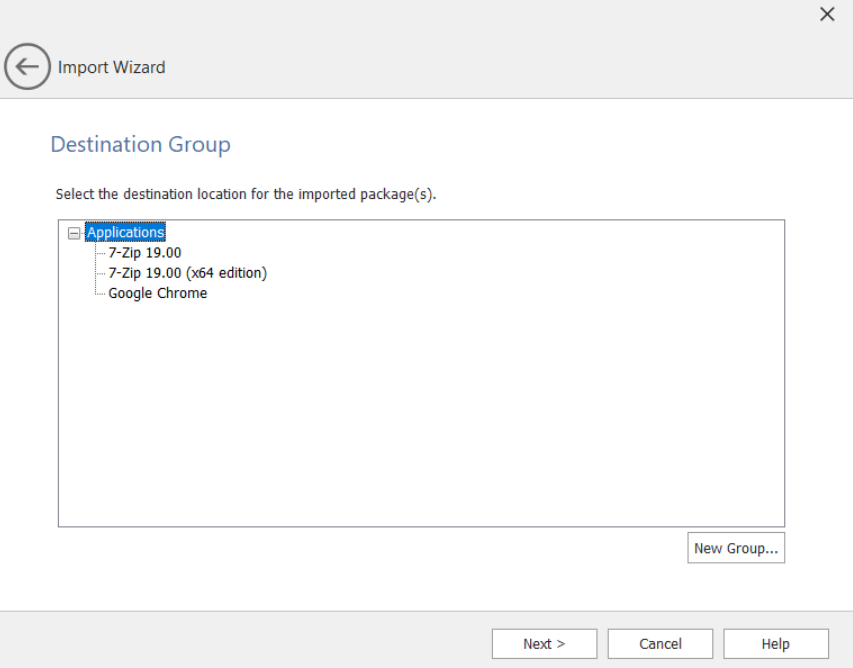
| 15. | Click Next. The Destination Group panel opens. |
| 16. | Select a destination group into which your package will be imported. |
Note:If you launched the Import Wizard by selecting a group in the tree and then clicking Import, that group will be selected by default on the Destination Group panel
Note:If you want to import the package into a new group, click the New Group button to create a new group.
| 17. | Click Next. The Summary panel opens. |
| 18. | Review the information in the Summary panel. If you are satisfied with the import options, click Next to start the import. |
Progress messages are displayed. Depending on whether options have been set on the Import Options / General tab of the Application Manager Options dialog box (available from the Application Catalog tab menu), testing may be performed during import.
Command line value gets updated for _custom.mst transform file.
The package will then appear under an Application node in the Application Catalog tree:
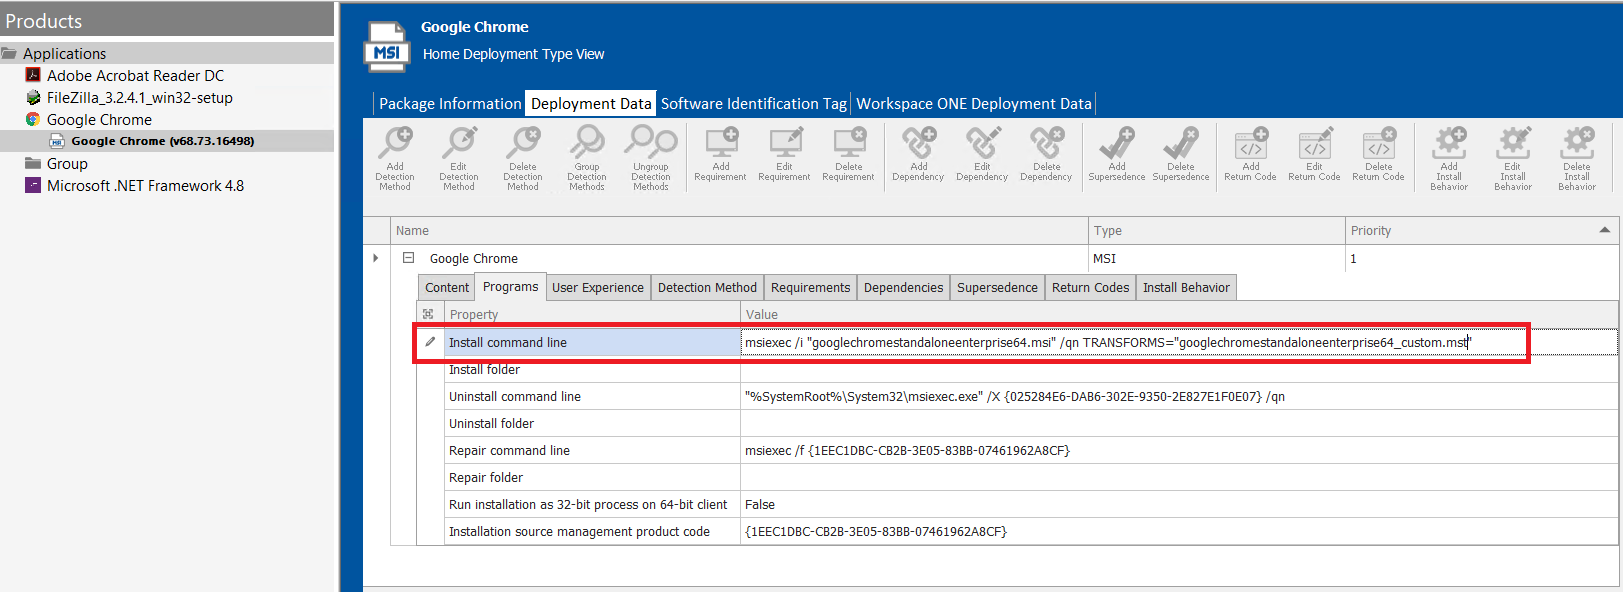
Note:On successful import of an application into the Application Catalog Tree, you can see the Install Command line and Uninstall Command Line for the selected application in Deployment Data >> Programs >> Install Command Line and Uninstall Command Line.
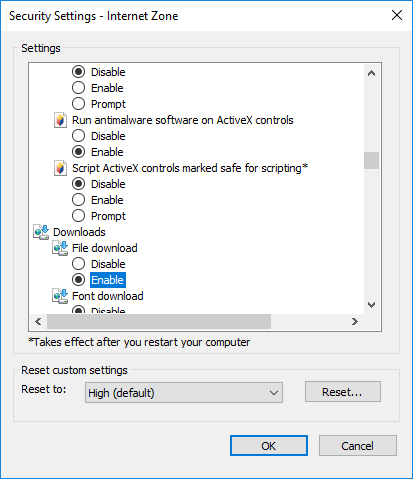
Tip:Make sure download option is enabled in your IE browser. Navigate to Tools (Alt+X) >> Internet options >> Security tab >> Custom level... >> Downloads >> select Enable