In the event that your App Portal environment is not integrated with FlexNet Manager Suite, then inventory records can be created in App Portal for each application needing to be discovered for the OSD process.
Note:If your environment is integrated with FlexNet Manager Suite, you will not be able to create an inventory record in App Portal.
To add a new inventory record, perform the following steps.
To add an inventory item:
1.
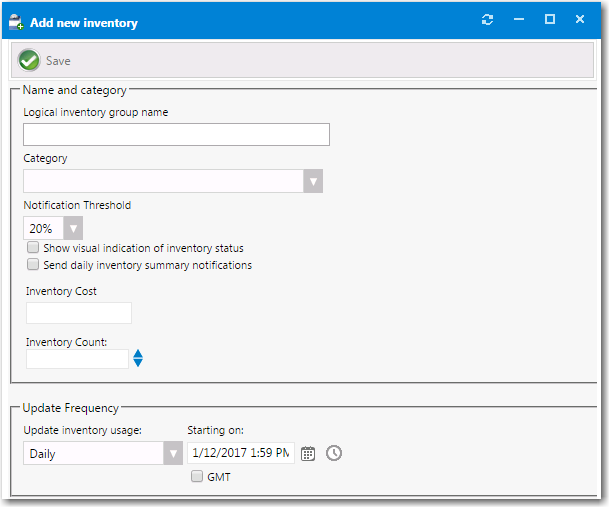
On the Admin tab, select Compliance Management > Add Inventory. The Add New Inventory dialog box opens.
2.
In the Logical inventory group name field, enter a name that will represent the inventory record. The name can be general if you will track multiple versions of a program, or very specific if you are tracking a single instance of a program.
For example, to track all versions of Visio, use a group name of Microsoft Visio. To track a single version, use a name of Microsoft Visio 2013.
3.
In the Category field, select the category of the new inventory item.
From the Notification Threshold list, select the percentage of total inventory that the available count has to drop below before you are alerted. If you only wish to be alerted when there is no more inventory, select 0%.
5.
Select the Show visual indication of inventory status option if you wish to see a visual alert of the inventory status: OK, Warning, or Critical.
6.
Select the Send daily inventory summary notifications option if you wish to include this inventory item in the daily license summary report that is emailed to the License Administrator.
7.
Specify an update interval in the Update Frequency section. This will set an interval time for when to update the inventory collection in System Center Configuration Manager.
8.
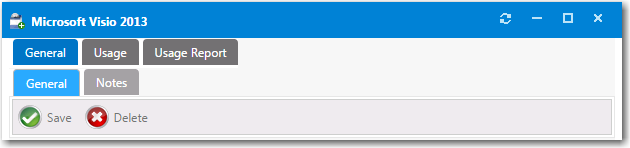
Click Save when you have completed configured the initial available settings for a new inventory item. After you click Save, additional tabs will appear at the top of the Inventory Item Properties dialog box.