Adding Items to Cart and Checking Out
After you have located the catalog item that you would like to request, your next step is to add that catalog item to your shopping cart and check out.
Important:The number of panels that will be displayed during a catalog item checkout depends upon the options specified on the catalog item.
To add catalog items to your shopping cart and checkout:
| 1. | Locate the first catalog item you want to request. |
| 2. | Once you locate the item, begin the checkout process by clicking the Add to Cart button in the catalog item card. When an item is added to the shopping cart, the cart count will increase. |

| 3. | Add additional items to the cart, if desired. |
| 4. | Click the Cart icon. |
The Cart Summary pop-up dialog box opens, listing the items in the cart.

Note:To remove an item from the cart, click the X in the top right corner of the catalog item. To empty the entire cart, click Empty cart.
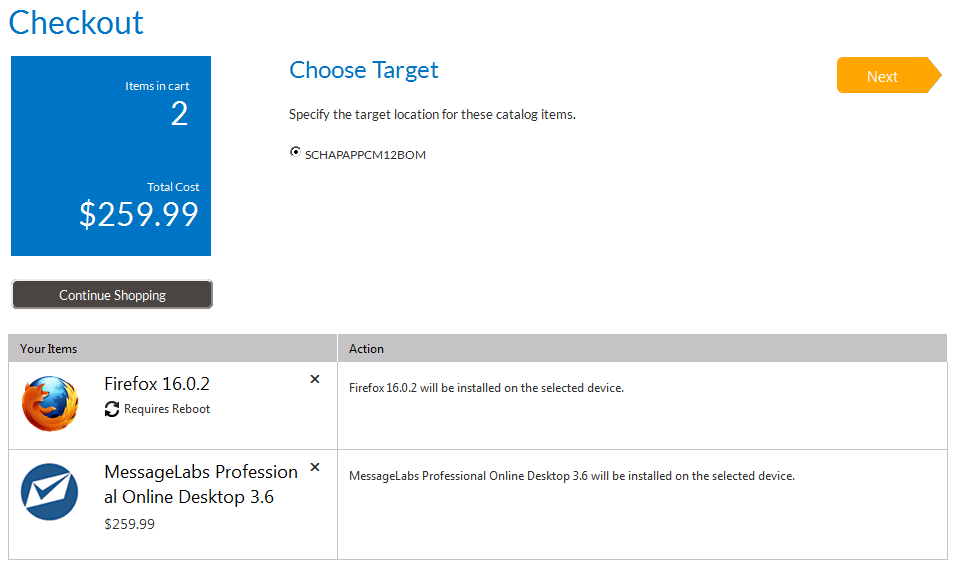
| 5. | Click View cart and checkout. The first panel of the Checkout procedure opens. If you are required to select a target location for these catalog items, the Choose Target view opens. |

Important:The level of interactivity during the checkout process depends on the request options and rights of the requester. The Choose Target panel is only displayed if the user has the ability to request to a device other than their current one, or if the item allows for both install and uninstall. In the absence of these choices the Me on machine MYCOMPUTER and Install options are selected by default and the checkout is automatically advanced to the next panel.
On the Choose Target view, the number of items in the cart and the total cost are listed in the blue box, and the selected catalog items are listed in the table below
| 6. | The number of panels that will be displayed during a catalog item checkout depends upon the options specified on the catalog item by the App Portal administrator. The instructions on these panels and the actions that you need to take are self-explanatory, such as answering questions. |
Perform the requested tasks and click Next to continue, until you reach the Submit Request panel.
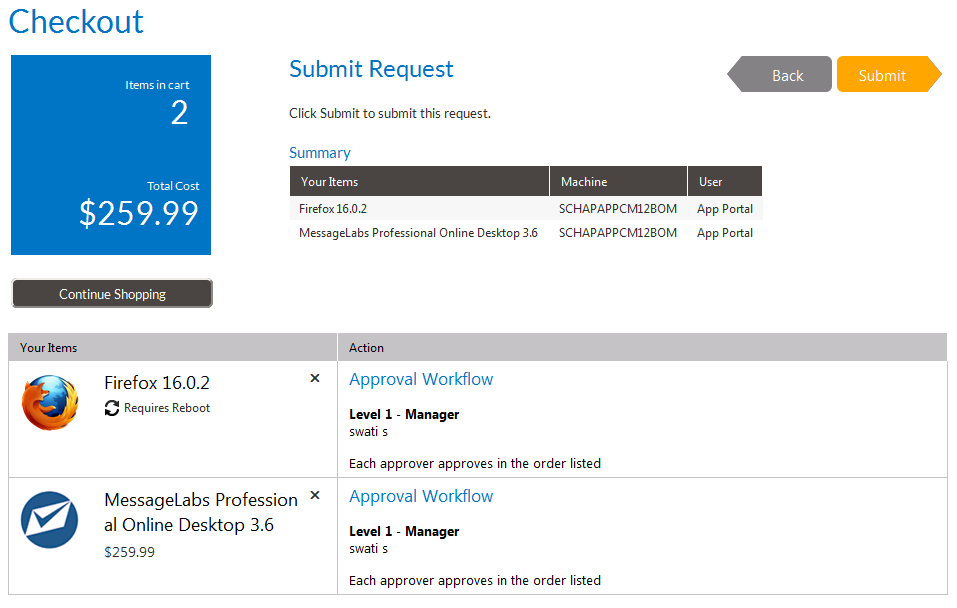
The Submit Request panel is the final step in the request process. It summarizes the items being requested and the targets of the request. If approvals are required, it lists approval information.
| 7. | Review the listed information about your order. |
| 8. | Click Submit to submit the request. Upon successful submission, an Order Number and Request ID are displayed, and a message appears indicating successful submission. The following confirmation screen opens: |
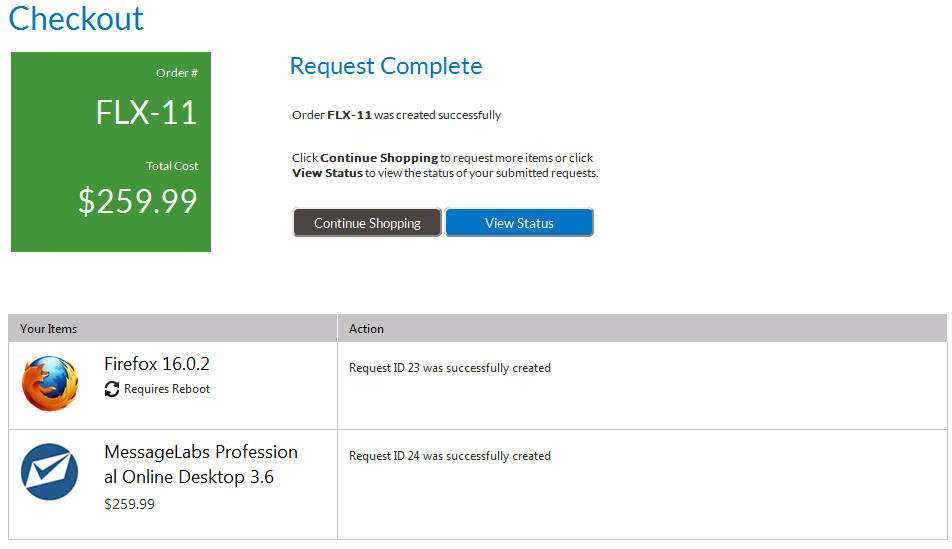
| 9. | Click View Status. The My Requests tab opens and your request is listed. |
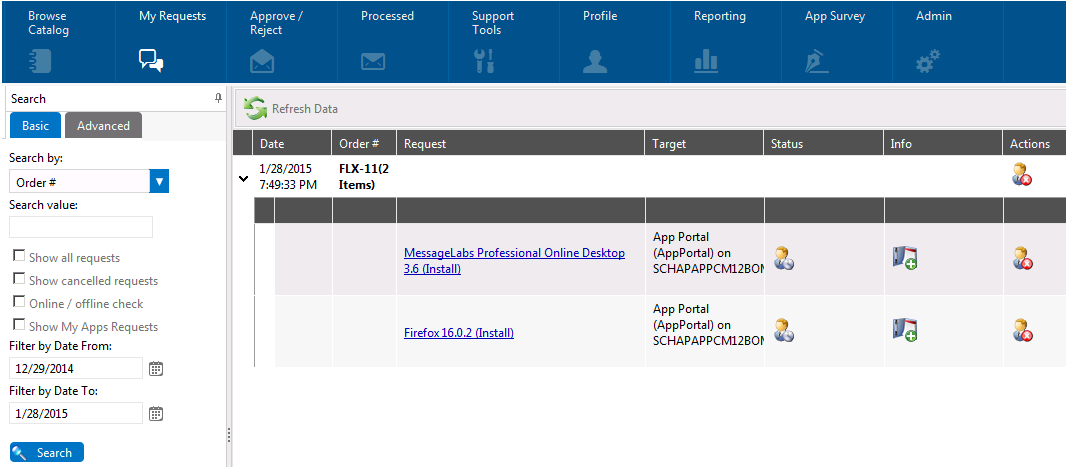
Icons are displayed in the Status, Info, and Actions columns of the Requests list to specify information about the request:
|
Column |
Icon |
Description |
|
|
Status |
Pending Approval |
|
When an approval is required before this request can be processed, The Pending Approval icon is displayed. Clicking on the icon displays the current approval process, whom has approved the request, and whom is pending approval. |
|
Approved |
|
When the request has been approved, the Pending Approval icon switches to the Approved icon. |
|
|
Pending SCCM Deployment |
|
The application has not yet begun to install. Clicking on this icon shows the most recent status from System Center Configuration Manager. |
|
|
Waiting for install status messages |
|
Indicates that the application has not begun to install. |
|
|
Install Complete |
|
The Install Complete icon indicates that the application has successfully been installed on the target end user’s machine. |
|
|
Install Failed |
|
If the software request fails, then an error icon is displayed. |
|
|
Info |
Processing Time |
|
If you hover over this icon, the time that has elapsed since the installation of this application was begun is listed. |
|
Completed |
|
When installation of this application is complete, the Processing time icon switches to this icon to indicate that processing has been completed and the application has been installed. |
|
|
Request has Associated Questions |
|
Indicates that this request has an associated question template. |
|
|
Add a Note |
|
Click to add a note to this request. |
|
|
Actions |
Cancel |
|
Click to cancel this request. |


| 10. | If an Approval Template was associated with this catalog item, the Pending approval icon will be displayed in the Status column. For more information, see Approving a Request. |
App Portal / App Broker 2020 R1 Evaluation GuideAugust 2020 |