Configuring SAML 2.0 Authentication
App Portal 2021 R1
SAML (Security Assertion Markup Language) 2.0 is an XML-based, open-standard data format for enabling web browser single sign-on.
The following instructions explain how to configure SAML 2.0 authentication for your App Portal site when using both Okta and PING Identity identity management systems.
Configuring SAML 2.0 Authentication Using Okta
To configure SAML 2.0 authentication for your App Portal site using Okta, perform the following steps:
To configure SAML 2.0 authentication using Okta:
|
1.
|
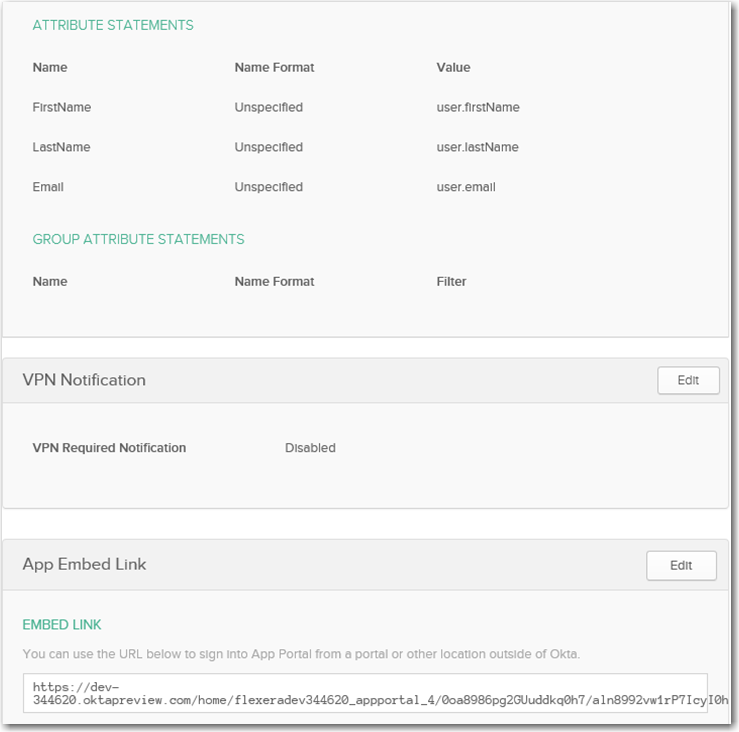
Logon to your identity provider platform’s web site and open the page containing your account’s SAML settings. The following are the SAML Settings in Okta: |

|
2.
|
In your identity provider platform, provide this URL for redirecting to App Portal after sign in: |
http://YOURAPPPORTALSERVER/esd/SamlSignOn.aspx
Note:This URL would be entered in the Single Sign On URL, Recipient URL, and Destination URL fields in the Okta sample settings, shown above.
|
3.
|
In your identity provider platform, make sure that the Name ID Format is set to Email Address. After you do this, whenever SAML 2.0 authentication occurs, your identity provider platform will send the email address that is registered with their system into App Portal as part of SAML association. |
|
4.
|
Download an authentication certificate from the identity provider platform. |
|
5.
|
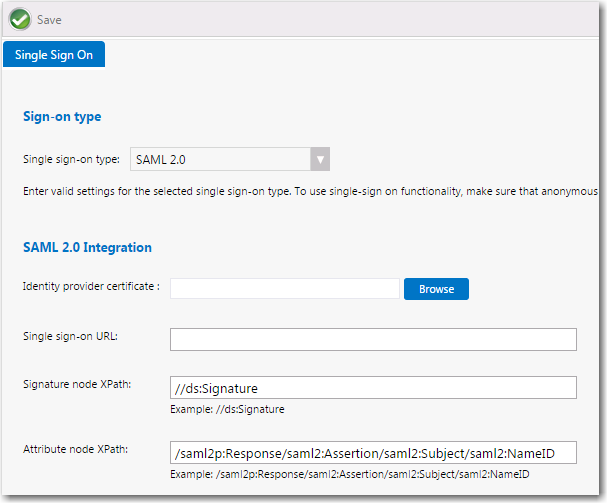
Launch App Portal and open the Site Management > Settings > Single Sign-On view. |
|
6.
|
From the Single sign-on type list, select SAML 2.0. The SAML 2.0 settings are listed. |
|
7.
|
Click Browse next to Identity provider certificate and select the authentication certificate that you obtained from your identity provider platform. |
|
8.
|
In the Single sign-on URL field, enter the single sign-on URL from your identity provider platform. |
Important:App Portal assumes IdP-initiated single sign-on (identity provider-initiated single sign-on). App Portal does not prompt for login credentials; instead it redirects the user to the specified identity provider, and the identity provider prompts the user to authenticate using their preferred method, such as user name/password, smart card, token, multi-factor authentication, etc.
|
9.
|
In the Signature node XPath field, the default setting is //ds:Signature. Adjust this signature node XPath as needed, per your identity provider platform. |
|
10.
|
In the Attribute node XPath field, the default setting is below. Adjust this attribute node XPath as needed, per your identity provider platform. |
/saml2p:Response/saml2:Assertion/saml2:Subject/saml2:NameID
Tip:When configuring the Attribute node XPath field, you may want to consider using a Mozilla Firefox plug-in named SAML Tracer, a tool for viewing SAML messages sent through the browser during single sign-on. You can use the SAML Tracer plug-in to capture the network communications between App Portal and the identity provider when a user is authenticating, identify the SAML packets, and display them in a readable format. You can then look at the XML structure of that SAML data to determine the correct XPath to enter in the Attribute node XPath field.
|
11.
|
Optionally, edit the value in the Redirect Url Parameter field. The Redirect Url Parameter declaration, which is set by default to RelayState, is optional extra information that may be sent along with a SAML message. This parameter may specify a URL the service provider should redirect to once single sign-on completes. |
|
13.
|
To configure IIS to use anonymous authentication instead of Windows authentication, perform the following steps. |
|
a.
|
Open IIS Manager and select the ESD virtual directory under Sites in the tree. |

|
b.
|
Double-click on Authentication to open the Authentication view. |

|
c.
|
Set Anonymous Authentication to Enabled, and set Windows Authentication to Disabled. |
Configuring SAML 2.0 Authentication Using Ping Identity
To configure SAML 2.0 authentication for your App Portal site using Ping Identity, perform the following tasks:
Configure App Portal as a New Application in Ping Identity
To configure App Portal as a new application in Ping Identity, perform the following steps.
To configure App Portal as a new application in Ping Identity:
|
1.
|
Log into Ping Identity as an admin and open the My Applications tab on the Applications menu. |
|
2.
|
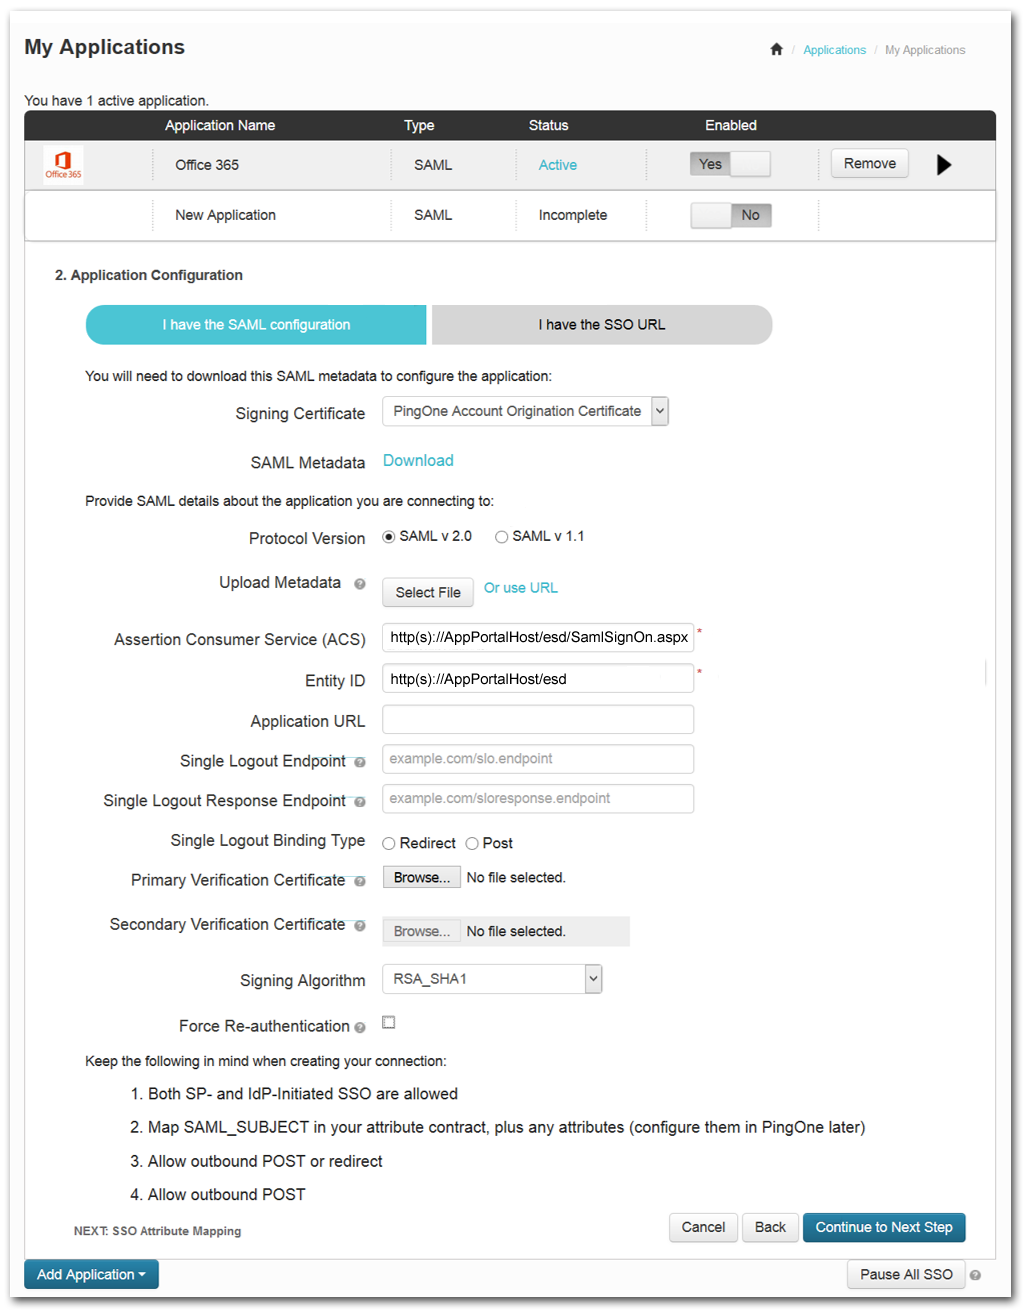
Click Add Application and select New SAML Application. |

The 1. Application Details view opens.

|
3.
|
Enter the Application Name as you want it to appear to your SSO users. |
|
4.
|
Enter an Application Description. |
|
6.
|
Click Change and upload an Application Icon, which will be displayed in the SSO dock. |
|
7.
|
Click Continue to Next Step. The 2. Application Configuration view opens. |
|
8.
|
Select the I have the SAML configuration tab |
|
9.
|
For the Protocol Version, select SAML v2.0. |
|
10.
|
In the Assertion Consumer Service (ACS) field, enter the URL to your App Portal server followed by
/esd/SamlSignOn.aspx. |
|
11.
|
In the Entity ID field, enter the URL to your App Portal instance (ending in /esd). |
|
12.
|
In the Signing Algorithm list, select RSA_SHA1. |
|
13.
|
Click Continue to Next Step. The 3. SSO Attribute Mapping view opens. |

|
14.
|
Click Add new attribute. An empty row is listed. |
|
15.
|
Enter FirstName in the Application Attribute column, select First Name in the Identity Bridge Attribute or Literal Value column, and select the check the box in the Required column. |
|
16.
|
Repeat these steps to add rows for LastName and Email. |
|
17.
|
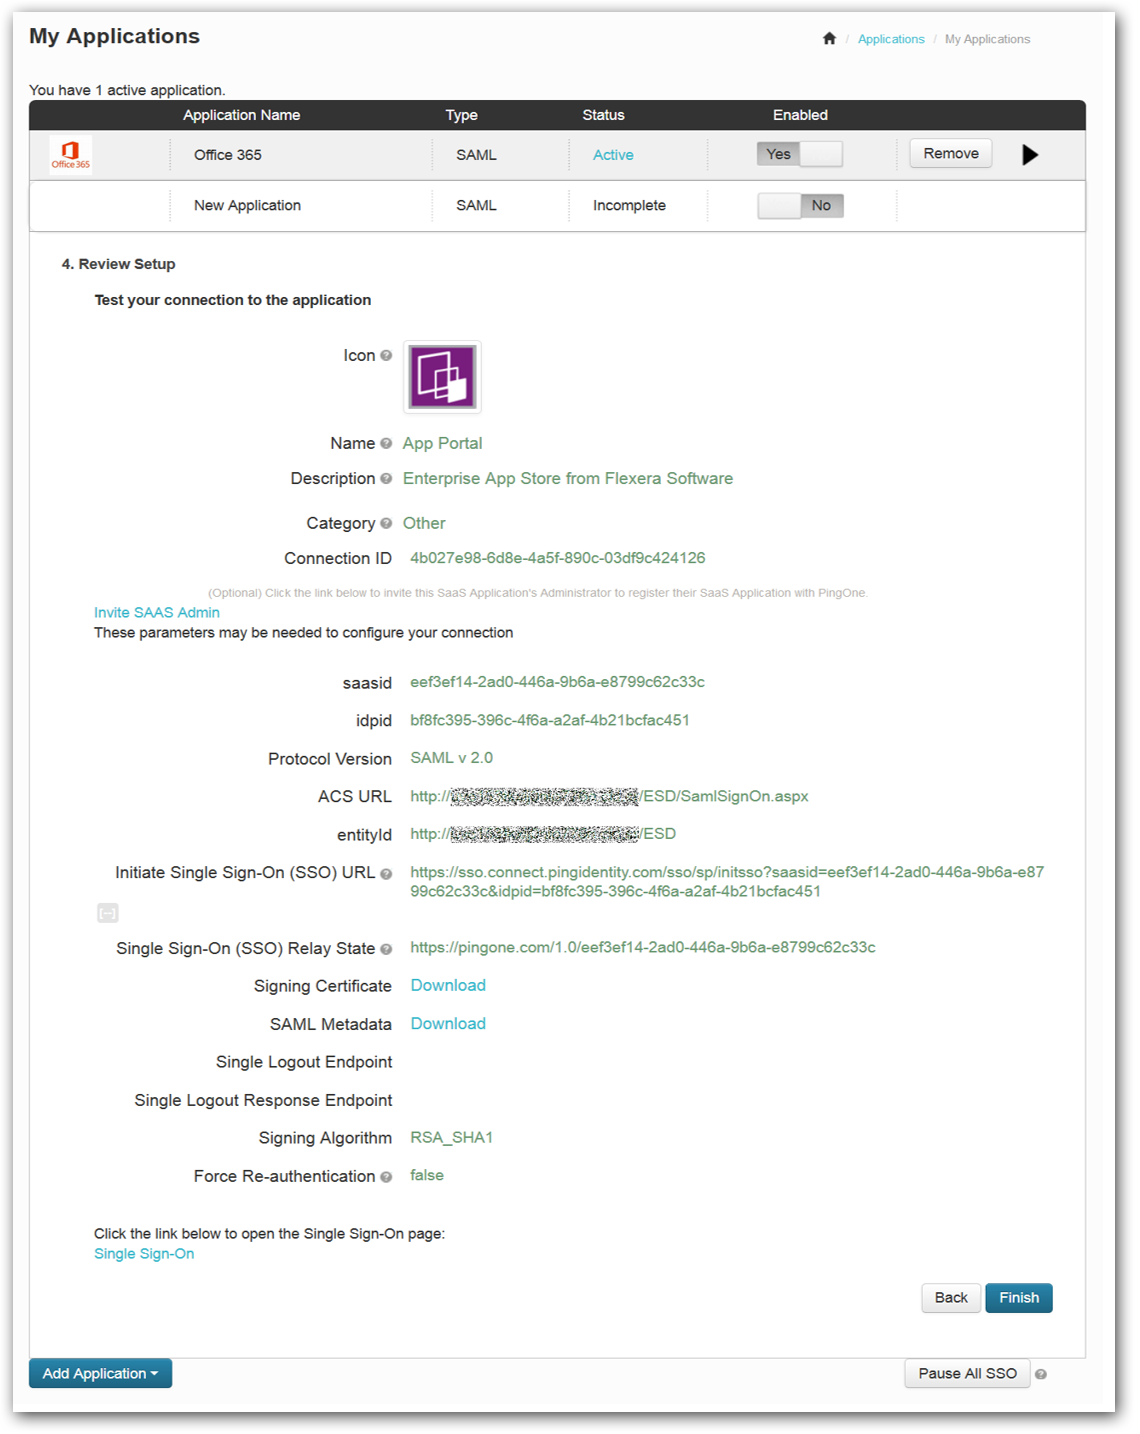
Click Save & Publish. The 4. Review Setup view opens. |
|
18.
|
Review your settings and click Finish. App Portal should now appear in your list of active applications. |
Configure Users in Ping Identity
The next step is to configure users in Ping Identity, if they are not already configured.
To configure users in Ping Identity:
|
1.
|
Log into Ping Identity as an admin and open the User Directory > Users tab on the Users menu. The Users view opens. |
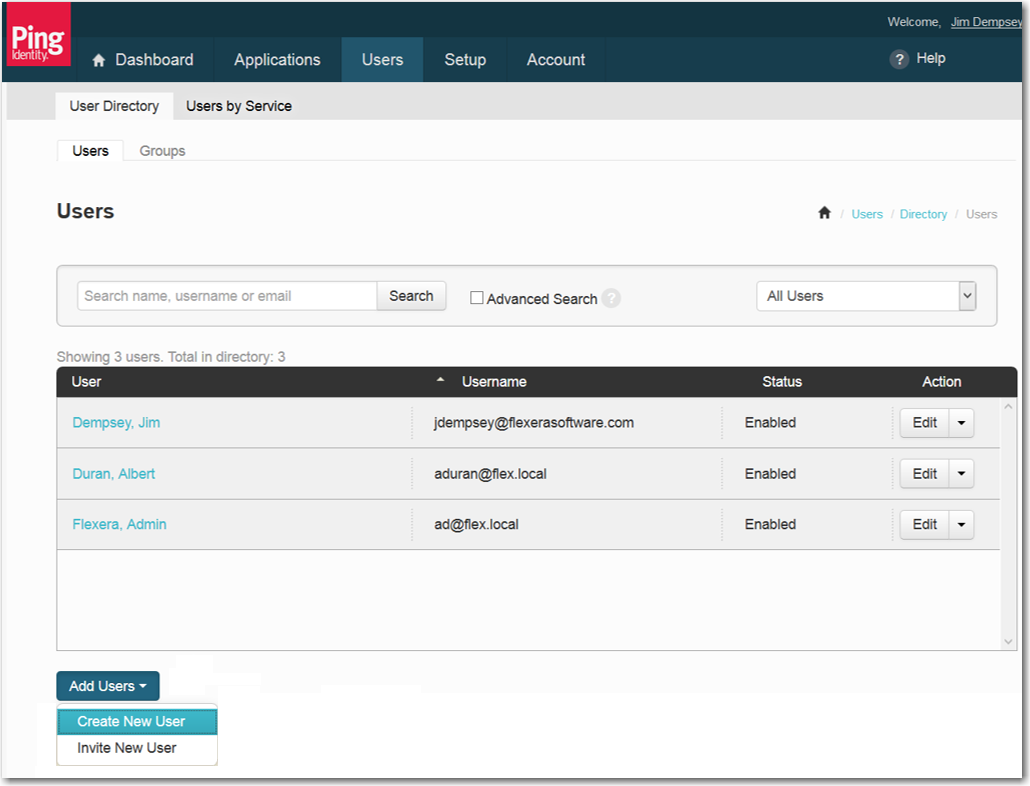
|
2.
|
Click on Add Users and select Create New User. The Create New User dialog box opens. |

|
3.
|
Enter values for New Password and Confirm New Password. |
|
4.
|
Enter a Username. This is often the email address of the user, but could be anything you want your users to sign in with, such as Active Directory user name. |
|
5.
|
Enter a First Name, Middle Name (optional), and Last Name. |
|
6.
|
In the Formatted Name field, the name as it will appear in the SSO solution is listed. |
|
7.
|
In the Email (Work) field, enter the user’s email address, which must match the user’s email address in Active Directory. This is how the SSO user name is mapped to an Active Directory user account. |
|
8.
|
Click Save. The details of the new user are listed. |
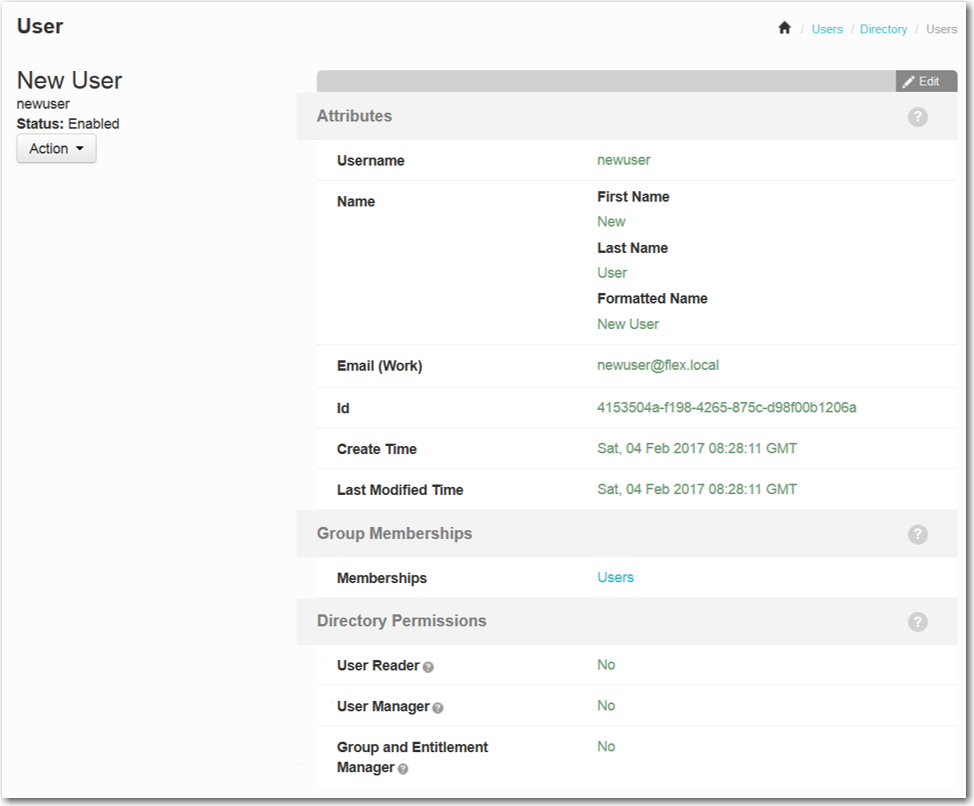
|
9.
|
Review the details of your newly created user. |
|
10.
|
Repeat this procedure to create additional users. |
Configure Single Sign On Settings in App Portal
To configure single sign-on settings in App Portal, perform the following steps.
To configure single sign-on settings in App Portal:
|
1.
|
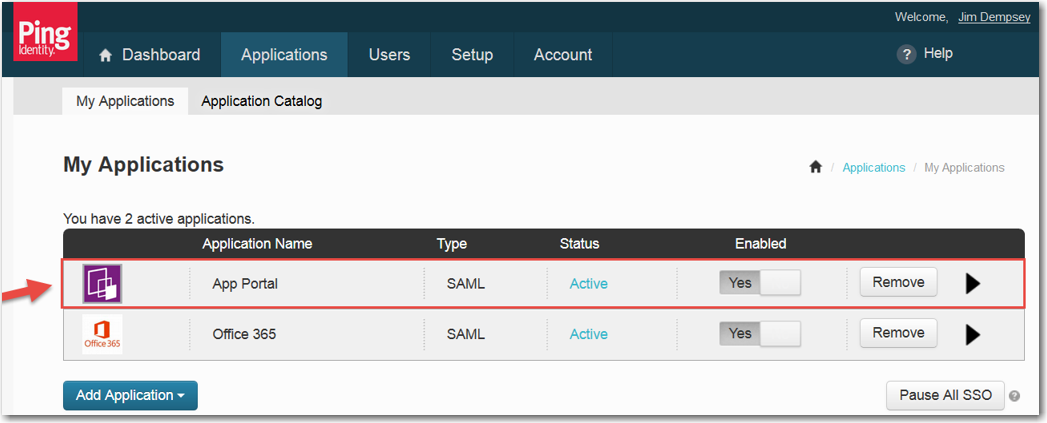
Log into Ping Identity as an admin and open the My Applications tab on the Applications menu. |
|
2.
|
Click on App Portal to view the details of the App Portal application. |

|
3.
|
Copy the Initiate Single Sign-On (SSO) URL to the clipboard |
|
4.
|
Next to Signing Certificate, click the Download link. You are prompted to save the idp-signing.crt file. |
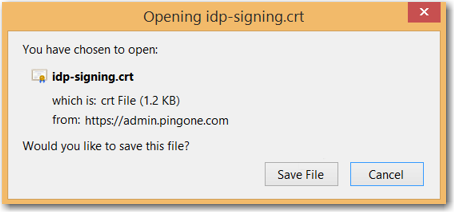
|
5.
|
Click Save File and save the file to a safe place that is accessible from your App Portal server. |
|
6.
|
Log into App Portal as an admin and open the Site Management > Settings > Single Sign-On view. |
|
7.
|
Under Standard User Interface and/or Mobile User Interface, select SAML 2.0 from the Single sign-on type list. |

|
8.
|
Click the Browse button and select the idp-signing.crt file you downloaded earlier. |
|
9.
|
Paste the Ping Identity Single sign-on URL from the clipboard. |
|
10.
|
Set the Attribute node XPath value to /samlp:Response/saml:Assertion/saml:Subject/saml:NameID. |
Configure IIS to use Anonymous Authentication instead of Windows Authentication
To configure IIS to use anonymous authentication instead of Windows authentication, perform the following steps.
To configure IIS to use anonymous authentication:
|
1.
|
Open IIS Manager and select the ESD virtual directory under Sites in the tree. |

|
2.
|
Double-click on Authentication to open the Authentication view. |

|
3.
|
Set Anonymous Authentication to Enabled, and set Windows Authentication to Disabled. |
You are now ready to test SAML SSO with App Portal. The next time you open the App Portal website, and you should be redirected to sign in through your SSO solution. Upon successful authentication, you should be redirected back to the App Portal website and signed in.
See Also
Single Sign On