Importing and Configuring the Flexera Software App Portal Update Set in ServiceNow
App Portal 2021 R1
To import the App Portal update set into ServiceNow and to customize its settings for your organization, perform the following steps.
To import and configure the App Portal - ServiceNow Update Set:
| 1. | Download the Flexera Software App Portal update set file (Flexera Software AppBroker 2017 R1 Update Set.xml) from the Flexera Software Product and License Center. |
| 2. | Open your ServiceNow instance. |
| 3. | In the search box, enter Retrieved Update Sets. |
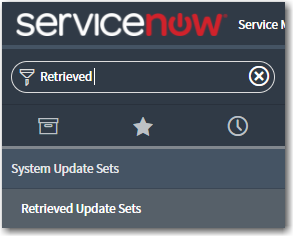
| 4. | In the search results, click Retrieved Update Sets. The Retrieved Update Sets page opens. |
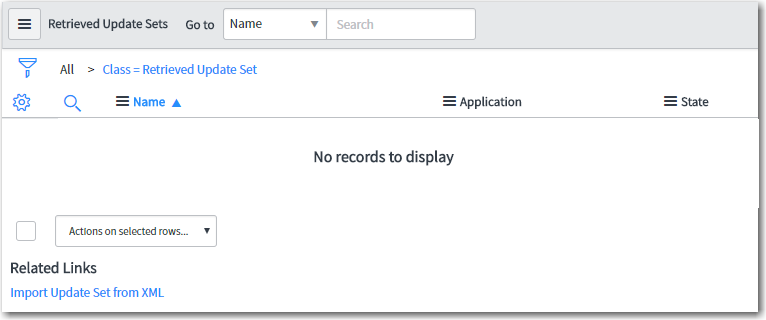
| 5. | Under Related Links, click Import Update Set from XML. The Import XML page opens. |
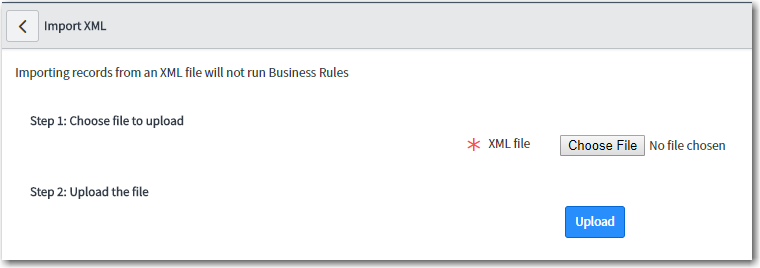
| 6. | Click Choose File, select the Flexera Software App Portal update set .xml file and click Upload. When the upload is complete, the file will be listed on the Retrieved Update Sets page. |
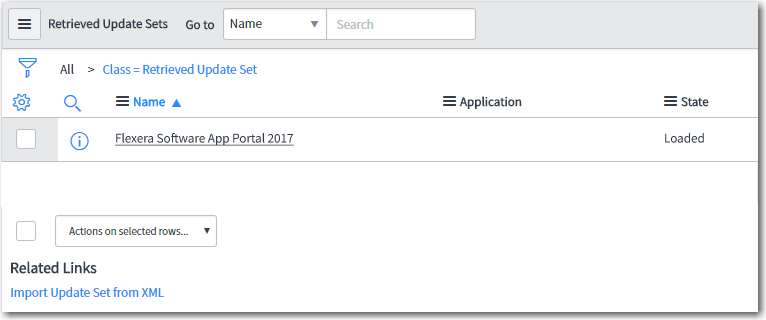
| 7. | Click the name of the update set to open the detailed view. |
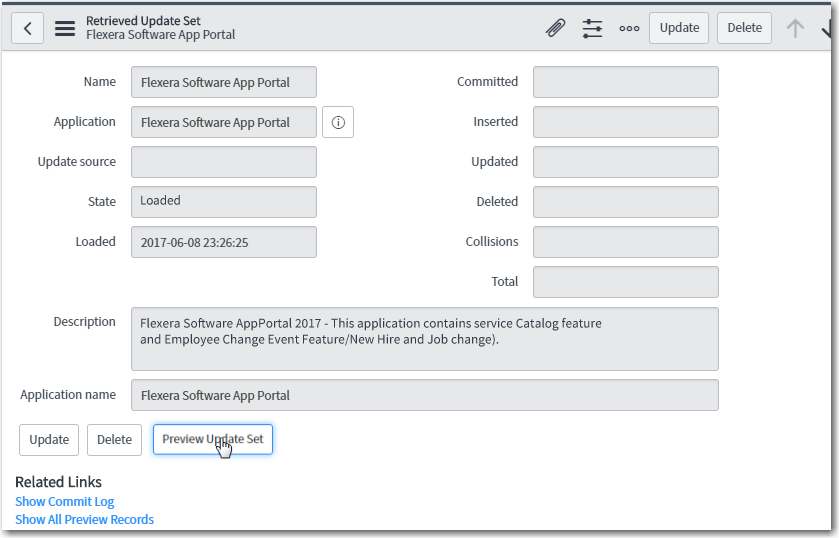
| 8. | Click Preview Update Set. After previewing the update set, if there are any errors, they will be listed at the bottom of the screen on the Update Set Preview Problems tab. |
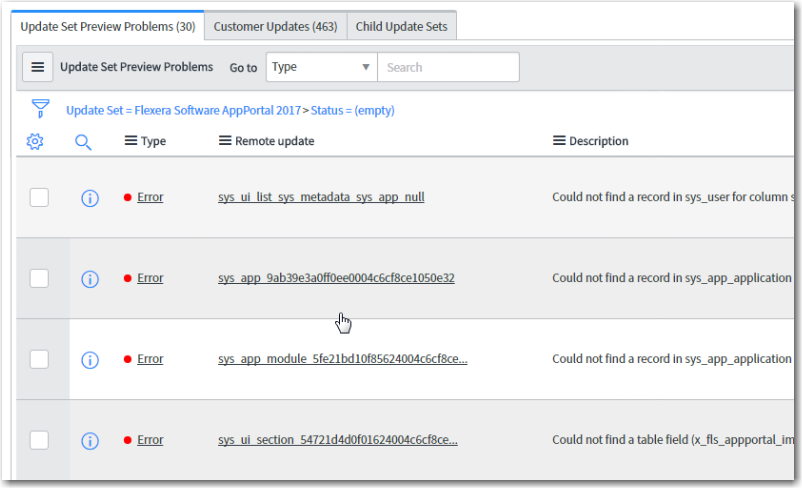
| 9. | To resolve an error, select it, open the Actions on selected rows... menu at the bottom of the screen, and click Accept remote update. |
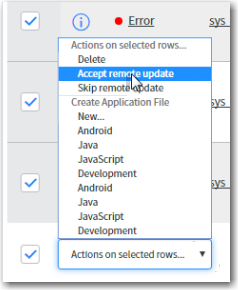
Repeat this procedure until all errors are resolved. You may select multiple errors at a time. When all errors are resolved, the Commit Update Set button is enabled.

| 10. | Click Commit Update Set. As soon as the update set is committed, if you enter Flexera in the ServiceNow search box, and you will see the following new items listed in the menu: |
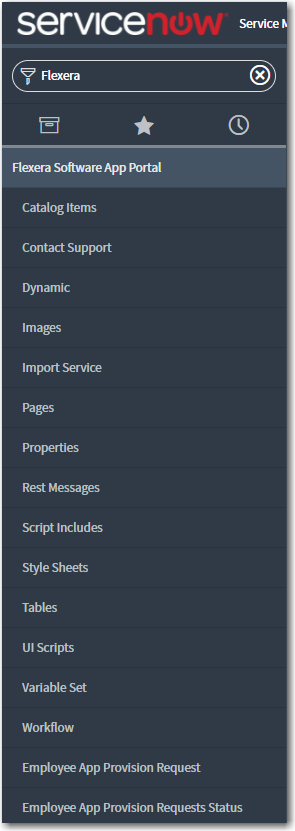
Note:You will be using the Employee App Provision Request option to submit an App Portal request, and use Employee App Provision Requests Status to view the status of those requests.
| 11. | In the top toolbar of ServiceNow, click on the Settings icon: |
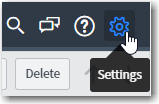
The System Settings view opens.
| 12. | Select the Developer tab. The Developer tab opens. |
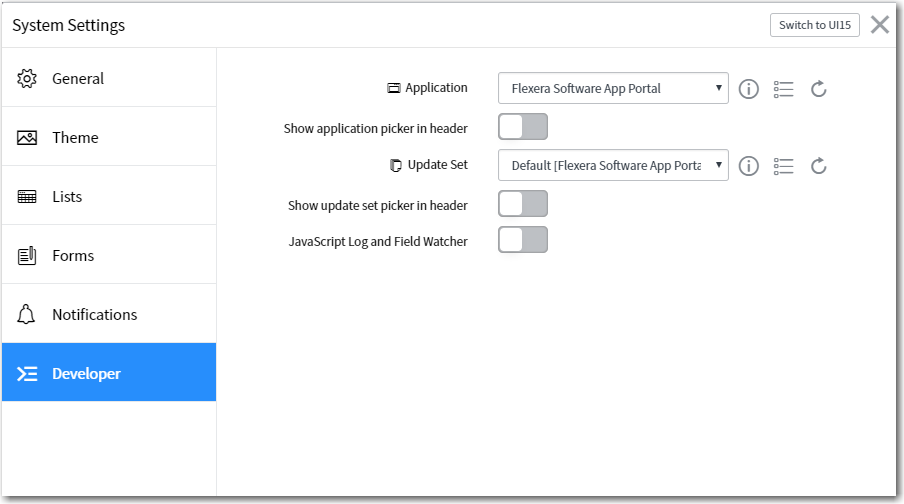
| 13. | Change the value of the Application field from Global to Flexera Software App Portal and close the view. |
| 14. | Under Flexera Software App Portal in the menu, click on Properties. The Properties view opens. |
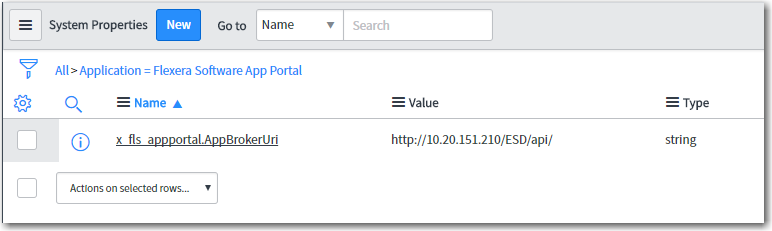
| 15. | To connect ServiceNow to your instance of App Portal, click on x_fls_appportal.AppBrokerUrl. The System Property view for that property opens. |

| 16. | In the Value field, enter the URL to your App Portal server using the following format: |
http://APPPORTAL_LOCATION/ESD/api
| 17. | Click Update. |
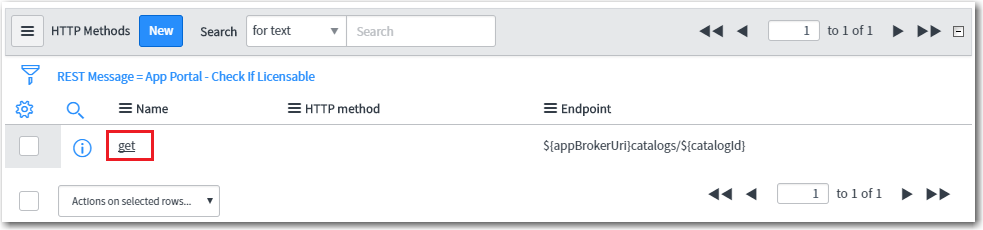
| 18. | Under Flexera Software App Portal in the menu, click on Rest Messages. The Rest Messages view opens. |
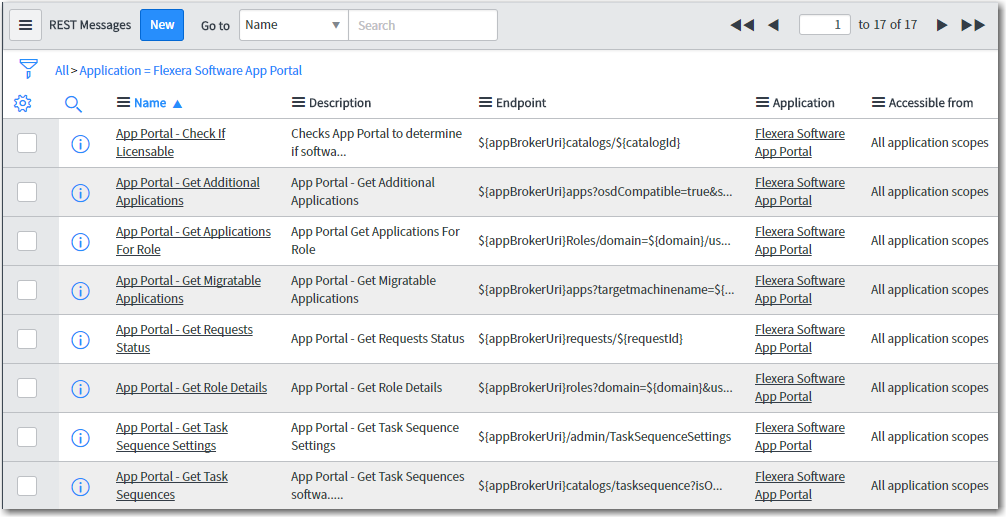
| 19. | For each REST message, perform the following steps: |
| a. | Click on the REST message name to open the detailed view. |
| b. | Click on the method at the bottom of the screen (get or post). |
| c. | On the HTTP Request tab, select the name of your ServiceNow MID server that has access to App Portal from the Use MID Server list. |

Note:A ServiceNow MID server is a Windows service running in your environment which enables ServiceNow, a cloud application, to communicate with App Portal, an on-premises application.
| d. | On the Authentication tab, set Authentication type as desired for your organization. By default, None will be selected. Select the authentication type that the selected ServiceNow MID server should use to access the App Portal REST API. |
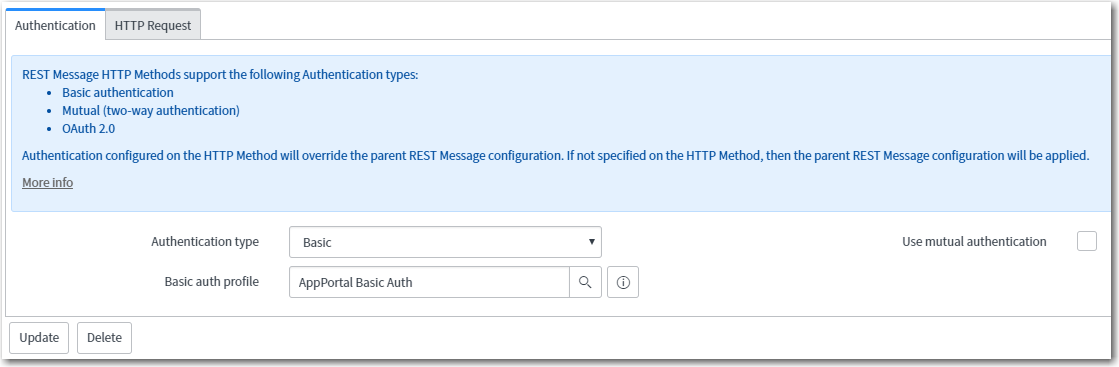
| e. | To edit a selected Basic auth profile, click the  icon to open the Basic Auth Configurations dialog box, where you can edit the password. icon to open the Basic Auth Configurations dialog box, where you can edit the password. |
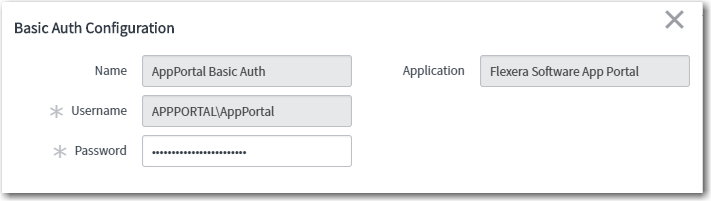
| f. | Click on the name of the configuration that you want to edit. |