Entering Casper Settings
Note:After you have launched App Portal for the first time and uploaded the license file, you are then prompted to specify the connection settings for your deployment technology. However, you are not required to enter your deployment technology settings at this time. You could skip this step and launch App Portal, and then specify the deployment settings on the Site Management > Settings > Deployment view. For more information, see “Getting Started” in the App Portal / App Broker Administration Guide.
To connect App Portal to a Casper server, you need to open the Settings > Deployment view under Site Management on the Admin tab, and then select the Casper tab.
To enter Casper connection settings, perform the following steps:
To enter Casper connection settings:
| 1. | On the Admin tab, open the Site Management > Settings > Deployment view. |
| 2. | Open the Casper subtab. |
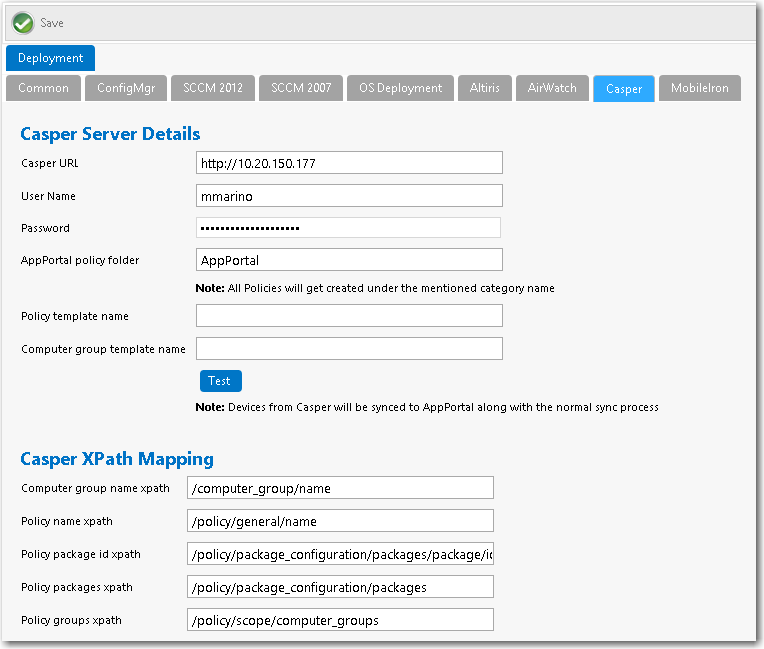
| 3. | In the Casper URL field, enter the URL to your Casper server. |
| 4. | Enter the User Name and Password to your Casper server. |
| 5. | Click Test to test connection settings. If successful, the following message is displayed: |
Casper Server settings are valid.
Note:Casper users (which are based upon an email address) and devices are synced to App Portal at the same time that the System Center Configuration Manager / Altiris users and devices are synced. App Portal users are matched with System Center Configuration Manager / Altiris users by having the same email address.
Note:When App Portal publishes a request to Casper, Casper returns status messages, which are listed in the Casper XPath Mapping area of this tab. If, at some future time, Casper changes their status messages to something different, you can update these values by performing the steps in “Entering Casper XPath Mapping Settings” in the App Portal / App Broker Administration Guide.