Creating a Category
Catalog items are organized using categories. Categories, which are listed in the Browse Categories tree on the Browse Catalog tab, are visible to end users when they are creating an App Portal request. When an end user selects a category on the Browse Catalog tab, the catalog items in that category are listed:
 s
s
Browse Catalog Tab With Adobe Category Selected
Note:A catalog item can be a member of multiple categories.
When you create a category, you have the option of setting category security and setting a category owner:
| • | Set Category Security—To control which users and/or groups are permitted to view (and request) the applications in that category, you can set category security. |
| • | Set Category Owner—To only give specific users permission to manipulate the applications in a category, you can assign category owners. |
To create a catalog category, perform the following steps.
To create a catalog category:
| 1. | Open the App Portal Admin tab. |
| 2. | Under Catalog Management, select Catalog Categories. Existing categories are listed in the right pane. |
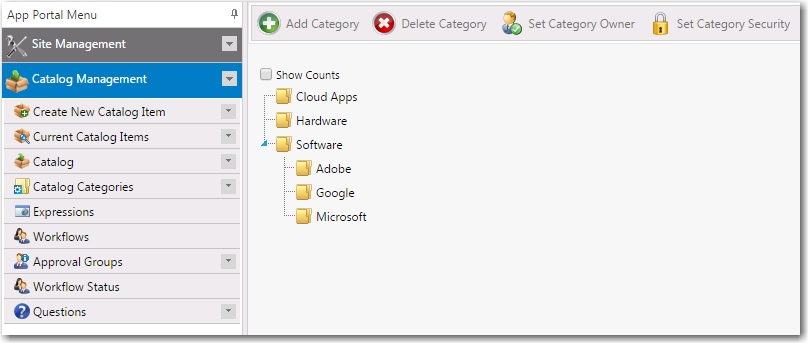
| 3. | Select the Software category and then click Add Category. You are prompted to enter a New Category Name. |
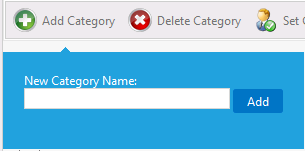
| 4. | Enter a name to identify the category, such as Adobe, and click Add. The new category is now listed under the Software category. |