Adding a New Unlicensed Software Catalog Item
In this exercise, you will select a software application from System Center 2012 Configuration Manager to add to your App Portal catalog. This application does not require an associated license.
Note:While this exercise takes you through the steps of adding an application from System Center 2012 Configuration Manager, the steps for adding applications/packages from other deployment systems are very similar.
Note:To add a software catalog item, you must first provide connection settings to a deployment technology, as described in Configuring Your Deployment Technology.
To create a new unlicensed software catalog item:
|
1.
|
Open the App Portal Admin tab. |
|
2.
|
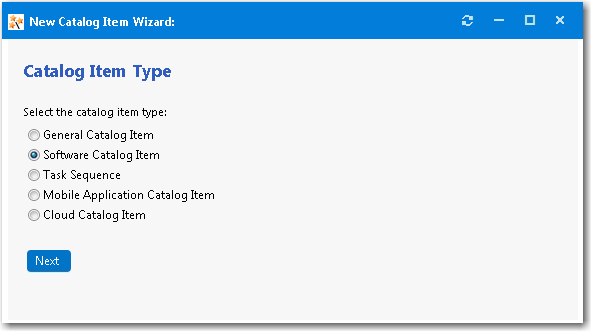
Under Catalog Management in the App Portal Menu, select Create New Catalog Item > New Catalog Item Wizard. The Catalog Item Type panel of the New Catalog Item Wizard opens. |
|
3.
|
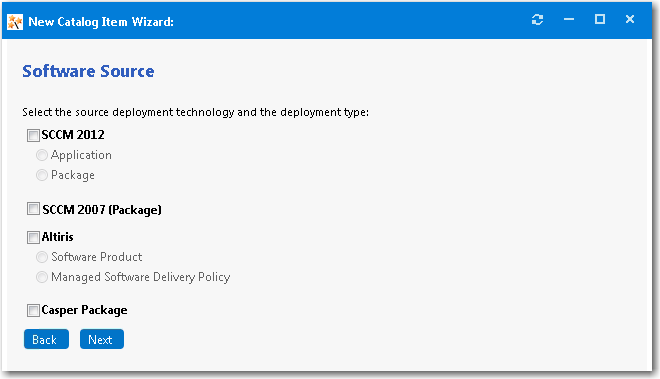
Select Software Catalog Item and click Next. The Software Source panel opens. |
|
4.
|
Select SCCM 2012 and then select Application. |
|
5.
|
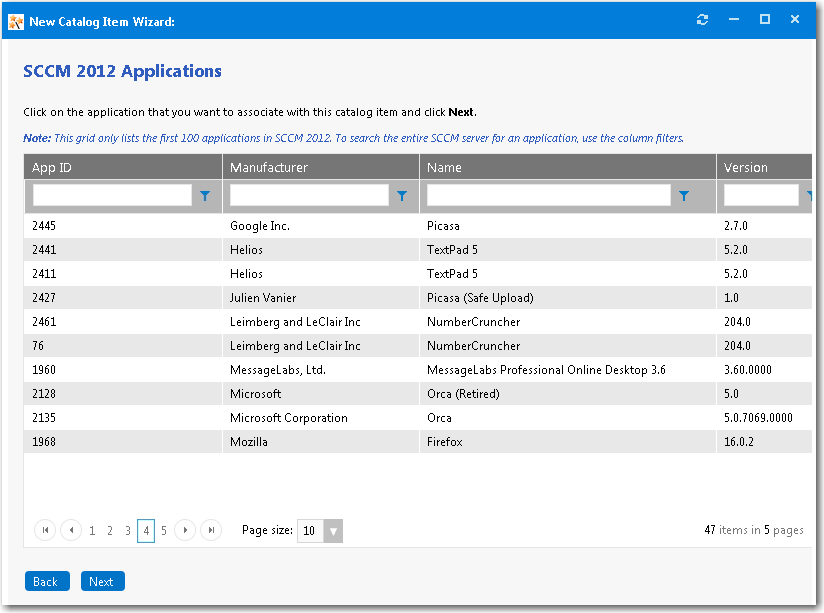
Click Next. The SCCM 2012 Applications panel opens. |
|
6.
|
Locate and select the application that you want to associate with this new catalog item. |
Important:Only a specified number of packages are initially listed in this grid. To search the entire System Center Configuration Manager server for a package, use the column filters.
|
7.
|
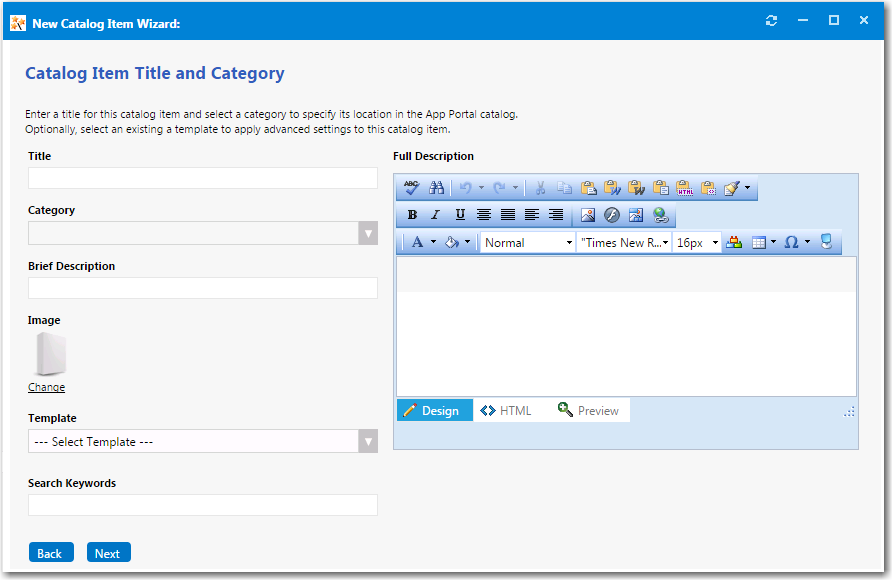
Click Next. The Catalog Item Title and Category panel opens. |
|
8.
|
In the Title field, enter a title to identify this catalog item in your App Portal storefront. By default, the name of the package that you selected is listed in this field. |
|
9.
|
From the Category field, select a category to specify this catalog item’s location in the App Portal catalog. |
Note:You are required to select at least one category, but you may select more than one.
|
10.
|
In the Brief Description field, enter the text that you want to display under the catalog item Title in the App Portal storefront. |
|
11.
|
By default, a generic icon is associated with this catalog item. If you have another image that you would like to use to identify this catalog item, click Change to open the Image Selection dialog box and select a .gif, .jpg, or .png icon file. |
Tip:For best results, the uploaded image should be at least 80 px by 80 px.
|
12.
|
In the Search Keywords text box, enter single words that an end user might enter when searching for this catalog item. |
|
13.
|
In the Full Description text area, enter a longer description of this catalog item, and use the items on the toolbar to format it. |
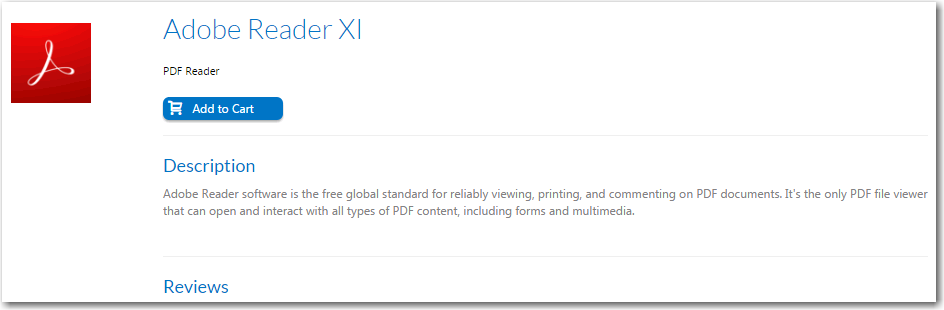
The text entered in the Title, Brief Description, and Full Description fields will be displayed as follows:
|
•
|
Title—The text entered in the Title field along with the catalog item icon, will be displayed when viewing this catalog item on the Browse Catalog tab. |

|
•
|
Brief Description—When viewing catalog items in list view, the brief description will also be visible: |

|
•
|
Full Description—The text entered in the Full Description field will be displayed when a catalog item is viewed in its detail view, which is opened by clicking on the catalog item name in either the list or card view. |
|
14.
|
When you are finished editing the fields on the Catalog Item Title and Category panel, click Next. |
|
15.
|
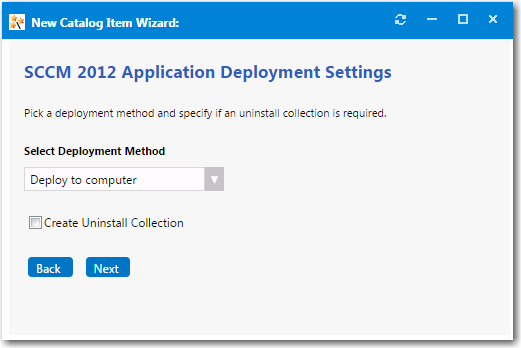
The SCCM 2012 Deployment Settings panel opens. |
Note:When adding an System Center Configuration Manager package, or an Altiris software product or policy, the options displayed on the Deployment Settings panel will vary.
|
16.
|
From the Select Deployment Method list, select one of the following options to specify whether this catalog item will be deployed to a computer or to a user: |
|
17.
|
To add an uninstall collection to this catalog item, select the Create Uninstall Collection option. When this option is selected, users will be able to submit an uninstall request from App Portal, and System Center Configuration Manager will uninstall the application. App Portal will inform the user when the uninstall is complete. |
|
18.
|
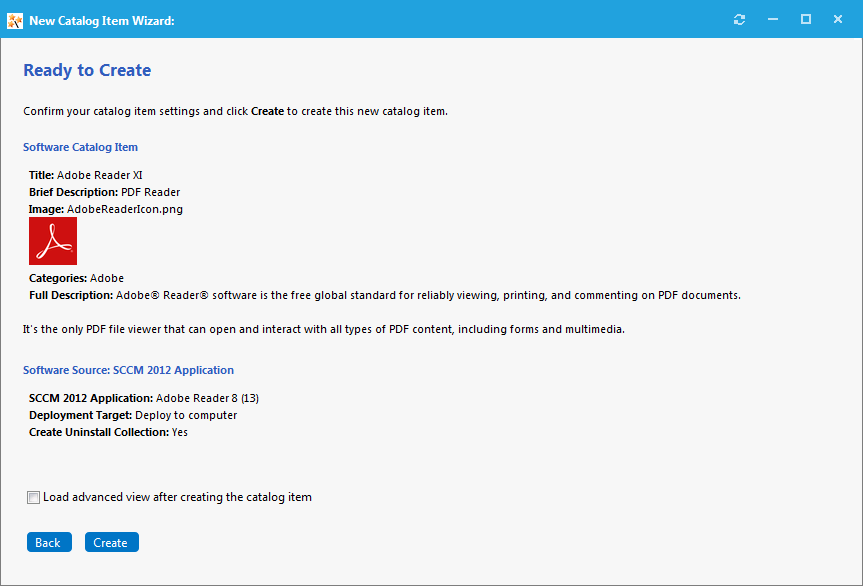
Click Next. The Ready to Create panel opens. |
|
19.
|
Click Create to create this new catalog item. The catalog item will now be listed on the Browse Catalog tab in the category you selected. |
Note:After creating a catalog item, you can edit its basic and advanced settings on the Catalog Item Properties dialog box, as described in the Setting Catalog Item Properties topic in the App Portal / App Broker Administration Guide.