
App Portal / App Broker for ServiceNow 2016
To install the App Portal / App Broker for ServiceNow web site, perform the following steps.
Important • Starting with App Portal 2013, your deployment technology is no longer specified during installation. Instead, you specify your deployment technology connection settings on the Deployment tab of the Settings view, as described in the App Portal / App Broker for ServiceNow Administration Guide.
To install the App Portal / App Broker for ServiceNow web site:
| 1. | To start the App Portal / App Broker for ServiceNow installer, launch AppPortalSetup_2016.exe. The Welcome panel opens. |
Note • You need to be an administrator to run this installer. To run as an administrator, you can right-click the installer file and select Run as administrator from the context menu.
| 2. | Click Next. The License Agreement panel opens. |
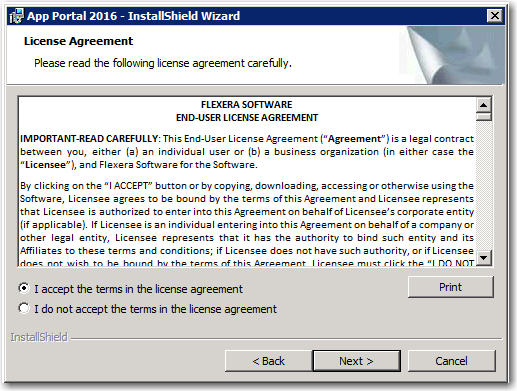
| 3. | Read and accept the license agreement and click Next to continue. The Destination Folder panel opens. |
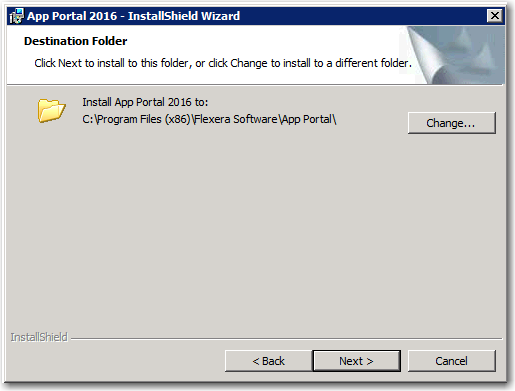
| 4. | Click Next. The Specify Site Alias panel opens. |
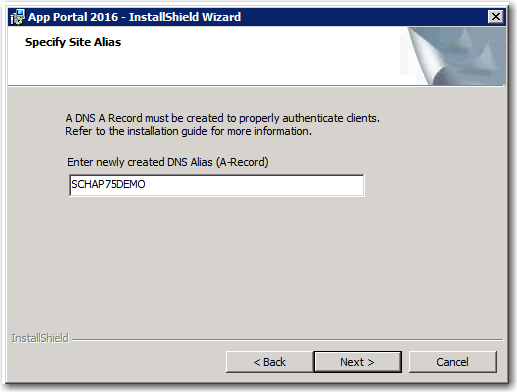
| 5. | Do one of the following: |
| • | If you have already created a DNS alias for the identity of the site, enter it in this field. |
Note • If you enter an alias, it needs to already be created on your DNS servers. The App Portal Web Site installer will not create it for you.
Note • If you specify an alias, a DNS A-RECORD for that alias must be created in order to access the App Portal site. It is important that the alias be an DNS A-RECORD, and not a CNAME record.
| • | If you do not want to use an alias, you can accept the default value, which is the server machine name. |
Note • If you specify the server machine name, you do not need to create a DNS A‑RECORD because one already exists for the server.
Tip • After installation, you can edit the DNS Alias value on the General tab of the Site Management > Settings > Web Site view.
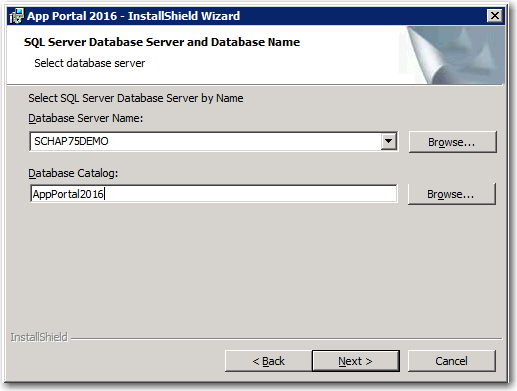
| 6. | Click Next. The SQL Server Database Server and Database Name panel opens. |
Important • Only Windows authentication is supported when connecting to the App Portal SQL Server database. Therefore, the account running this installer needs DBO permissions to that SQL Server.
| 7. | Enter the name of your SQL Server database server or select it from the list. |
If you are using a specific database instance (other than the default instance), enter the database server and SQL instance in the following format:
<SERVERNAME>\<INSTANCE>
Important • Do not use (Local) as a database name.
| 8. | The Database Catalog field identifies the name of the new App Portal database that will be created by this installer. Accept the default or modify this name. |
| 9. | Click Next to continue. The Logon Information panel opens. |

| 10. | A user account is required to interact with Active Directory and SQL. This same account will be used for the App Portal service. The account requires administrative rights on clients to make use of the remote policy execution and to rerun advertisements. Enter user account information in Domain\Username format, along with a password. |
Note • Enter the credentials that App Portal will use to communicate with System Center Configuration Manager and/or Altiris Client Management Suite, SQL Server, Active Directory, and clients. This must be the same account, so it is recommended that you use a devoted service account. This account must also have administrator rights on all client machines.
| 11. | Click Next to continue. The Active Directory and Mail Information panel opens. |
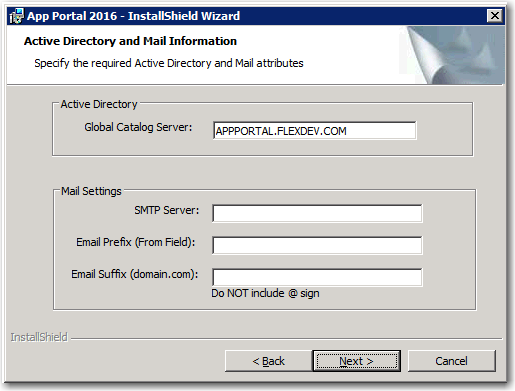
| 12. | Confirm or populate the Global Catalog Server field. |
| 13. | Enter the name of the SMTP Server that will be used for relaying email. |
Note • You may need to configure the SMTP server internally to accept relay from this server’s IP address.
Note • You can also enter the mail settings after installation on the Site Management > Settings > Email subtab of the Admin tab.
| 14. | Enter the Email Prefix (from field) and Email Suffix (domain name). |
| 15. | Click Next to continue. If an existing App Portal database is found, the App Portal Database panel opens. |
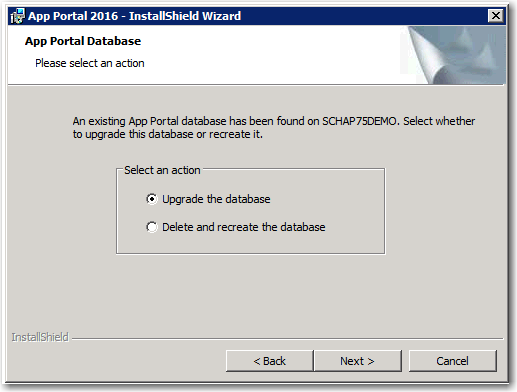
| 16. | Select one of the following options: |
| • | Upgrade the database—Select this option to upgrade the existing database to App Portal 2016. Selecting this option means that existing records in the database will remain. |
| • | Delete and recreate the database—Select this option to delete the existing database and create a new one. All records in the original database will be lost. |
| 17. | Click Next. The Computer Discovery Method and Sample Data Population panel opens. |
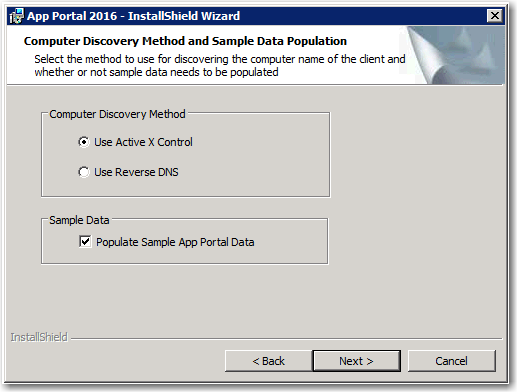
| 18. | Select one of the following options to specify the method to use for discover the active machine visiting the App Portal site: |
Note • You can use SCCM to deploy the Active X control, or just add your App Portal site to the Trusted Zone in Internet Explorer.
| • | Reverse DNS—Uses the reverse DNS zones in Active Directory (if present) to look up the computer name by IP address. |
Note • If you select Reverse DNS, every computer in your DNS will be discovered, not just those in SCCM. It only searches the Active Directory DNS, so if you have other DNS providers, it will not work.
| 19. | If you want to populate the installation with sample catalog data, select the Populate Sample App Portal Data option. |
| 20. | Select Next. The Ready to Install the Program panel opens. |
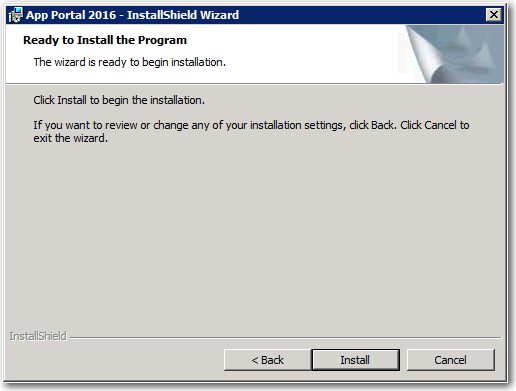
| 21. | Click Install to begin the installation. When installation is complete, the Completed panel opens. |
| 22. | Click Finish to close the installer. |
App Portal / App Broker for ServiceNow 2016 Installation Guide09 August 2016 |
Copyright Information | Flexera Software |