App Portal 2017
A “forest” is a single instance of Active Directory. Forests contain domains (which contain users, computers, devices, resources, etc.). In an enterprise, multiple forests can share Active Directory responsibilities by creating trust relationships between the forests. In this way, each forest can be connected with every other forest to form a collaborative directory service solution.
In previous App Portal releases, App Portal could only communicate with domains within a single root forest, the root forest where App Portal and its deployment system (System Center Configuration Manager and/or Symantec Altiris) were installed. Starting with App Portal 2015, App Portal supports multiple Active Directory forests that have different root forests. This enables users from those forests to have access to App Portal, and enables App Portal to search users/groups from domains in those forests.
Important • The system account credentials entered on the Site Management > Active Directory > Integration view are used to search for users and groups but are not used to add to an Active Directory group. Instead, the App Portal service account credentials, which are specified during installation, are used to add to an Active Directory group.
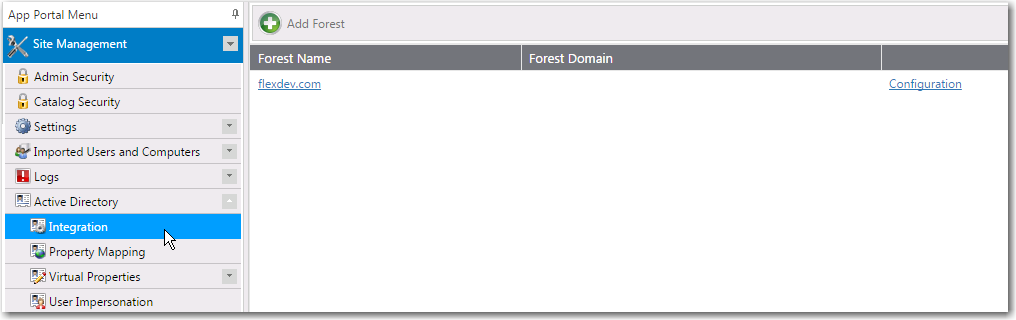
You manage Active Directory forests on the Site Management > Active Directory > Integration view.
Integration View Under Site Management > Active Directory
To enable App Portal to communicate with an additional Active Directory forest, you need to add it by clicking Add Forest.
To add an Active Directory forest:
| 1. | On the Site Management > Active Directory > Integration view, click Add Forest. The Configure Forest view opens. |
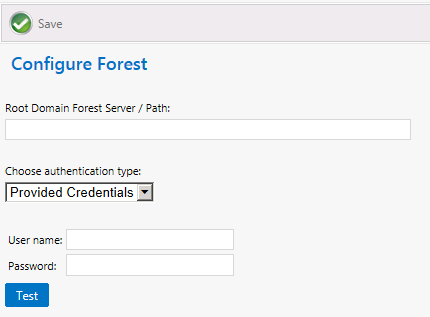
| 2. | In the Root Domain Forest Server / Path field, enter the path to the root domain Active Directory forest path that you are adding. |
| 3. | From the Choose authentication type list, select Provided Credentials or Integrated. |
| 4. | If you chose Provided Credentials from the Choose authentication type list, enter the appropriate User name and Password. |
| 5. | Click Test to test the connection. |
| 6. | Click Save to save the Active Directory forest. It will now be listed on the Active Directory > Integration view. |
| 7. | Click on the name of the forest that you just added. A list of the domains within that forest is listed. |

| 8. | If you do not want one of the listed domains in the Active Directory forest that you just added to have access to App Portal, click Delete to delete that specific domain. |
| 9. | To add a new domain to this Active Directory forest, click Add Domain. To modify one of the existing domains, click on its name to open the Configure Domain view. |
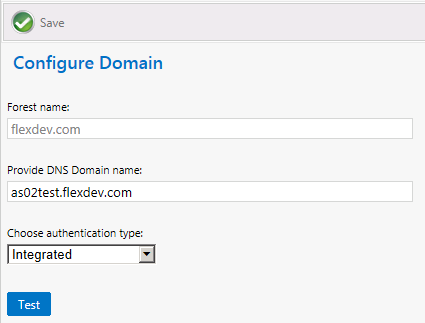
| 10. | Make any desired modifications and then click Save to save your edits. |
App Portal / App Broker 2017 Administration Guide18 July 2017 |
Copyright Information | Flexera Software |