Importing a New Computer
App Portal 2017
To use the Employee App Provision Request wizard to add a new computer to System Center Configuration Manager and deploy an operating system and applications, perform the following steps.
To import a new computer:
|
1.
|
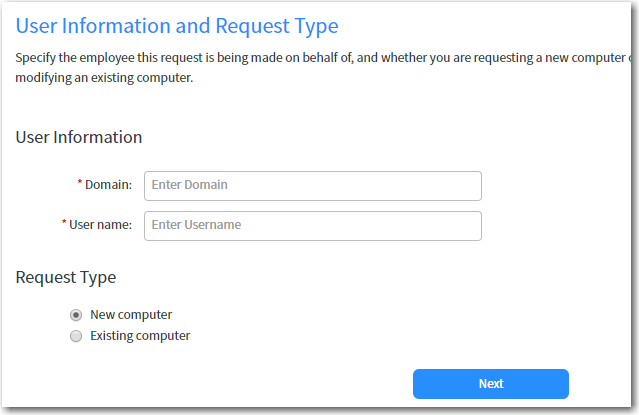
Click on Employee App Provision Request in the ServiceNow menu. The User Information and Request Type panel of the wizard opens. |
|
2.
|
Enter the Domain and User name that this computer will be assigned to. |
|
3.
|
Under Request Type, select New computer. |
|
4.
|
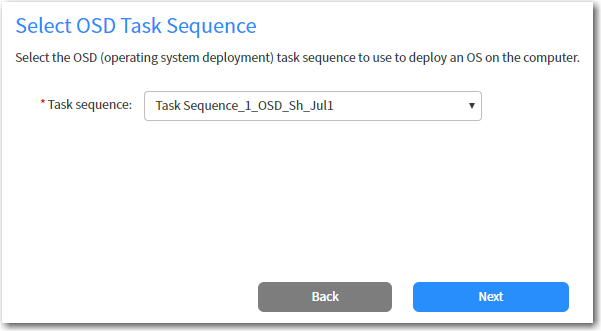
Click Next. The Select OSD Task Sequence panel opens. |
|
5.
|
From the Task sequence list, select the task sequence corresponding to the OS you want to deploy, and then click Next. The Create New Computer panel opens. |

|
6.
|
In the New computer name field, enter name for the new computer which you are adding to System Center Configuration Manager. |
|
7.
|
Enter either the MAC address or SMBIOS GUID of the new computer. Only one value is required. |
|
8.
|
To associate the computer in System Center Configuration Manager with the user you entered on the User Information and Request Type panel, select the Do you want to associate the user: NAME? option. |
|
9.
|
Click Create Computer. The computer is created in System Center Configuration Manager. When creation is complete, the computer’s resource ID is displayed. |
|
10.
|
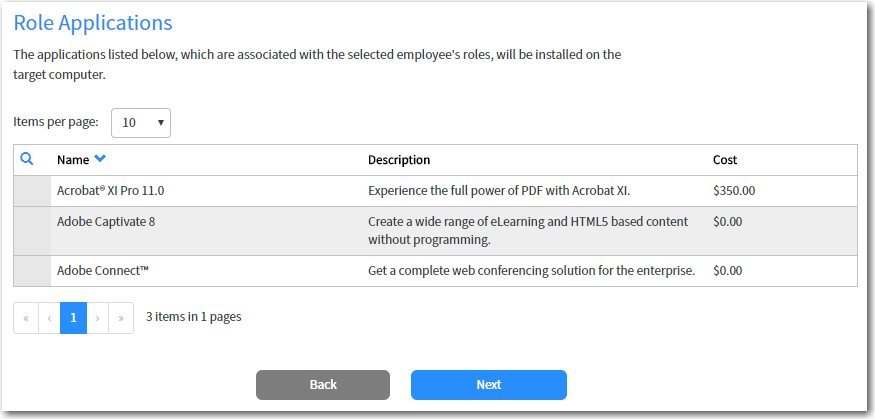
Click Next. The Role Applications panel opens, listing the applications that are associated with the selected employee’s roles, which will be installed on the target computer. |
|
11.
|
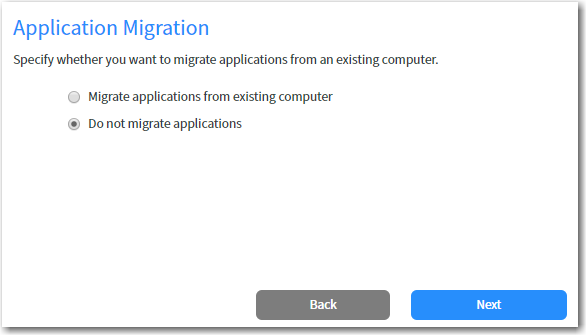
Click Next. The Application Migration panel opens. |
|
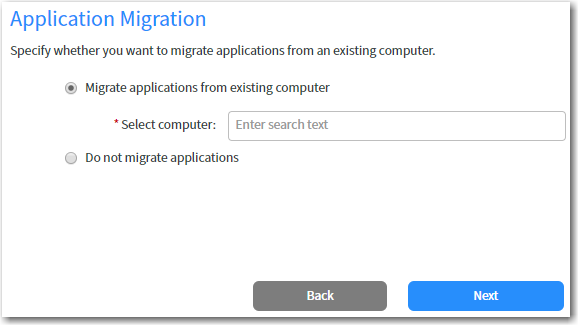
12.
|
If you want to migrate applications from an existing computer to the target computer, select the Migrate applications from existing computer option. If you select this option, the Select computer field is displayed, where you are prompted to search for the existing computer. |
|
13.
|
Search for an existing computer (if desired), and then click Next. The Choose Existing Applications to Migrate panel opens, listing the applications installed on the specified existing computer. |
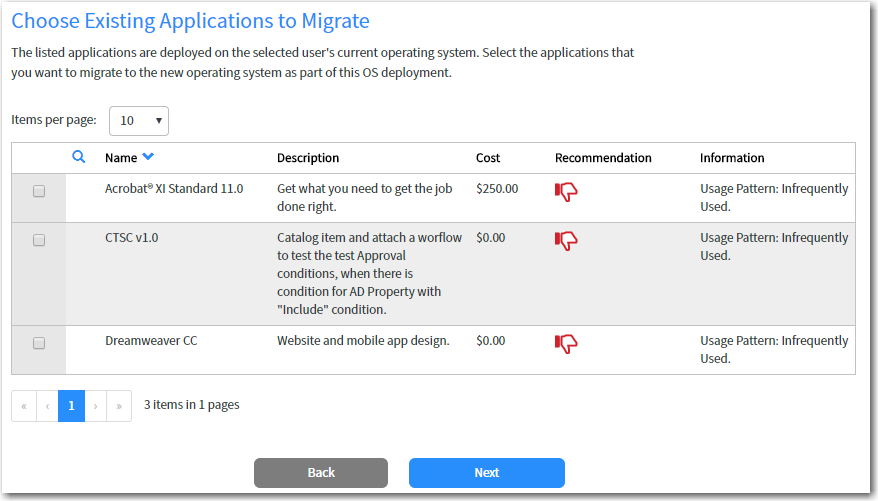
Note • If a catalog item has been designated as a Core application, then it will not be displayed on this panel, even if it is installed on the selected computer.
|
14.
|
Select the applications that you want to migrate and then click Next. The Choose Additional Applications to Install During OS Deployment panel opens. Applications that have already been selected in previous panels are already selected and cannot be unselected. |
|
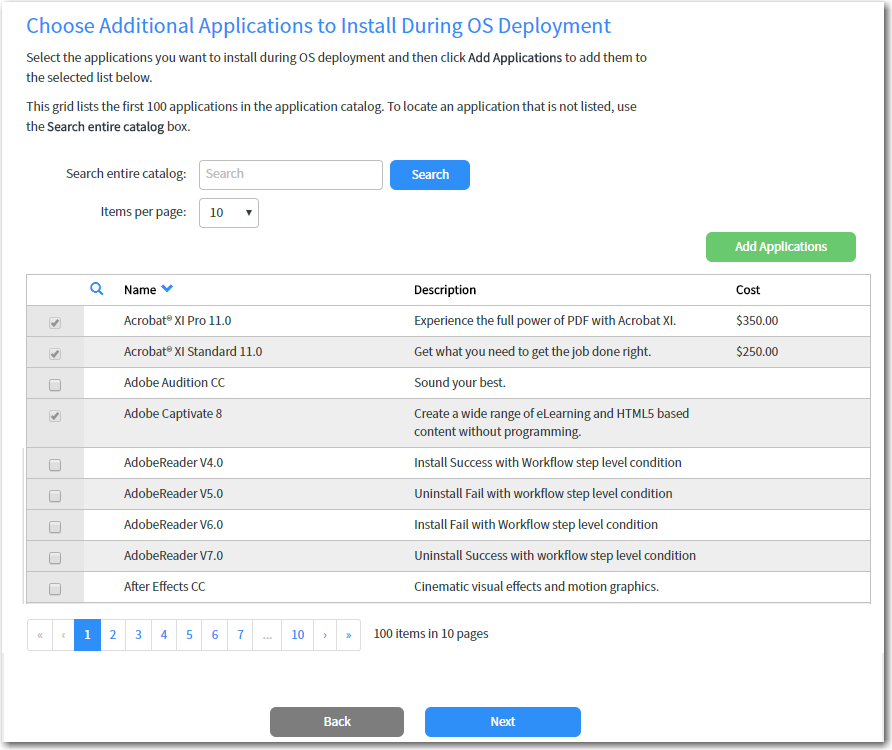
15.
|
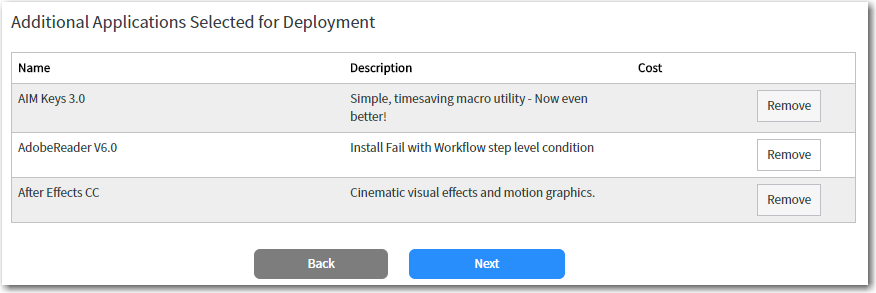
Select the additional applications that you want to migrate and then click Add Applications. The applications are added to the Additional Applications Selected for Deployment table at the bottom of the panel. |
|
16.
|
Click Next. The Summary panel opens. |
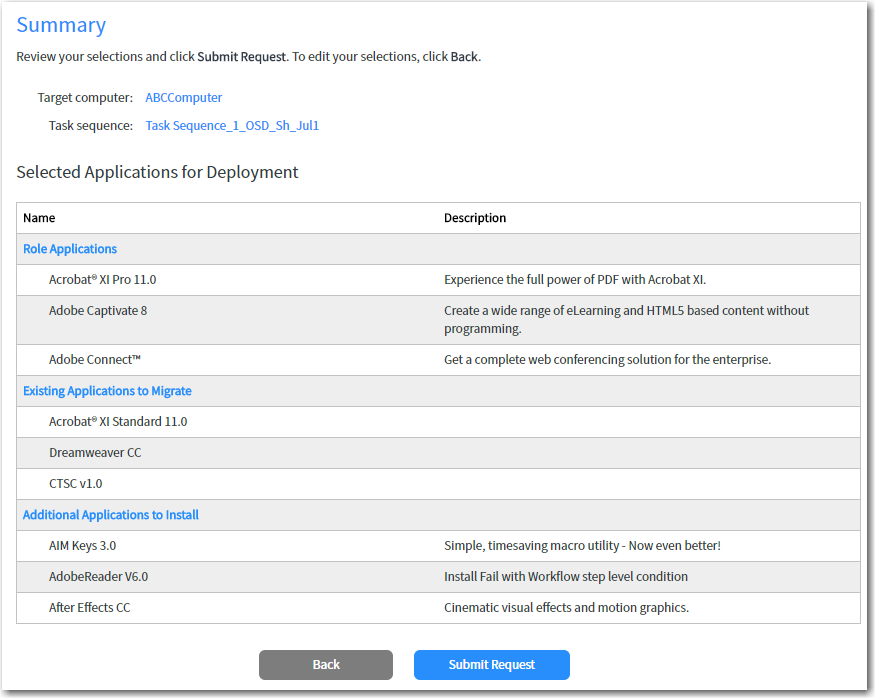
|
17.
|
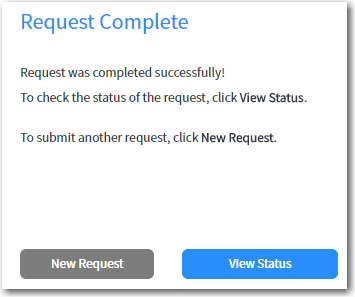
Click Submit Request. The request is submitted and the Request Complete panel opens. |
|
18.
|
Click View Status to open the Request Status page, which lists the status for all submitted requests. For more information, see Viewing Request Status. |
Open topic with navigation