App Portal 2017 R2
Important • The Casper account requires full admin access and Administrator privileges in Casper Account settings. If not provided, then the Casper integration with App Portal results in a 401 unauthorized error.
In order for App Portal to be successfully integrated with Casper, your Casper account needs to have a specific set of minimum permissions. To define permissions on your Casper account, perform the following steps:
To set required permissions on your Casper account:
| 1. | Launch Casper and login using your Casper account. |
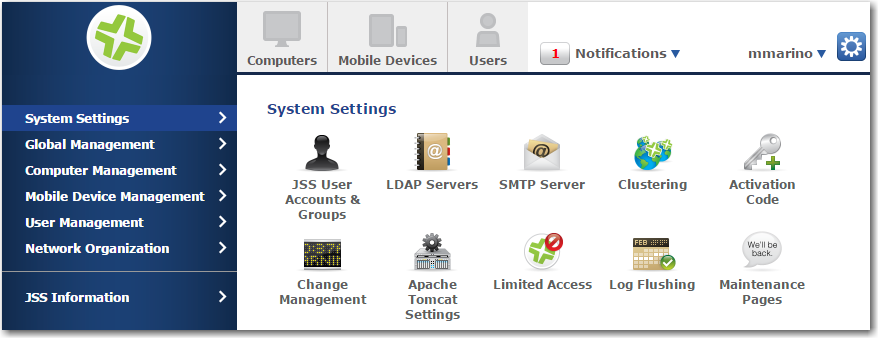
| 2. | On the Casper home page, click the Settings “gear” icon at the top right: |

The System Settings tab opens.
| 3. | Click JSS User Accounts & Groups. The JSS User Accounts & Groups page opens. |
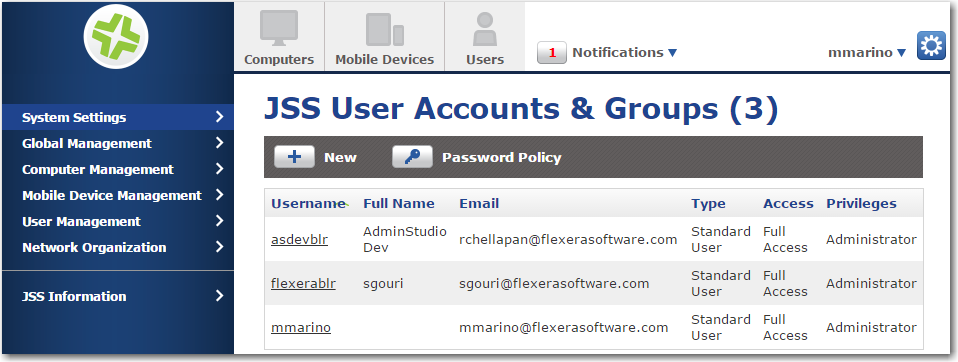
| 4. | Click on the name of your Casper account. The Account tab of the account settings page opens. |

| 5. | Make sure that Privilege Set is set to Administrator and that Access Status is set to Enabled. |
Note • In some versions of Casper, the Access Status field may be named Access Level. If so, set Access Level to Full Access.
Important • If your Casper system account does not have Administrator privileges, then App Portal will be unable to integrate with Casper.
| 6. | Open the Privileges tab. The JSS Objects subtab of the Privileges tab opens. |
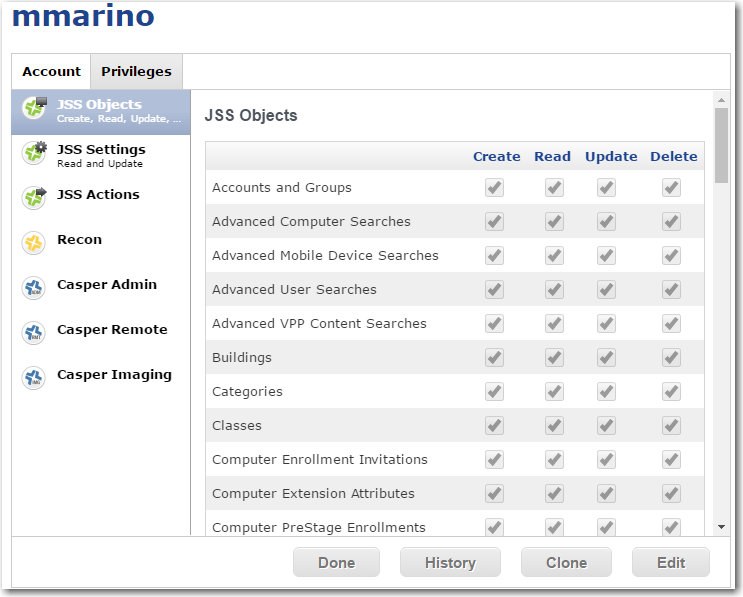
| 7. | On the JSS Objects subtab, click Edit and make sure that the following permissions are selected: |
|
Object |
Permission |
|
Categories |
Create Read Update |
|
Computers |
Read |
|
File Share Distribution Points |
Read |
|
Packages |
Read |
|
Policies |
Create Read Update |
|
Static Computer Group |
Create Read Update |
| 8. | When you are finished selecting permissions, click Save. |
| 9. | Open the JSS Settings subtab. |
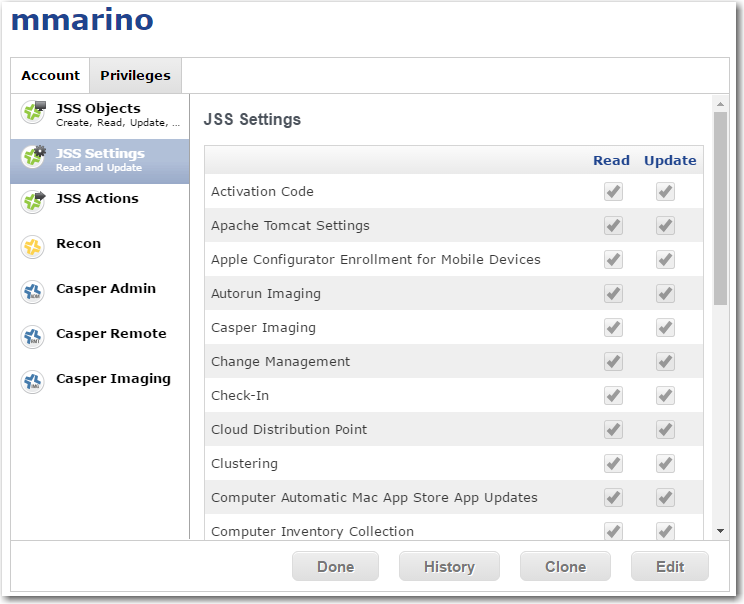
| 10. | Click Edit and make sure that Read is selected for Activation Code. |
| 11. | When you are finished selecting permissions, click Save. |
See Also
Entering Casper Settings at Initial Start Up
API Calls Used by App Portal to Integrate with Casper
Enabling the “Create Uninstall Policy” Option for a Casper Package
App Portal/App Broker 2017 R2 Administration GuideDecember 2017 |
Copyright Information | Flexera |