Managing Workflow Groups
App Portal 7.5
Workflow Groups are used to group users or groups together to identify a group of approvers. Workflow Groups are then linked to catalog items indicating that the catalog item should go through workflow process.
Creating a New Workflow Group
To create a new Workflow Group, perform the following steps:
To create a new Workflow Group:
|
1.
|
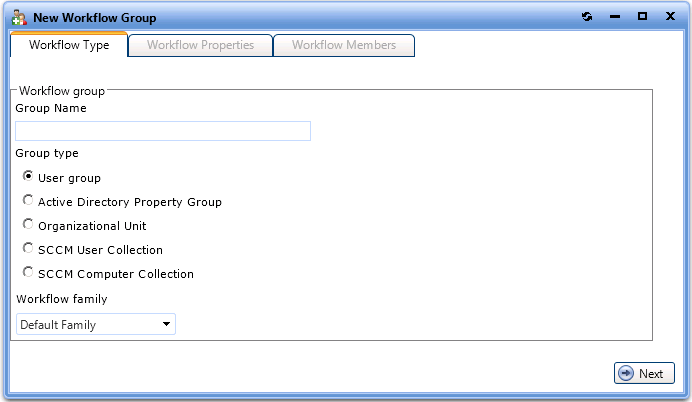
Under Site Management > Workflow Groups, select the New Group node. The Workflow Type tab of the New Workflow Group dialog box opens. |
|
2.
|
Enter a Group Name for the workflow group |
|
•
|
User group—Users organized in a specific order. You apply user groups directly to a workflow step. User groups are used when the approvers do not change. |
|
•
|
Active Directory Property Group—These groups allow you to relate users to AD properties like departments and offices. Create these groups when you want to route requests based on these attributes. E.g. marketing approvers or Chicago office approvers. |
|
•
|
Organizational Unit—These groups allow you to relate users to AD OUs. Create these groups when you want to route requests based on user or computer location within the AD OU hierarchy. |
|
•
|
SCCM User Collection—Enables you to relate users to SCCM collections. Create these groups when you want to route requests based on user collection membership within SCCM.
|
|
•
|
SCCM Computer Collection—Enables you to relate users to SCCM collections. Create these groups when you want to route requests based on computer collection membership within SCCM. |
|
4.
|
From the Workflow family list, select an Approval workflow family. Approval workflow families are created and managed on the Workflow Groups > Families view under Site Management. |
|
5.
|
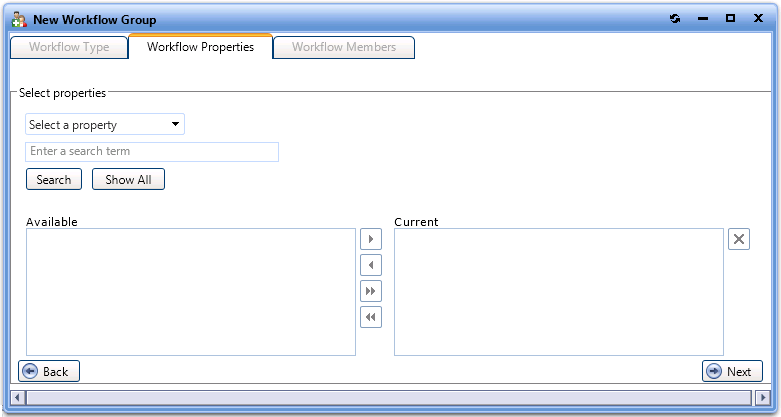
Click Next. If you have selected any Group type other than User group, the Workflow Properties tab opens, where you can group the properties for the group type selected. |
|
6.
|
On the Workflow Properties tab, if required, use the search fields to populate the Available properties list. Then use follow the instructions to move the properties from the Available box to the Current box. |
|
7.
|
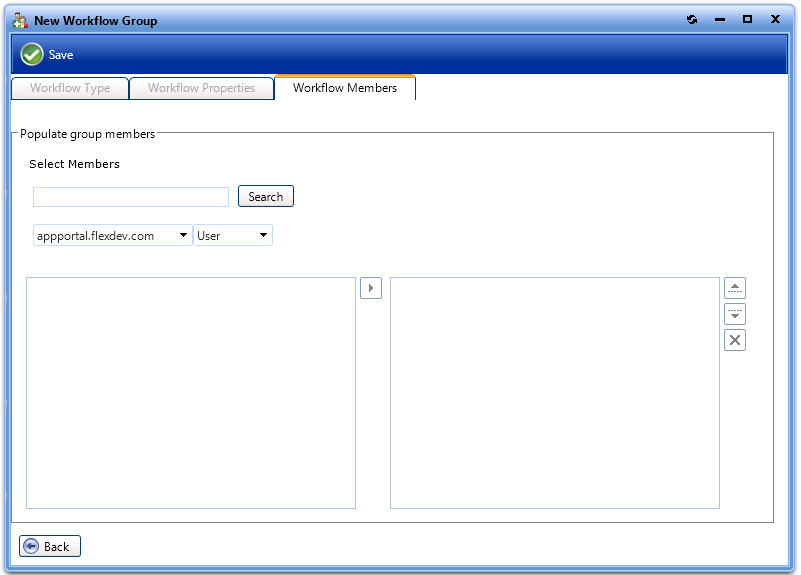
Click Next. The Workflow Members tab opens. |
|
8.
|
On the Workflow Members tab, first search for users or groups to populate the search results box. Then select a user or group and click the arrow to move it to the Selected list. |
|
9.
|
Click Save to create the Workflow Group. |
|
10.
|
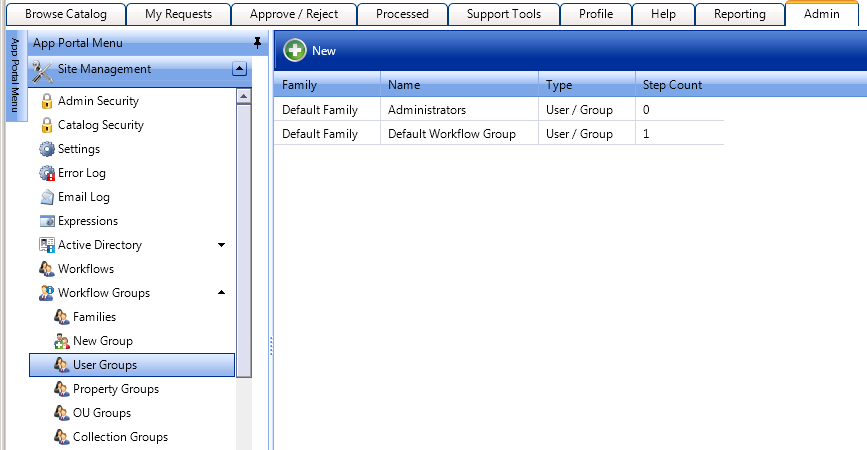
Under Workflow Groups, click the User Groups, Property Groups, OU Groups, or Collection Groups node to view the newly created group. |
Editing a Workflow Group
To edit an existing workflow group, perform the following steps:
To edit a workflow group:
|
1.
|
Under Site Management > Workflow Groups, select the node containing the workflow group that you want to edit: User Groups, Property Groups, OU Groups, or Collection Groups. |
Existing workflow groups are listed in the right pane.
|
2.
|
Double-click on the workflow group that you wish to edit. The Workflow Group Properties dialog box for that workflow group opens. |
Setting the Default Workflow Group
To set the default workflow group, perform the following steps:
To set the default workflow group:
|
1.
|
Under Site Management > Settings, open the General subtab of the Web Site tab. |
|
2.
|
From the Default Workflow Group field, select a workflow group. |
The default workflow group is used in the event approval is specified and no approvers are defined or you are using a dynamic approval process and the approvers could not be determined (such as if you specified manager approval and the user does not have a manager defined).
See Also
Workflows
Workflow Groups
Open topic with navigation