App Portal 7.5.2
To install the App Portal web site perform the following steps:
To install the App Portal web site:
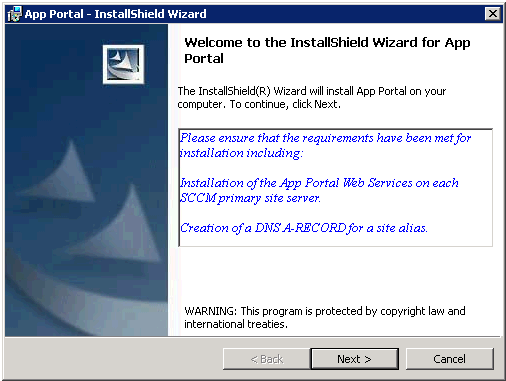
| 1. | To start the App Portal installer, launch AppPortalSetup_7.5.2.0.exe. The Welcome panel opens. |
Note: You need to be an administrator to run this installer. To run as an administrator, you can right-click the AppPortalSetup_7.5.2.0.exe file and select Run as administrator from the context menu.
| 2. | Click Next. The License Agreement panel opens. |
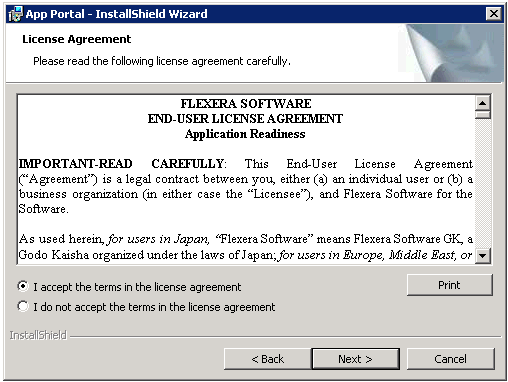
| 3. | Read and accept the license agreement and click Next to continue. The Destination Folder panel opens. |
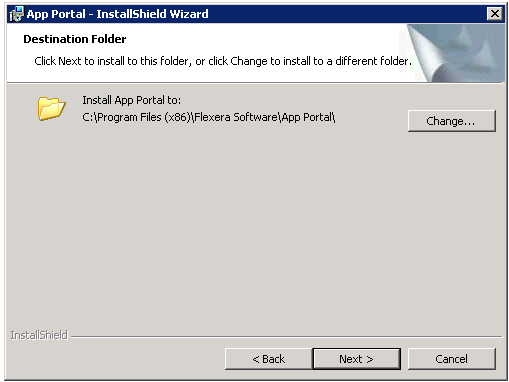
| 4. | If you want to install App Portal in the specified directory, click Next. If you want to select a different directory, click Change, select a new directory, and then click Next. The Site Server panel opens. |

| 5. | Enter the Central Site Server name. The installer will attempt to connect to the server’s registry and locate the Site Code, Database Name and Database Server. |
If you wish to have the installer extend the necessary Active Directory attributes, keep the Automatically Extend AD User Discovery Attributes checkbox selected.
| 6. | Click Next. The Specify Site Alias panel opens. |
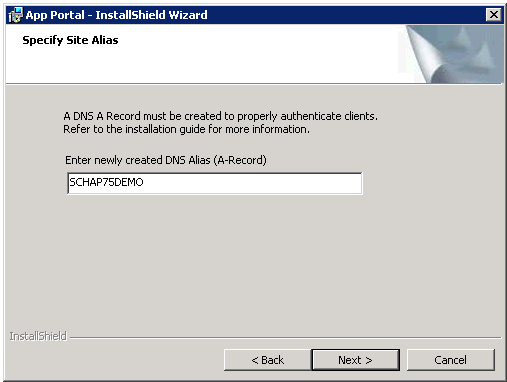
| 7. | If you have already created a DNS Alias for the identity of the site, enter it in this field. If you have not already created an alias, you can accept the default value, which is the machine name. |
Tip: After installation, you can edit the DNS Alias value on the Web Site tab of the Site Management > Settings view.
| 8. | Click Next. The SQL Server Database Server and Database Name panel opens. |
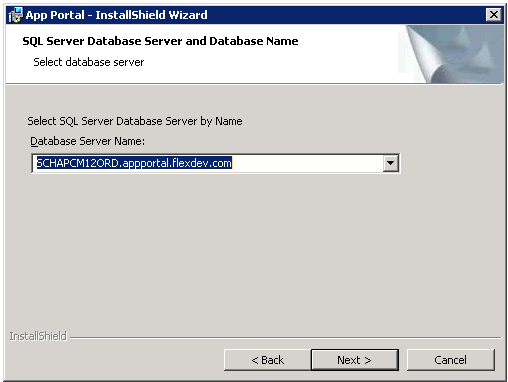
The Database Server Name field defaults to the machine hosting the SCCM SQL Server database. However, you can change it to point to any machine running SQL Server.
Note: In previous releases, it was mandatory to install the App Portal database on the same server as the SCCM database. Starting with App Portal 7.5, this is no longer required.
Important: Only Windows authentication is supported when connecting to the App Portal SQL Server database. Therefore, the account running this installer needs DBO permissions to that SQL Server.
If you are using a specific database instance (other than the default instance), enter the database server and SQL instance in the following format:
<SERVERNAME>\<INSTANCE>
Important: Do not use (Local) as a database name.
| 9. | Click Next to continue. The Logon Information panel opens. |
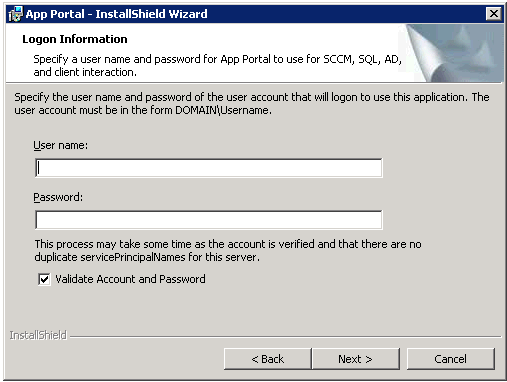
| 10. | A user account is required to interact with Active Directory and SQL. This same account will be used for the App Portal service. The account requires administrative rights on clients to make use of the remote policy execution and to rerun advertisements. |
Enter user account information in Domain\Username format and click Next to continue. The SCCM, Active Directory, and Mail Information panel opens.
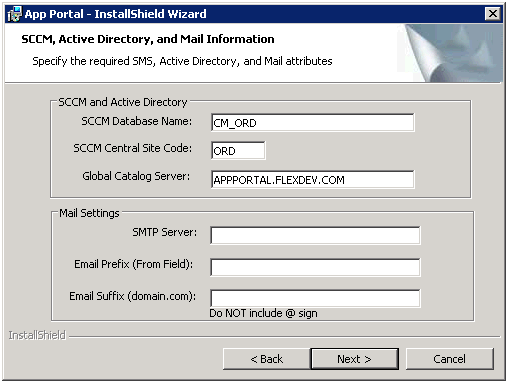
| 11. | Confirm or populate the required fields for SCCM Database Name, SCCM Central Site Code, and Global Catalog Server. |
For installation in an SQL instance, ensure that the SCCM Database Name is correct and does not have the SQL instance specified. The following examples show incorrect and correct entries for SCCM Database Name:
| • | Incorrect: SCCM_PRD\INSTANCE |
| • | Correct: SCCM_PRD |
| 12. | Enter the name of the SMTP Server that will be used for relaying email. |
Note: You may need to configure the SMTP server internally to accept relay from this server’s IP address.
| 13. | Enter the Email Prefix (from field) and Email Suffix (domain name). |
| 14. | Click Next to continue. The Computer Discovery Method and Sample Data Population panel opens. |
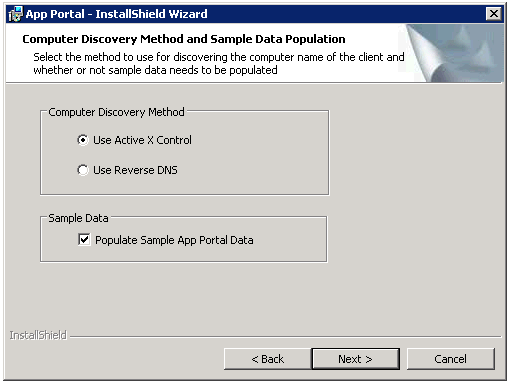
Note: If you were upgrading an existing App Portal database, the SCCM App Portal Database panel opens prior to the Computer Discovery Method panel, prompting you to choose whether to upgrade the database or to delete and recreate the database.
| 15. | Select one of the following options to specify the method to use for discover the active machine visiting the App Portal site: |
| • | Reverse DNS—Uses the reverse DNS zones in Active Directory (if present) to look up the computer name by IP address. |
| 16. | If you want to populate the installation with sample catalog data, select the Populate Sample App Portal Data option. |
| 17. | Select Next. The Ready to Install the Program panel opens. |
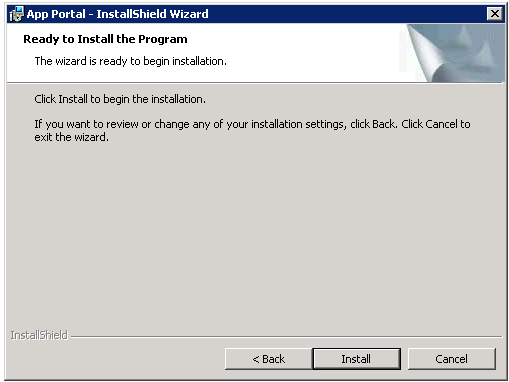
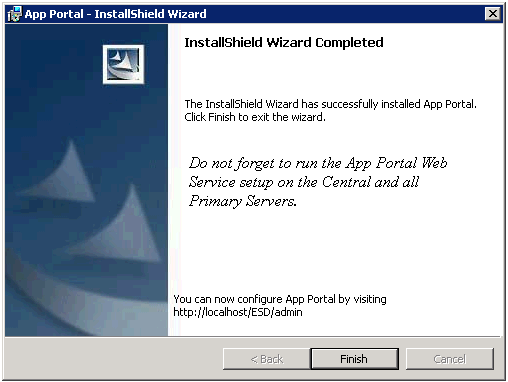
| 18. | Click Install to begin the installation. When installation is complete, the Completed panel opens. |
 .
.
| 19. | Click Finish to close the installer. |
| 20. | Continue with the instructions in Installing App Portal Web Services. |
App Portal 7.5.2 Installation GuideFebruary 22, 2013 |
Copyright Information | Contact Us |