Configure Single Sign-On (SSO)
Note:The following information is unique to the single sign-on vendor Okta (SAML 2.0). Single sign-on procedures from other vendors may vary.
Perform the following steps to configure Single Sign-On (SSO).
To set up Okta (SAML 2.0) to use as a single sign-on (SSO) with Software Vulnerability Manager:
| 1. | Sign in to Okta. |
| 2. | Create an admin account. |
| 3. | Click Create App Integration to create a new Okta SSO app. |

| 4. | Choose SAML 2.0 and then click Next. |

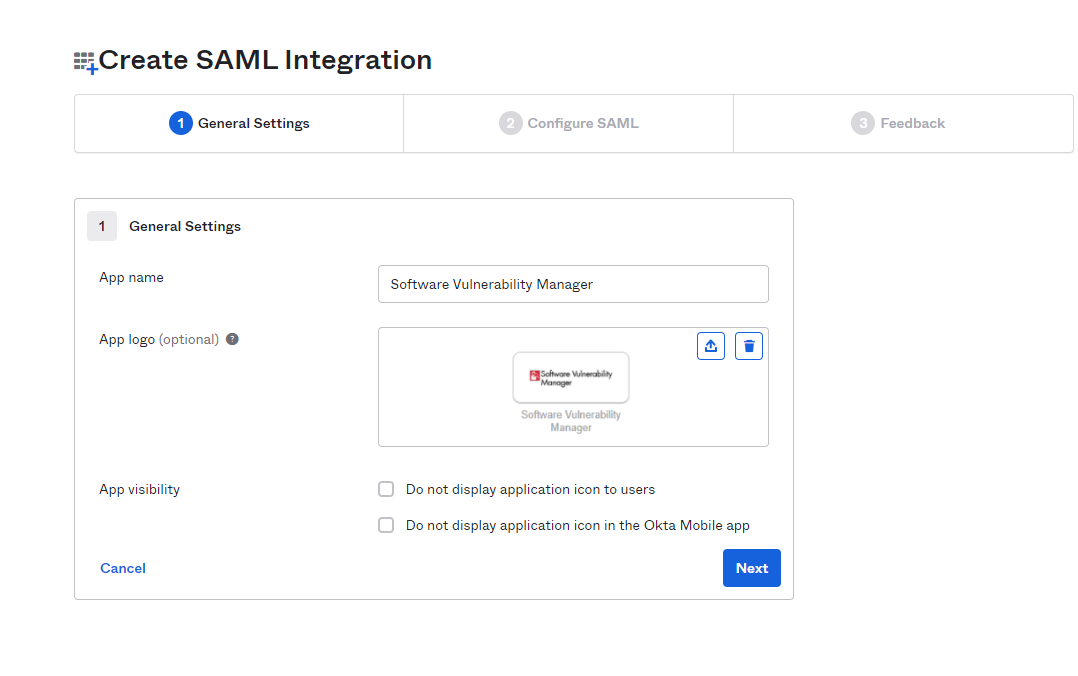
| 5. | Enter the name of application in the App name field (Example: SVM). In the App logo (optional) field, click upload icon and select the application logo. Then click Next. |
Note:Username needs to be in email format.
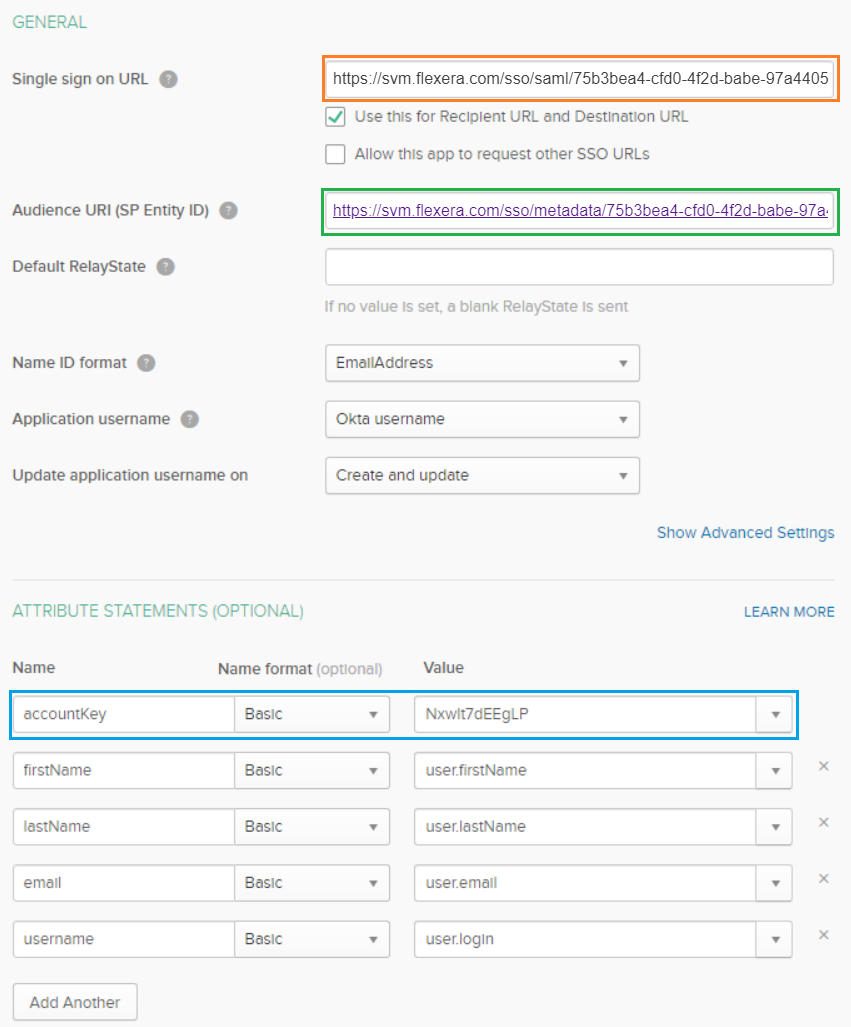
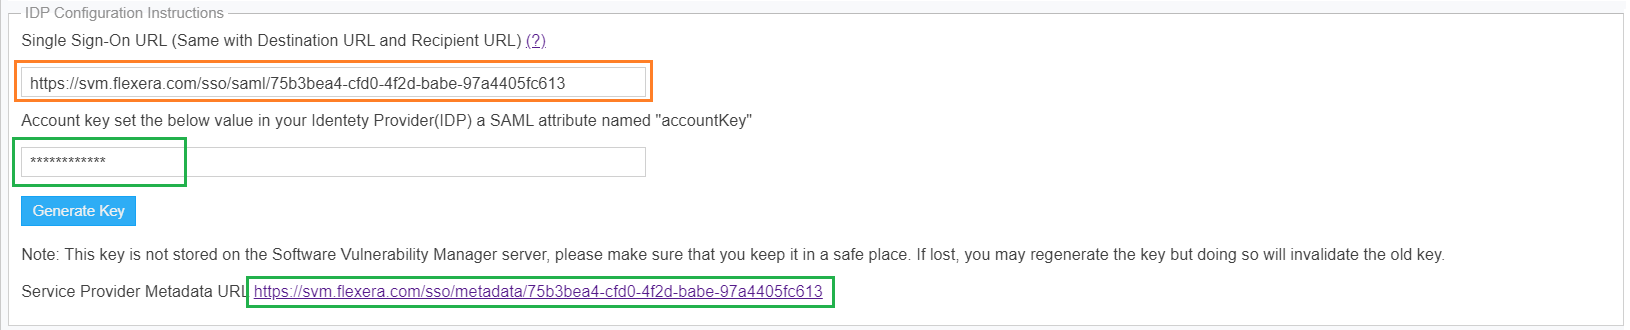
| 6. | Copy the following from the Software Vulnerability Manager Configuration > Settings fields and paste in the Okta SAML Settings > fields: |
| • | Single Sign On URL (Same with Destination URL and Recipient URL) to Single sign on URL. |
| • | Service Provider Metadata URL to Audience URI (SP Entity ID). |
| • | Account Key to accountKey Value. |
Complete the remaining Okta SAML Settings > Attribute Statements (Optional) name and value fields using the field’s drop-down list:
| • | firstName |
| • | lastName |
| • |
| • | username |
| 7. | Click (if not already selected) I’m an Okta customer adding an internal app for the Create SAML Integration - Step 3 Feedback screen. |

| 8. | At the Okta SignOn, select SAML Signing Certificates > Actions drop down > View IdP metadata. |
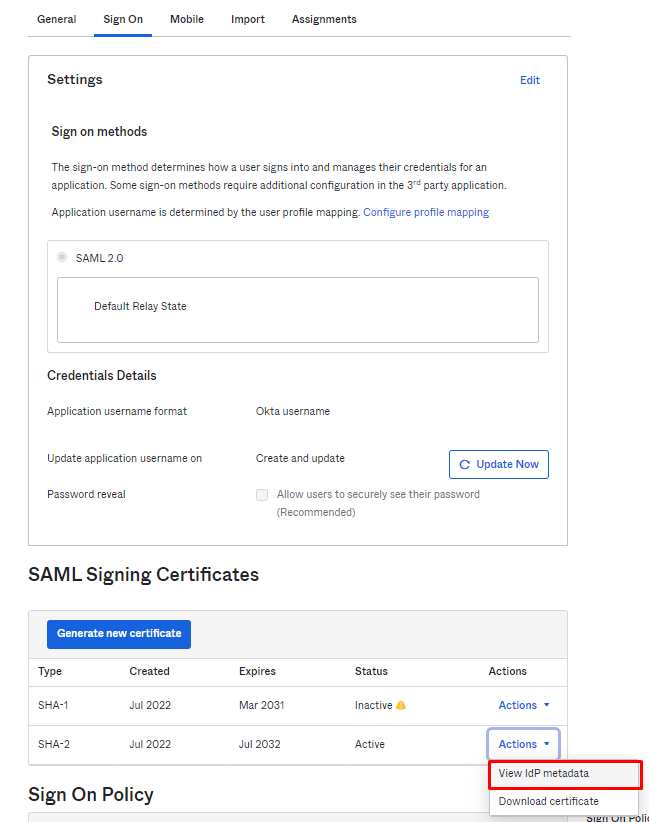
| 9. | Copy the Identity Provider metadata URL from Okta, login into the partition admin, browse Configuration >Settings > Service Provider Configuration, and then check SSO Enabled. Select Provide IdP Metadata URL and paste the copied IdP metadata URL into the text box. |
Note:Single Sign-On settings can be updated only by the partition admin.
Note:For Binaries like Daemon, sc2012 plugin, Client toolkit will be logged in only by the standard login credentials. If disable standard login is selected, then the binaries will be logged in only by the partition administrator.
Note:For a secure connection, the Assertions Signed (or similarly named) setting should be enabled on your IDP.


Copy the Identity Provider metadata context from Okta and save in XML format. When you select Upload IdP Metadata XML file, click Import XML, browse and select the XML file.

| 10. | To create an auto user, select the Automatically create new user check box and selected the template user from the drop down. |
| 11. | If you want to disable standard login options for all of your users (except root), select the Disable standard login (Ensure SSO is working first, to prevent lockout) option. |
Important:Before selecting this option, make sure that SSO is working correctly, to prevent user lockout.
| 12. | Click Save Service Configuration on the Configuration > Settings page. |
| 13. | Add Software Vulnerability Manager users to the Okta SSO account. |
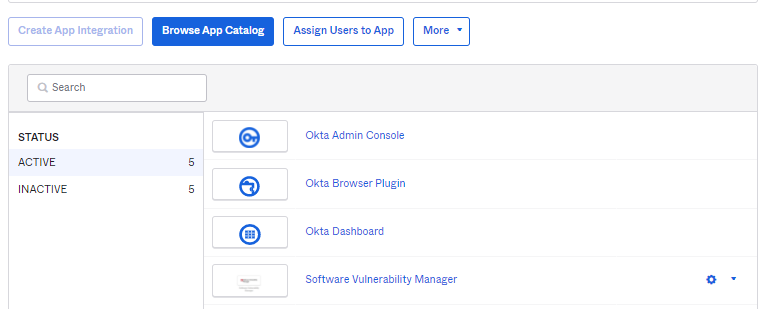
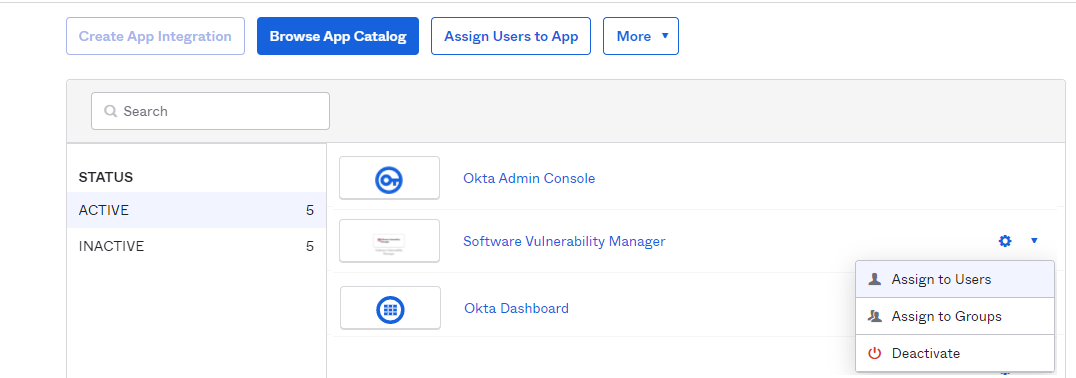
| 14. | To assign Software Vulnerability Manager users to the Okta SSO app, click settings drop down, and choose Assign to Users. You can also assign user by clicking Assign Users to App tab. |
| 15. | Users can login to Okta by entering the valid credentials and then click on Software Vulnerability Manager app to access the application. |
| 16. | Users are then logged into the Software Vulnerability Manager Login page. |
Important:For security purposes, Software Vulnerability Manager has a session timeout that will log you off after 2 hours of inactivity.