Using a CSV File as a Data Source
Data Platform
Note:You must create and customize the CSV, before adding it as a data source for a Purchase Order process. For more information, see Creating a Purchase Order CSV File.
To configure a csv file as a data source:
|
1.
|
Click Create Process, located in the upper section of the Administration Console. The Process Type screen opens. |
|
2.
|
Click the Purchase Order radio button. |
|
3.
|
Click Next. The Purchase Order Source screen opens. |
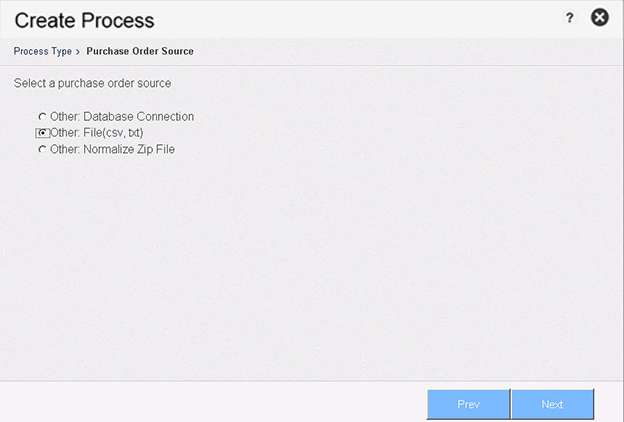
Purchase Order Source
|
4.
|
Click the radio button: Other: File (csv, txt). |
|
5.
|
Click Next. The Purchase Order Data Source screen opens. |
|
6.
|
Complete the steps for one of the following options. |
|
•
|
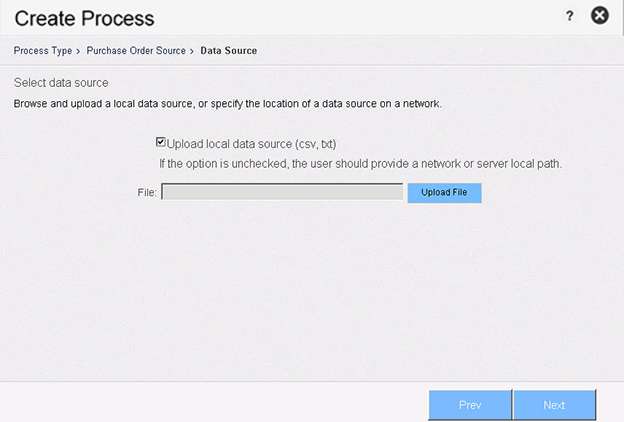
Click the checkbox: Upload local data source. |
|
•
|
Click Upload ZIP and select the file to upload. |
|
•
|
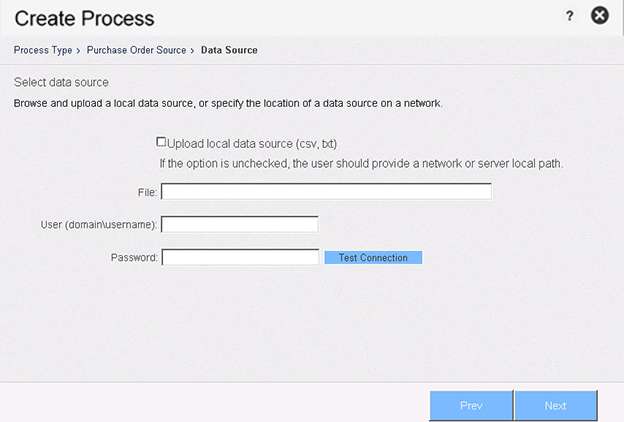
Uncheck the Upload local data source checkbox. |
|
•
|
Enter a local path and authentication for the file located on either a network or Normalize server. |
|
•
|
Click Test Connection to confirm that Data Platform Normalize can connect to the data source. |
Note:You must see the status message “Connected Successfully” to activate the Next button and proceed with the configuration.
|
7.
|
Complete one of the following options: |
|
•
|
To configure Process Settings later: Click Finish to add the process to the Administration Console. |
|
•
|
Purchase Order Data Source—CSV File on Local Server |
Purchase Order Data Source—CSV File on Network Server