Restore Phase
The requirement for the Restore process is that you must start from a new installation. This includes but is not limit to:
| • | No existing Normalize process running. |
| • | No private catalog data created or previously restored. |
| • | No custom reports. |
Note:If you have TPC data on a previous instance of Data Platform or previously restored private data on a previous instance, you cannot restore TPC data from another source again.
If you want to restore the security settings and report ACLs, make sure to use the exact same Authentication mode when running a migration from an earlier version. Use the same Binding user name and Base DN setting if using LDAP AD (if the user is using AD). After restoring the shared/saved reports and reports ACLs, reports may not show up in User Console until you re-run normalize task. When restoring reports ACL, make sure the Migration Tool restore has been performed on the Data Platform first.
For Windows Authentication backup, the restore can only be done on the same server from which the backup was created.
When restoring private catalog, make sure the User Console service is up and running. Also make sure to do the following:
| • | Restore the backup for your private catalog onto the new Data Platform system you have installed and wait for the search index to build. |
| • | Run the Technopedia sync (without the sync, private data won’t be visible in Technopedia reports). |
| • | Rerun Normalize tasks (required if you have private mapping). |
Note:If the catalog is already updated to the latest version at the time of the migration and Technopedia sync does not populate data in Technopedia reports, wait 24 hours and do a sync again in order to see private data in Technopedia reports. A quicker workaround to this known issue is also to use the Normalize command line to force the Analyze ETL as follows: \<Data_Platform_Install_Directory>\Bin\NormalizeCMD.exe -ETLCATALOG.
To begin the Restore Phase of the installation process:
| 1. | Double-click the BDNA Normalize Migration Wizard icon on your desktop. |
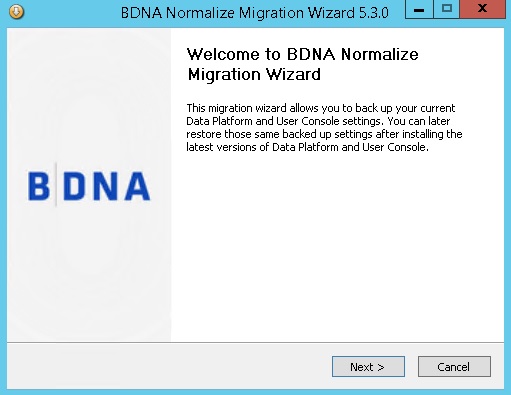
| 2. | Once the welcome screen appears, click Next. |
| 3. | On the BDNA Migration Options screen, select “Restore BDNA settings,” then select the checkboxes for BDNA Data Platform and/or BDNA User Console. Click Next. |
Note:Under the Data Platform and User Console checkboxes, the last version number (i.e. 5.2x, 5.3x, 5.4x, 5.5x) must be showing and the status must register as “Running” in order to proceed.

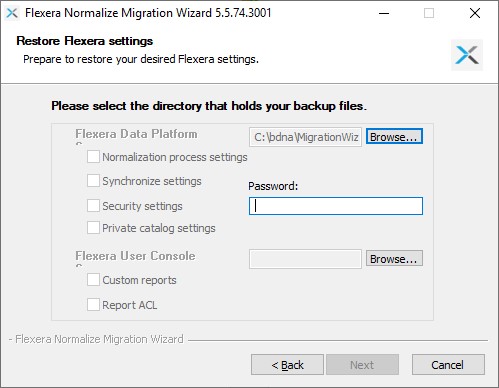
| 4. | On the Restore BDNA settings page, browse for the Backup Output Folder you copied from the Backup process, then select the checkboxes of the setting types you eventually want restored. If the backup has been encrypted, the wizard also asks for the encryption password. Click Next. |
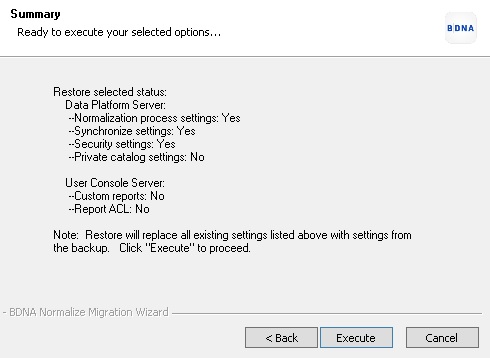
| 5. | On the “Ready Option” page select ‘Execute’ when ready. |
| 6. | Click Finish when done. |
Note:After the migration, Normalize jobs must be rerun in order to produce the latest data.