If you clicked Next after configuring Data Source settings, you can specify History Mode, Metering Rules, and Output Formats for the discovery process—while configuring the process.
Note • If you clicked Finish while configuring the Data Source settings, you will need to go to ‘Managing Sessions’ to edit the process settings.
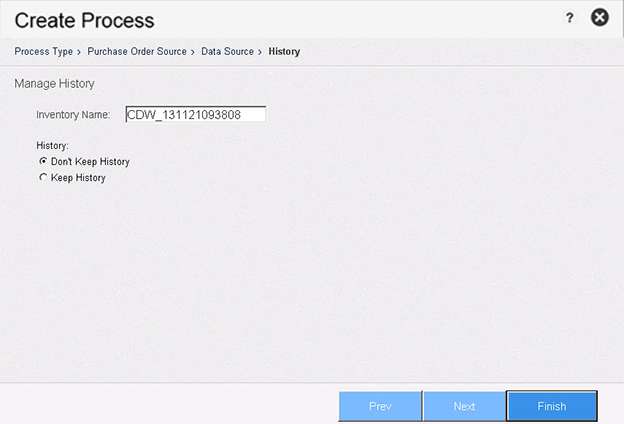
Setting History Mode for a Purchase Order Process
When you are creating a process, use this screen to accept or modify the default inventory name, and set a history mode.
1.
Click Next. The History screen opens.
Manage History
2.
Click one of the following radio buttons.
•
Don’t Keep History
•
Keep History
Caution • Selecting “Keep History” saves all inventory data to Analyze and/or Normalize. Depending on the number of assets, saved inventories can grow very large and severely impact Data Platform application performance, especially reporting and analysis. BDNA advises caution when setting “Keep History” values, and recommends monitoring saved inventory sizes frequently.
3.
Click Next. The Output Format screen opens.
Output Formats
4.
Click one or more of the following checkboxes.
•
BDNA Analyze
•
Export results to CSV files
5.
Click Finish. The Purchase Order process is added to the Administration Console.
Purchase Order Process added to Administration Console
BDNA Data Platform 5.5 Administration Help Library