After the initial installation is complete, the Configuration Wizard launches automatically. You can also launch the wizard at a later time from the Windows Start menu. Alternatively, you can locate the ConfigurationWizard.exe file in the BDNA\BDNA Data Platform\Bin installation folder, and double-click the ConfigurationWizard.exe file to launch the Configuration Wizard.
To configure BDNA Data Platform using the Configuration Wizard:
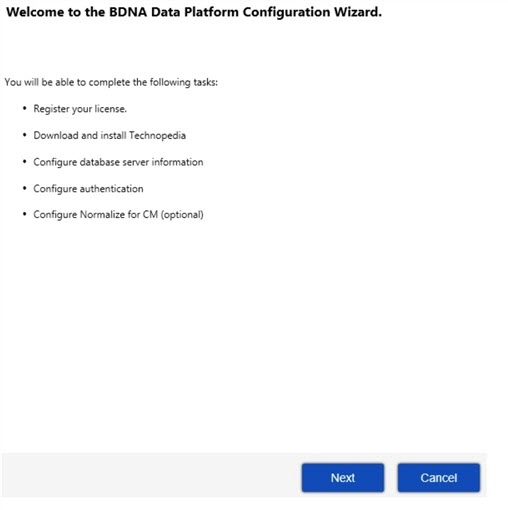
| 1. | The first screen you see is the Welcome screen, which lists the tasks you will complete during the Configuration Wizard. |
Welcome screen
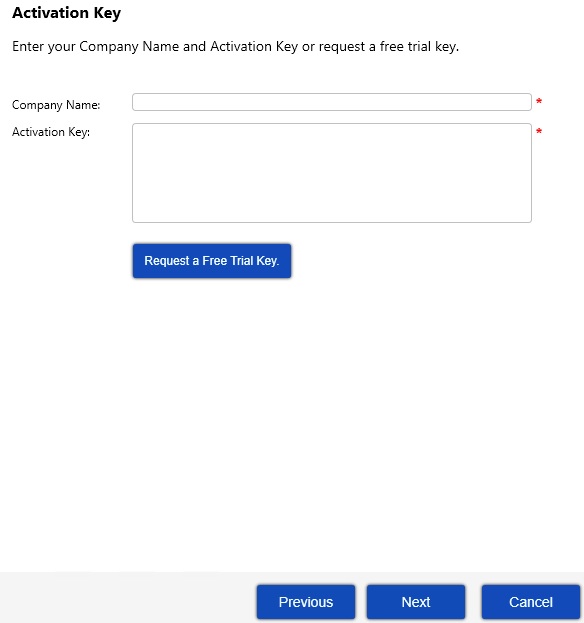
| 2. | The next screen you see is the Activation Key screen. Enter your Company Name and Activation Key, and then click Next to activate your key and proceed with the installation. |
Activation Key dialog
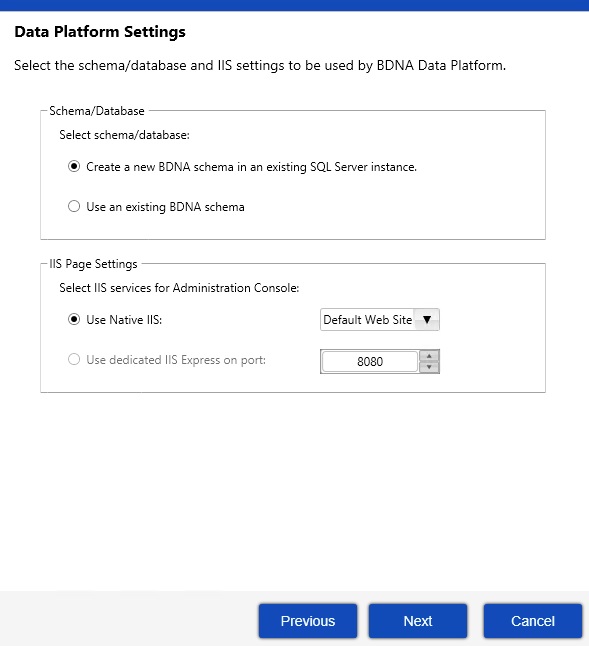
| 3. | Enter your Data Platform settings or simply use the defaults already preselected, and click Next. |
| 4. | The Configuration Wizard opens a dialog in which you select database and IIS options. |
Select one of these database options:
| • | Create a new BDNA schema in an existing SQL Server instance |
| • | Use an existing BDNA schema |
Select one of these IIS options: (available IIS options will vary depending on options selected during setup.)
| • | Use Native IIS: (Select Web Site) |
| • | Use dedicated Normalize IIS Express on port: (Select Port number) |
Note • The “Create a new BDNA Schema...” option requires two users: a DBA user that creates the databases, and a service user that runs the BDNA Data Platform service. We recommend using a “no expiration password” if you are using Windows Authentication.
Data Platform Settings
| 5. | On the Database server information screen, enter your server name and user (domain/password) information. You may select the “Test Connetion” option if you wish to test that your settings work before commiting them. When ready, click Next. |
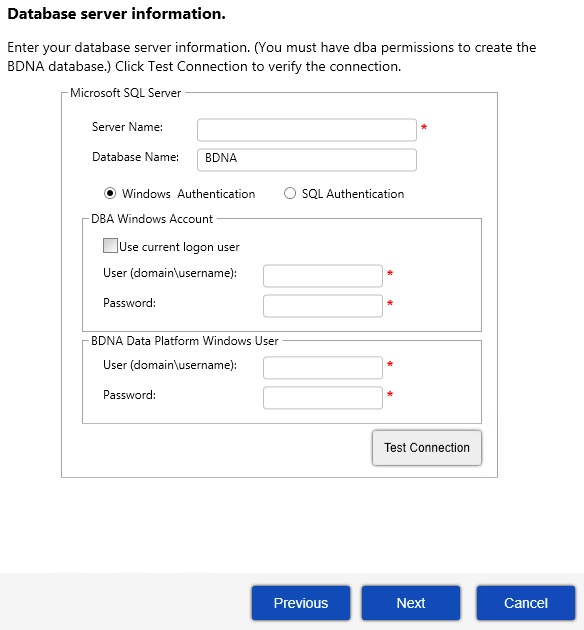
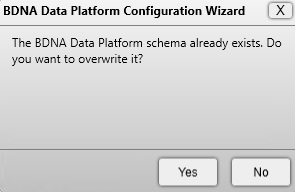
| 6. | You may be prompted to overwrite an existing schema if one already exists. Click ‘Yes’ to proceed. |
BDNA Schema
Note • If a DBA user cannot use the standard setup wizard, select “Use an Existing Schema” in order to install Normalize. Then continue to install Normalize as per usual.
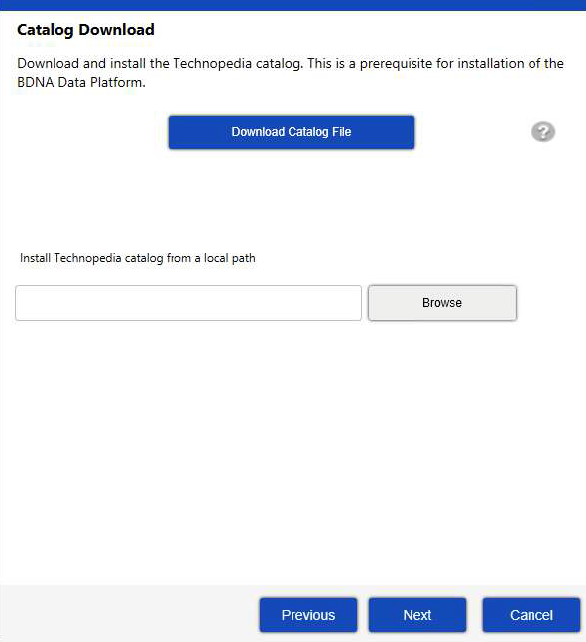
| 7. | If the Catalog has not been downloaded and installed, the next screen prompts you to download and install the catalog. Click Download Catalog File to download a new catalog file, or click Browse to locate a catalog file that has already been downloaded. |
If you are using a system that does not have Internet access, you can download the catalog on a system that has Internet access, then copy the downloaded catalog to the Data Platform installation server. Click the question mark on the Catalog Download dialog to obtain the URL for locating and downloading the catalog.
If you choose to download the catalog file using Internet Explorer, you may see the error message, “Your current security settings do not allow this file to be downloaded.” To enable the download, use the following procedure to change your security settings:
| a. | Launch Internet Explorer. |
| b. | Select Tools -> Internet Options from the menu bar. |
| c. | Go to the Security tab. |
| d. | Select Trusted sites under “Select a zone to view or change security settings.” |
| e. | Click the Sites button. |
| f. | Under “Add this website to the zone,” enter “http://tus50.bdna.com.” Click Close. |
| g. | Click OK to accept the changes. |
| h. | Download the partial catalog from Internet Explorer. |
| 8. | Click Next in the Catalog Download dialog. |
|
Field |
Definition |
|||||||||||||||
|
Database Name |
Name assigned to the database (default BDNA). |
|||||||||||||||
|
Windows Authentication (Windows Authentication is only available with SQL Server.) |
Method of authenticating to the database server. If you select this option, specify the following. DBA Windows Account (required only for a new database). This is the user who can create the BDNA database schema.
BDNA Data Platform Windows User. This user can run Normalize processes but does not need the ability to create a new database schema.
|
|||||||||||||||
|
SQL Authentication |
Method of authenticating to the database server. If you select this option, specify the following: SQL Server DBA User (required only for a new database). This is the user who can create the BDNA database schema.
BDNA Data Platform User. This user can run BDNA Data Platform processes but does not need the ability to create a new database schema.
|
|||||||||||||||
|
Oracle Authentication |
Method of authenticating to the database server. If you select this option, specify the following. Oracle DBA User (required only for a new database). This is the user who can create the BDNA database schema.
BDNA Data Platform Database User. This user can run BDNA Data Platform processes but does not need the ability to create a new database schema.
|
|
Field |
Definition |
||||||||||||
|
Windows Authentication (Windows Authentication is only available with SQL Server.) |
Method of authenticating to the database server. If you select this option, specify the following. BDNA Data Platform Windows User. This user can run BDNA Data Platform processes but does not need the ability to create a new database schema.
|
||||||||||||
|
SQL Server Authentication |
Method of authenticating to the database server. If you select this option, specify the following: BDNA Data Platform Database User. This user can run BDNA Data Platform processes but does not need the ability to create a new database schema.
|
||||||||||||
|
Oracle Authentication |
Method of authenticating to the database server. If you select this option, specify the following. Oracle DBA User (required only for a new database). This is the user who can create the BDNA database schema.
BDNA Data Platform Database User. This user can run BDNA Data Platform processes but does not need the ability to create a new database schema.
|
||||||||||||
|
Generate Scripts |
Generates scripts that can be used by a DBA to create the database schema, users, and in the case of Oracle, tablespaces. To enable the Generate Script button, you must enter connection information for the server on which the database is located, and the password you use for BDNA Data Platform authentication. Clicking Generate Scripts opens a Notepad file that contains a script which can be used by a DBA to create the database schema, users, and tablespaces. Generate Scripts creates only the db schema, users, and, for Oracle, the tablespace. The remainder of the objects (table, proc stock, etc.) are created by the BDNA Data Platform installer Note • The password you enter in the Use existing database dialog is used for creating the database. |
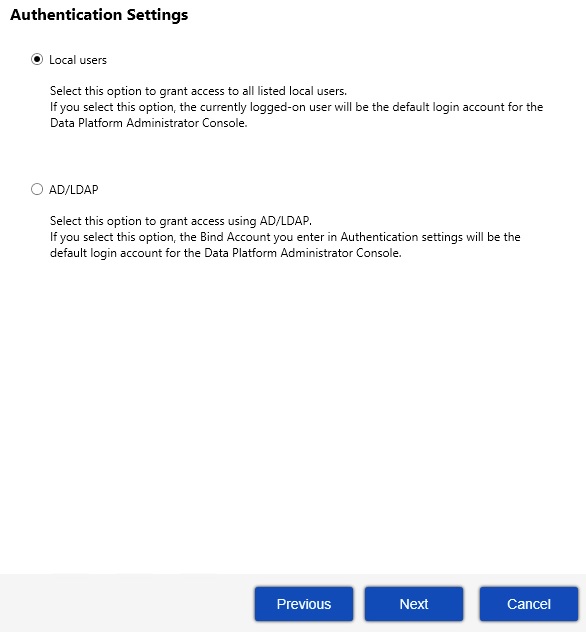
| 9. | The next screen that opens is the Authentication Settings dialog. You can select Local users or AD/LDAP. If you select Local user, the currently logged-on user will be the default login account for the Data Platform Administration Guide. If you select AD/LDAP, the Authentication Settings dialog opens when you click Next. The Bind Account you enter in Authentication Settings will be the default login account for the Data Platform Administration Console. If you select Local users, please proceed to step 11. |
Caution • If you plan to install the BDNA User Console with the BDNA Data Platform, there is a known limitation regarding the User Console Local users authentication mechanism. Although Local users authentication mode supports mapping of users to BDNA roles, it does not support mapping of groups to BDNA roles. To map groups to BDNA roles, you must select AD/LDAP authentication mode instead.
Authentication Settings
If you selected AD/LDAP, the next screen that opens is the Authentication Settings dialog.
A detailed explanation of the settings required in the Authentication Settings dialog follows:
Active Directory drop-down:
Select Active Directory or LDAP
Bind Account panel:
Username and Password —Enter Username and Password for the user that has read access to the AD/LDAP tree and directories specified containing users and groups.
Directory Connection panel:
Provider URL—Server name and port in the format abc.domain.com:389.
SSL—Select if using SSL to encrypt communication between BDNA application servers.
Certificate—If using SSL, click to import a valid certificate so BDNA application servers can communicate via secure LDAP to LDAP/AD server.
Base DN—Used in conjunction with the Bind Account as the binding UserDN. It is also used to populate the Search Base (shown below).
User Search panel:
Search Base—Base directory within the AD/LDAP tree that contains all users for the BDNA Application. If users are located across several branches, this must be as inclusive as possible (e.g., the base DN).
User Attribute—This is the attribute name your LDAP/AD implementation uses for the user id and what will be passed for authentication (e.g., this is the attribute name for the field that users will use to log in with correct?)
Search Filter—Specify which users result from a search. If the LDAP directory is extensive, enter the specific group or groups that the necessary users belong to. (Wild card searching is not available.)
Authorities Search:
Search Base—Base directory within the AD/LDAP tree that contains all of the groups for the BDNA Application. If groups are located across several branches, this must be as inclusive as possible (e.g., the base DN).
Group Attribute—Attribute in LDAP that has group name.
Search Filter—Specify which groups result from a search and assign roles to the groups. (Wild card searching is not available.)
Populator:
Search Base—Base directory within the AD/LDAP tree that contains all of the groups for use in role assignments within the BDNA application.
Search Filter—Searches for the attribute name used in LDAP for group members.
Test User—Click to test if connection information is valid.
Convert to Upper Case—Indicates whether or not retrieved role names are converted to uppercase. Useful when group Search and User Search are on different systems.
Subtree—Indicates whether or not the search includes the current object and all children. If not selected, the search includes the current object only.
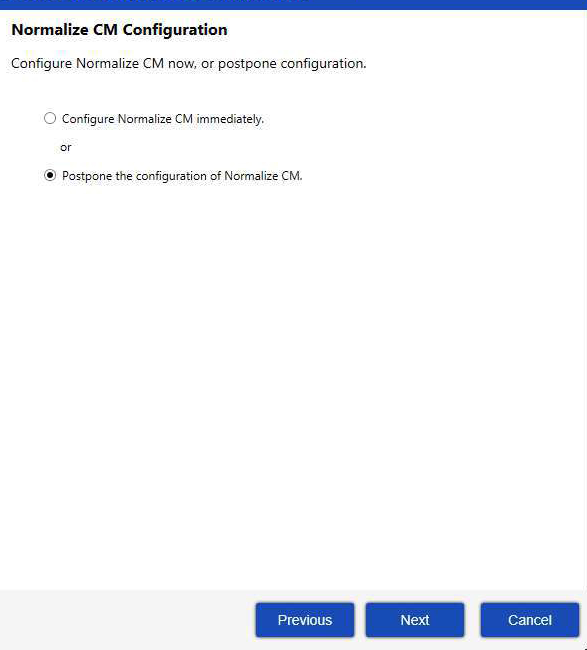
| 10. | If your licensing key includes Normalize CM, the next screen prompts you to configure Normalize CM now or later. If you decide to postpone installation of Normalize CM, or your licensing key does not provide the optional Normalize CM feature, continue with {Z_Hyperlink}step ;11{Default ¹ Font}. If you decide to install it now, proceed to {Default ¹ Font}“{Z_Hyperlink}{Default ¹ Font}.” |
Note • Normalize CM is compatible with SQL Server only.
Configure Normalize CM (Now or Later)
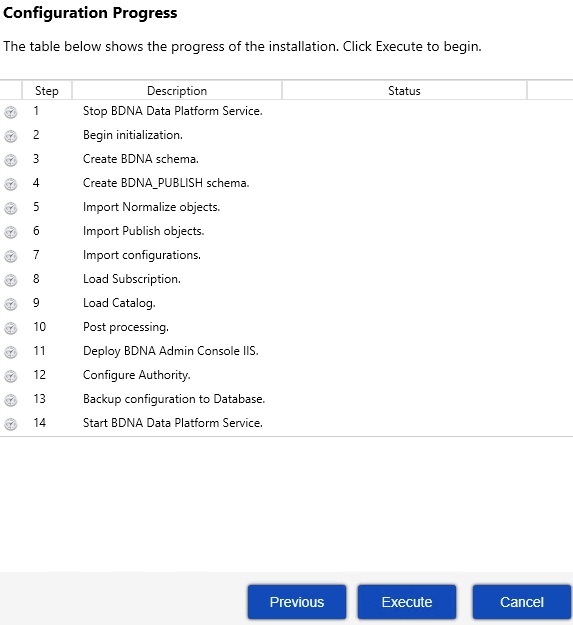
| 11. | Click Next to proceed with the installation. In the screen that opens, click Execute. The installation begins and the screen shows the progress. |
Configuration Progress
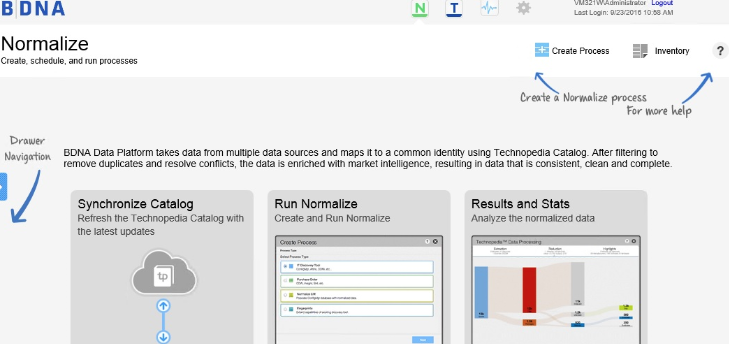
| 12. | When the installation is complete, a confirmation message appears. Click Close to close the message and open the BDNA Data Platform Administration Console in a browser. The following image shows the BDNA Data Platform console. |
Installation finished
Note • The BDNA Data Platform Administration Console requires Windows authentication for login. By default, it will only open for the user who installed the BDNA Data Platform using their Windows username and password. See the BDNA Data Platform Administrator Guide for more information about granting console access to a new user.
Administration Console
BDNA Data Platform 5.5 Installation Help LibraryJune 2021 |
Copyright Information | Flexera |