Creating a New Adapter
IT Asset Management
(Cloud)
Once completed and published to IT Asset Management, each adapter may be used to import from multiple databases that have the same structure. In other words, a number of similar connections (to the databases) may reuse the same adapter.
Note: There is a separate process for editing an existing adapter.
To create a new adapter:
-
Click the New icon in the toolbar.
The Create New Adapter dialog opens.
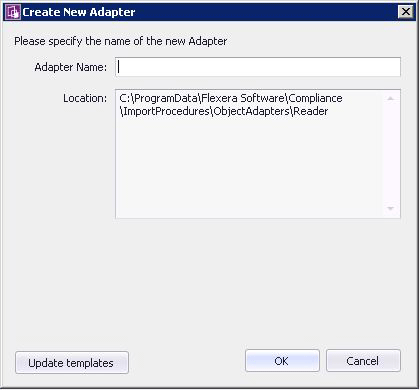 Tip: If the Inventory Adapter Studio cannot locate downloaded templates, it displays a warning message in this dialog. You can download the latest templates using the Update templates button (if necessary, first re-establishing your link to the application server in the inventory beacon interface).
Tip: The templates in the new adapter depend on the context in
which you are working. For example, if you created this adapter on an inventory
beacon, only Source to Object steps and
Execute on Source steps are available.
After you create a new adapter, you must create a new database connection that matches the type of the adapter.
IT Asset Management (Cloud)
Current