Running the Flexera Service Gateway 2 Installer
Flexera Service Gateway 2
To install Flexera Service Gateway 2, perform the following steps.
Note:By default, Flexera Service Gateway 2 is installed on the C drive. To install it to an alternate drive, you need to launch the installer using a command line, as described in Step 3 below.
Note:The default user name and password to connect to the Flexera Service Gateway 2 server are admin/Flexera!
For more information, see Frequently Asked Questions.
To install Flexera Service Gateway 2:
| 1. | Make sure that your server meets the requirements listed in System Requirements. |
| 2. | Download the Flexera Service Gateway 2 installer from the Flexera Software Product & License Center. |
| 3. | Launch the installer in one of the following ways: |
| • | To install Flexera Service Gateway 2 to the default directory, which is your Program Files (x86) directory, double-click the FlexeraServiceGateway2.exe file. |
| • | To install Flexera Service Gateway 2 to an alternate directory or drive, use the following command line syntax to launch the installer: |
FlexeraServiceGateway2.exe /V"INSTALLDIR=E:\MYDIRECTORY"
where E:\MYDIRECTORY is the desired installation location.
The Welcome panel of the Flexera Service Gateway 2 installer opens.
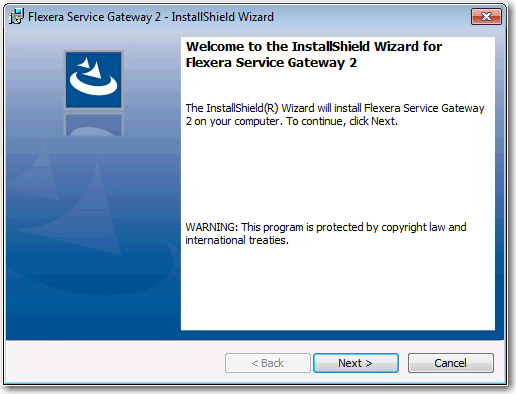
| 4. | Click Next. The License Agreement panel opens. |

| 5. | Accept the license agreement and click Next. The Destination Folder panel opens. |
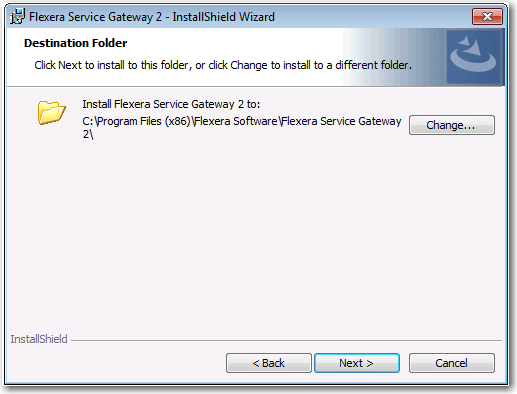
| 6. | If you want to install Flexera Service Gateway 2 in the specified directory, click Next. If you want to select a different directory, click Change, select a new directory, and then click Next. The Ready to Install the Program panel opens. |
| 7. | The Ready to Install the Program panel opens. |

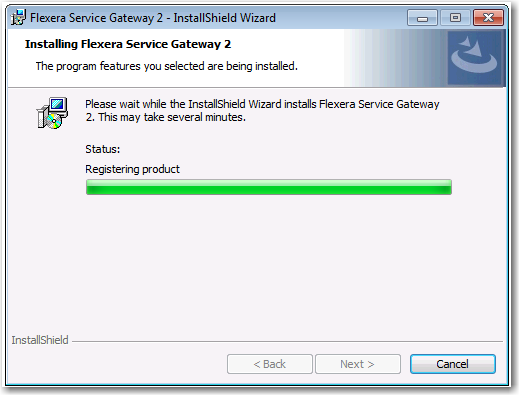
| 8. | Click Install. The Installing Flexera Service Gateway 2 panel opens. |
When installation is complete, the InstallShield Wizard Completed panel opens.
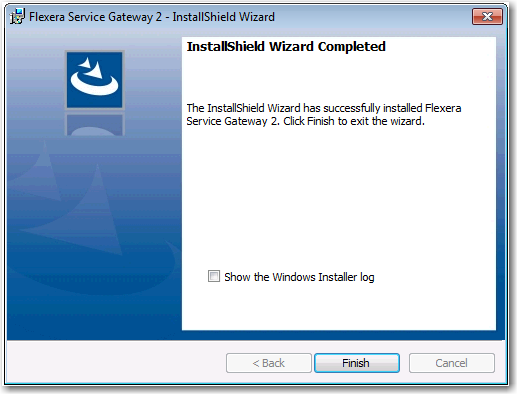
| 9. | Click Finish. |
| 10. | Proceed with the steps in Configuring and Using Flexera Service Gateway 2. |