 .
.Import a new Watch List
| 1. | Open the Vulnerability Manager > Watch Lists & Advisories > Watch Lists page. |
| 2. | Click . |
| 3. | Choose Create Watch List and Submit. |

The Create Watch List (Step 1 of 4) dialog box opens.
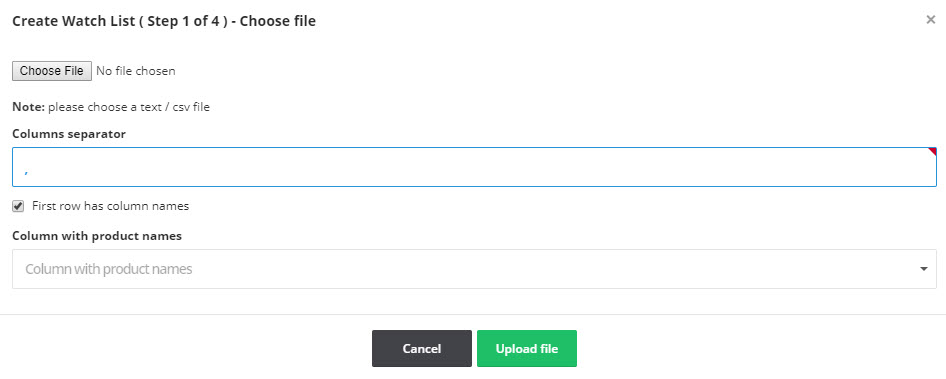
| 4. | Define the Columns separator (“,” is the default) for the file you are importing. |
| 5. | Select First row has column names, if applicable. |
| 6. | Click Upload file. The Create Watch List (Step 2 of 4) dialog box opens. |
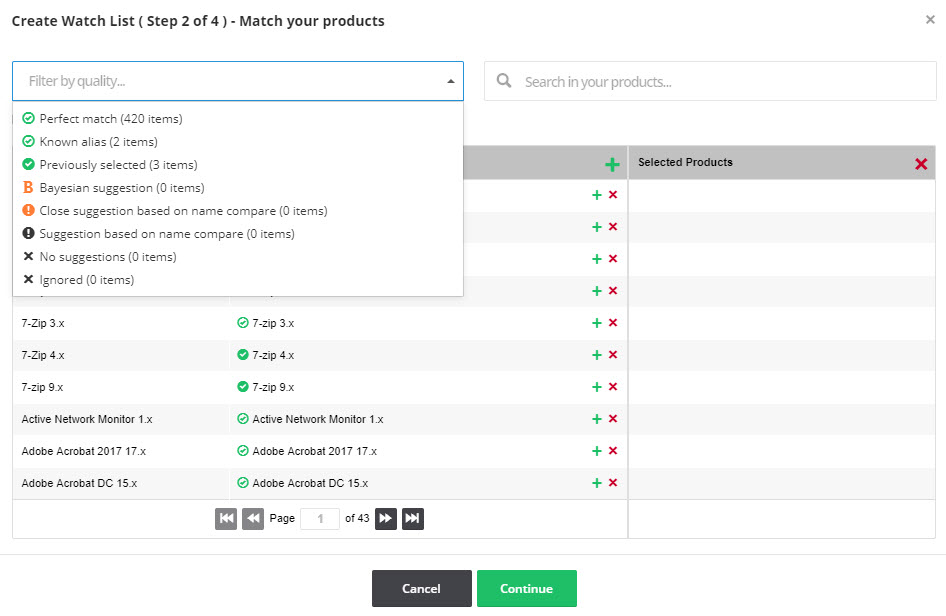
| 7. | Select the Filter by quality field to match your Watch List against the criteria you select from the drop-down list or use the Search in your products field to find a specific product. |
| 8. | Click  in the Database suggestions column heading to add the current page or click in the Database suggestions column heading to add the current page or click  next to the individual items to add them to the Selected items list. next to the individual items to add them to the Selected items list. |
| 9. | Click  in the Selected items column heading to remove the current page or DELETE X next to an individual item to remove it from the list. in the Selected items column heading to remove the current page or DELETE X next to an individual item to remove it from the list. |
| 10. | When you have finished making your selections, click Continue. The Create Watch List (Step 3 of 4) dialog box opens. |
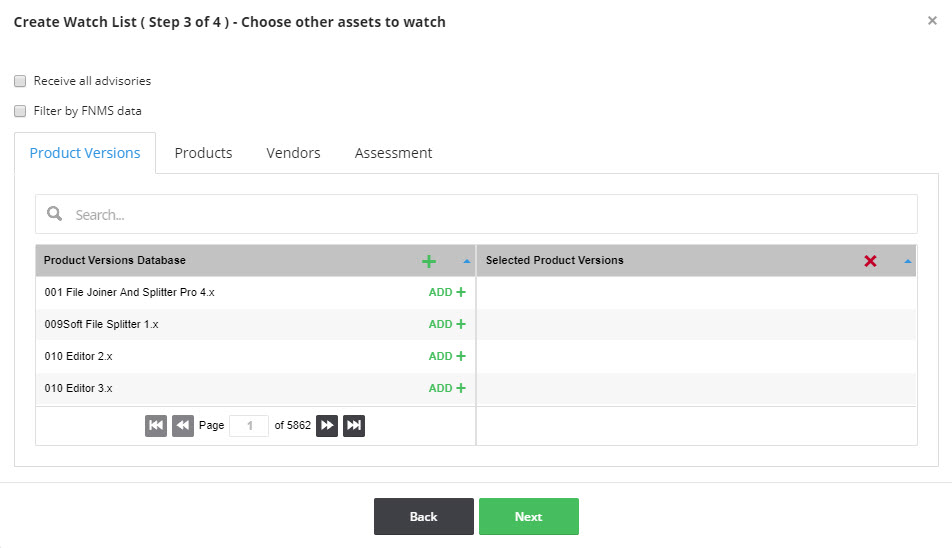
| 11. | Choose other watch lists to add or delete and click Next. The Create Watch List (Step 4 of 4) dialog box opens. |
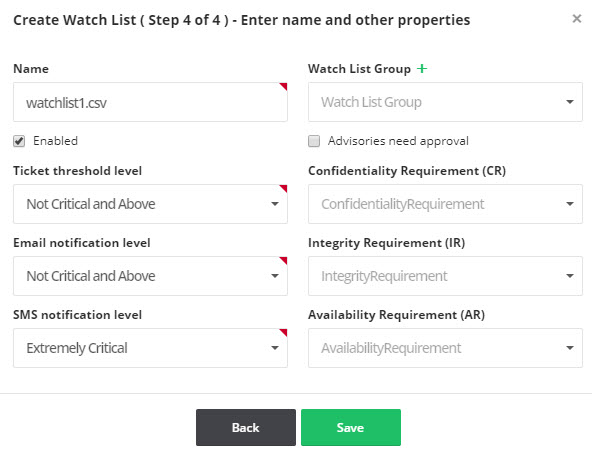
| 12. | Enter the Name of the Watch List. |
| 13. | Select the Watch List Groups, if available, from the drop-down list to associate with this Watch List. You can also click  to create a new Watch List group. to create a new Watch List group. |
| 14. | Select the Enabled and Advisories need approval check boxes as required. |
| 15. | Select the Ticket threshold, Email and SMS criticality notification levels from the drop-down lists. |
| 16. | You can optionally select the impact that a vulnerability in any item in the Watch List will have to your environment (Low, Medium or High) by Confidentiality Requirement (CR), Integrity Requirement (IR) and Availability Requirement (AR) from the drop-down lists (optional). |
| 17. | Click Save to save the Watch List. Once saved, you will begin to receive alerts and advisories based on your configuration. |
Software Vulnerability Research Help LibraryMay 2019 |
Copyright Information | Flexera |