Workflow Manager 2014
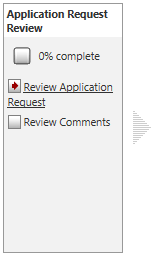
The first step of any workflow request is a data entry step, which the consumer submitting the request is required to fill in. The data submitted during this initial step must be reviewed and approved before work can begin. When the workflow request is viewed on the Workflow Progress page, the first workflow step is marked with a red arrow, indicating it is the active step.
A workflow administrator accepts a workflow request by viewing the submitted data and clicking the Accept button.
To accept a workflow request (workflow administrators):
| 1. | Open a workflow request’s Workflow Progress page as described in Opening a Workflow Request’s Workflow Progress Page. The Workflow Progress tab should be selected, and the name of the first step in the first workflow phase should be a hyperlink with a red arrow beside it. |

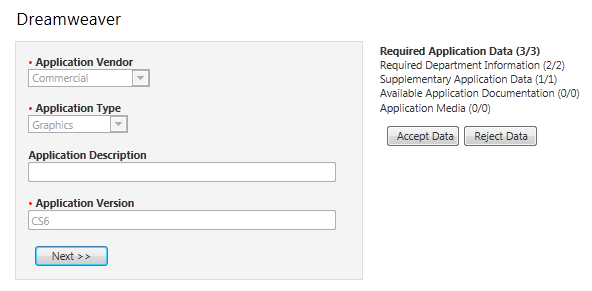
| 2. | Click the hyperlinked name, to open a page listing the data provided by the consumer when he submitted his workflow request. |

| 3. | Review the submitted data. If the data takes up more than one screen, click Next>> and <<Back to see all of the submission. |
| 4. | Do one of the following: |
| • | If the data provided by the consumer is incomplete, click Reject Data, and agree to the confirmation dialog which appears. The workflow request is rolled back, and the data elements in the initial entry step are unlocked for editing. |
Tip: Typically, you would not be the person who updates the information. Instead, if you have correctly set up email notifications, the consumer will be notified that their workflow request has been rejected, and will then go and amend his submission data himself.
| • | If the data provided by the consumer is complete, click Accept Data. The Workflow Progress tab reopens, and the first step of the first phase is now marked complete. |

| 5. | After you have accepted a workflow request, you need to assign people to complete the tasks associated with it. See Assigning People to Workflow Requests for more information. |
See Also
Assigning People to Workflow Requests
Initiating Work on a Workflow Request
Workflow Manager 2014 Help LibrarySeptember 23, 2014 |
Copyright Information | Contact Us |