Workflow Manager 2018
You can assign permissions and email notification settings on a workflow template, and its individual workflow phases and steps, on the Permission and Notification tabs of the Template Details page. Then, when you create a project using that workflow template, the settings from the template would be copied to the project.
Note • If you want to customize permission and email notification settings on an individual workflow request, you can still do that on the Notifications tab of the Workflow Request page.
Permission Tab
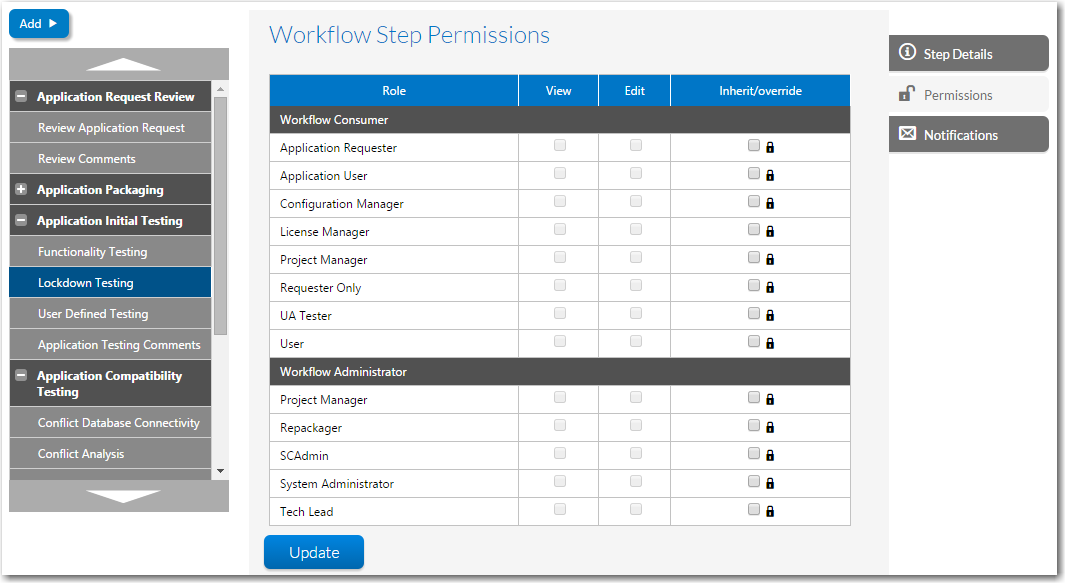
The Permission tab is available whenever a data group, data element, workflow phase, or workflow step is selected in the list.
Permission Tab of Workflow Phase Details View of the Template Details Page
The Permission tab includes the following permission-related options:
|
Option |
Description |
|||||||||||||||
|
Workflow Phase and Step List |
Listing of all of the workflow phases, workflow steps, data groups, and data elements defined in the selected template. You select items in this list to assign role permissions. |
|||||||||||||||
|
Role |
Lists all of the roles in the consumer and administrator companies. |
|||||||||||||||
|
Permission Columns |
When any of the workflow phase or data group nodes are selected, and you open the Permission tab of the Template Details page, checkboxes are listed in the Read and Write columns for each listed role. Selections you make on a workflow phase/data group are inherited by their child workflow steps/data elements, but these settings can be overridden. To set a permission for a data element/workflow step that is different from the permission for the associated data group/workflow phase, do the following: To override an inherited permission:
|
Tip • You can use this feature to restrict what sort of work a person has permission to do. For example, to restrict persons with the role of “Quality Control” to work only on quality-control-related workflow steps, assign that role the View and Edit permissions for quality control related steps and no permission for any other steps.
Notification Tab
The Notification tab is available whenever a workflow phase or workflow step is selected in the list.
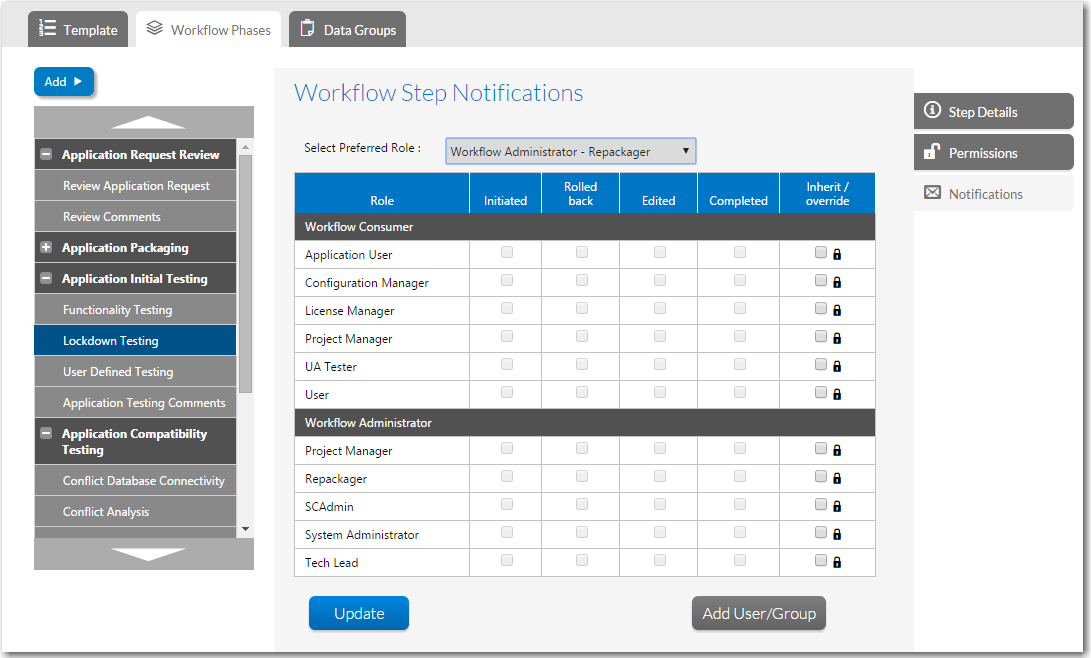
Notification Tab of Workflow Phase Details View of the Template Details Page
The Notification tab includes the following permission-related options:
|
Option |
Description |
|||||||||||||||
|
Workflow Phase and Step List |
Listing of all of the workflow phases, workflow steps, data groups, and data elements defined in the selected template. You select workflow phases or workflow steps in this list to assign email notification settings. |
|||||||||||||||
|
Multiple roles can be assigned email notification permission on the same workflow phase or step. By default, notification emails are sent to users assigned to roles that have email notification permission on a workflow step, even those assigned to roles that do not have edit permission on that workflow step.
|
||||||||||||||||
|
Notification Columns |
When a workflow phase or step is selected, and you open the Notification tab of the Template Details page, checkboxes are listed in the Initiated, Rolled Back, Edited, and Completed columns for each listed role. Selections you make on a workflow phase are inherited by their child workflow steps, but these settings can be overridden. To make a notification settings on a workflow step that is different from the selection made for its parent workflow phase, do the following: To override an inherited permission:
|
Workflow Manager 201831 October 2018 |
Copyright Information | Flexera |