Uploading Folder Contents
Workflow Manager 2020
When you add a data element with a data type of Upload Folder Content to a workflow template, and associate that data element with a workflow step, the requester is prompted to click a button to upload packages from any accessible location.

Prompt to Upload Folder Content
When the requester clicks the Upload Folder content button, the Upload dialog box opens.
Then the requester clicks Browse and selects the specific folder from the preferred location.
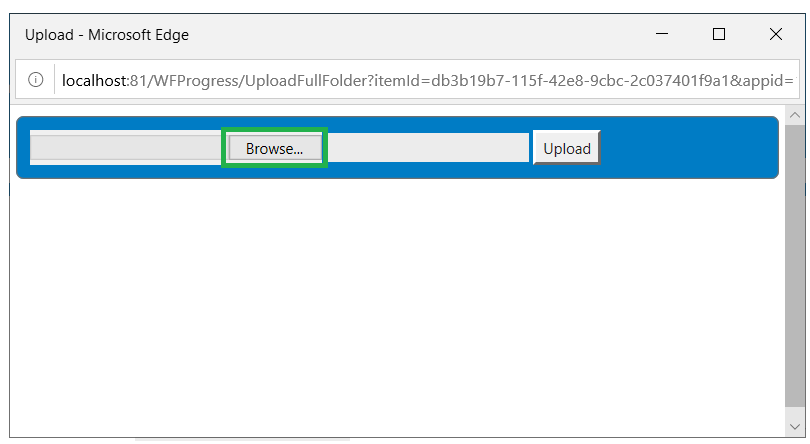
Upload Dialog Box
When the requester finishes selecting the files, they would click Upload.
Once the folder is uploaded, the requester will see the sub-folders in a tree.
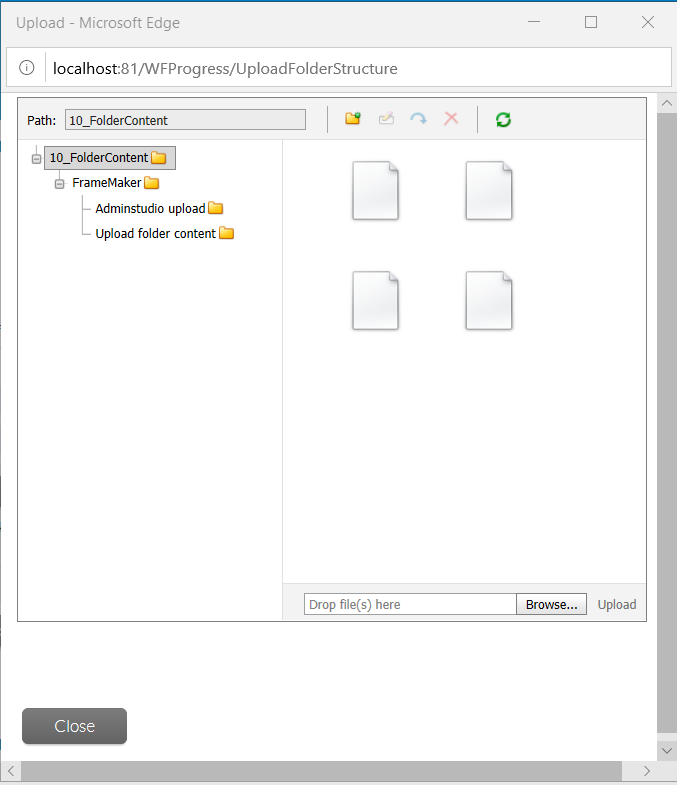
Folder Tree on Upload Dialog Box
Note:All the files in the folder are selected.
The requester would click Browse at the bottom and upload additional files (if required), and then click Upload.
The requester would then click Close to return to the workflow step.
Creating an “Upload Folder Content” Data Element
To create a workflow step that prompts the requester to upload individual folders to the AdminStudio Application Catalog, perform the following steps:
To create a workflow step to upload individual folders:
| 1. | Open a workflow template on the Template Details page, as described in Creating a New Template. |
| 2. | Add a new data element to a data group, either one collected at initial submission or later in the workflow. |
| 3. | Enter a name for this data element in the Description field. |
| 4. | Set data type to Upload Folder Content. |
| 5. | Click Update and associate that data group containing that data element to a workflow step. |