Installing the OEM adapter
FlexNet Manager Suite
2022 R1
(On-Premises)
The OEM adapter is normally installed on an inventory beacon that has high-speed network access to the Oracle server to which the adapter must connect. It is possible to install multiple instances of the OEM adapter on the same computer, each configured to access a different OEM repository. Each instance of the OEM adapter can access exactly one OEM repository.
To install the OEM adapter:
-
In Windows Explorer, execute the OEMAdapter.exe installer
from that folder.
If this is the first installation of the OEM adapter on this computer, the welcome page appears, and you can click Next. If another instance of the OEM adapter is already installed on this computer, the following screen appears.

-
If this page appears, choose either of the following:
- For an additional installation, click Install a new instance, and click Next. Follow the remaining instructions below.
- To change one of the instances previously installed, select the instance from the list on this page, click Maintain or upgrade an existing instance, and click Next.
The Customer Information page appears.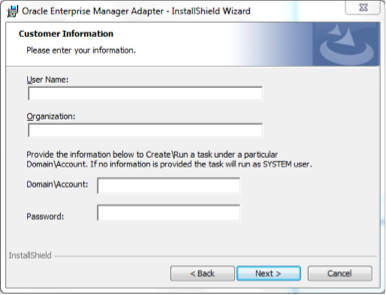
-
Click Next >.
The Destination Folder page appears.
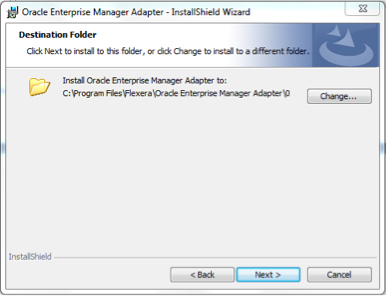
-
When satisfied with the location, click Next >.
The Database Connection Information page appears.
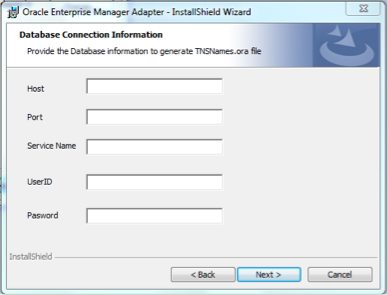
-
If necessary, confer with your Oracle DBA to complete details about the Oracle
Database from which this instance of the OEM adapter collects
inventory:
When satisfied, click Next >, and the Email Configuration page appears.

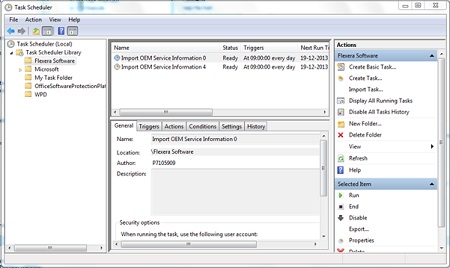
You may update the scheduled task(s) as usual through the Microsoft interface.
Before using the OEM adapter in production, you must
also do all of the following:
- Confirm that the account used to access Oracle Enterprise Manager (suggested
name
FNMS-OEMadapter) has adequate permissions to read from the OEM repository (see Grant Permissions to Account) - Modify the location where the .ora file is saved for production use (see Configure Data Staging)
- Ensure that the appropriate subnets containing target Oracle servers are identified and assigned to the inventory beacon where the TSNNames.ora file is saved (see Assign Beacon to Subnet)
- Configure the collection of Oracle inventory in the web interface for FlexNet Manager Suite (see Configure Collection of Oracle Inventory)
- Set up accounts on each Oracle server with adequate permissions to gather inventory, with target machines being based on the contents of the .ora file created by the OEM adapter (see Inventory-Gathering Accounts on Oracle Servers)
- Register the same account(s) in the Password Manager for each relevant inventory beacon (see Save Inventory Account in Password Manager).
FlexNet Manager Suite (On-Premises)
2022 R1