Creating an Automated Application Converter Settings File
AdminStudio 2023 | 25.0 | Application Manager
Edition:This feature is included in AdminStudio Professional and Enterprise Editions.
In order to use the Conversion Wizard to perform an express conversion of one or multiple Windows Installer packages, PowerShell-wrapped packages, or legacy installers to virtual packages, you must first create an Automated Application Converter settings file that contains virtual machine login information and conversion defaults.
To create an Automated Application Converter settings file, perform the following steps.
To create an Automated Application Converter settings file:
|
1.
|
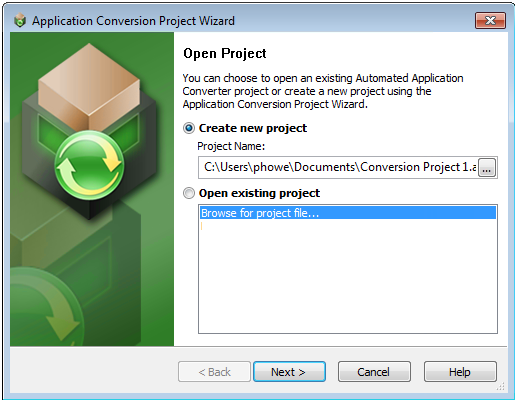
Launch Automated Application Converter. The Open Project dialog box opens. |
|
2.
|
Click Cancel. An untitled project is opened in Automated Application Converter. |
|
3.
|
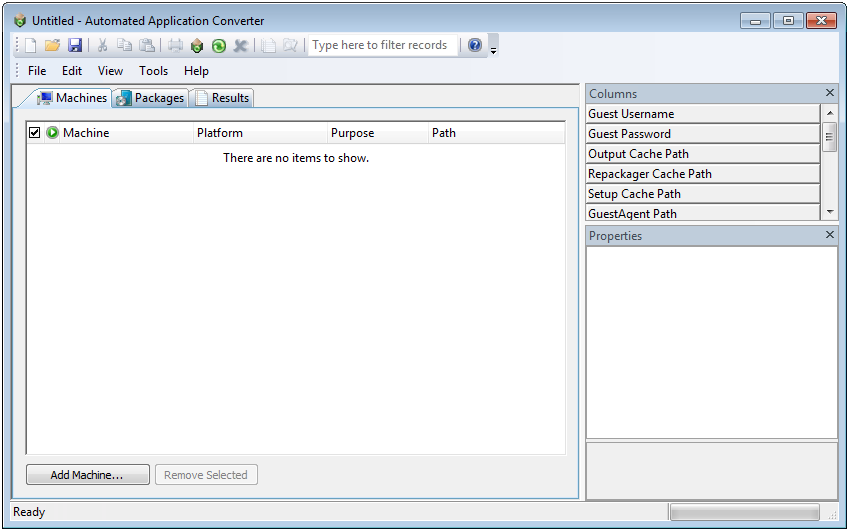
On the Machines tab click Add Machine. The Virtual Machine Import Wizard Welcome panel opens. |
|
4.
|
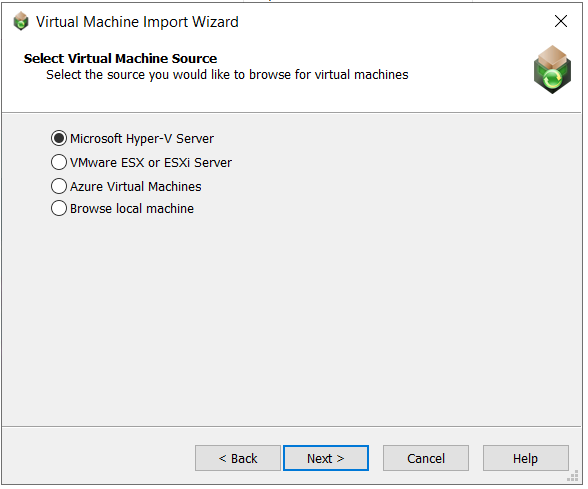
Click Next. The Select Virtual Machine Source panel opens, prompting you to select the type of virtual machine that you are adding. |
|
5.
|
Select one of the following options and click Next. |
|
•
|
Microsoft Hyper-V Server—Select this option to add a virtual image from a Microsoft Hyper-V Server. |
|
•
|
VMware ESX or ESXi Server—Select this option to add a virtual image from a VMware ESX or ESXi Server. |
|
•
|
Azure Virtual Machines—Select this option to add a Azure virtual machines. |
|
•
|
Browse local machine—Select this option to add a virtual image from a local installation of VMware Workstation |
|
6.
|
Based upon your selection on the Select Virtual Machine Source panel, enter the following information: |
|
|
|
|
Microsoft Hyper-V Server
|
On the Specify Microsoft Hyper-V Server panel, specify Microsoft Hyper-V server name and credentials to browse for virtual machines:
|
•
|
Server Name—Enter the server name of the Microsoft Hyper-V Server that you want to connect to. |
|
•
|
Authentication—Select Windows Authentication if you want to use the credentials of the logged in user to login to the Hyper-V Server. Select Server Authentication if you want to connect to the Hyper-V Server using the specified User name and Password. |
|
|
VMware ESX or ESXi Server
|
On the Specify VMWare ESX or ESXi Server panel, specify VMWare ESX or ESXi server name and credentials to browse for virtual machines:
|
•
|
Server Name—Enter the name of the VMware ESX or ESXi server. |
|
•
|
User name—Enter the login ID for the VMware ESX or ESXi server. |
|
•
|
Password—Enter the password for the VMware ESX or ESXi server. |
|
|
Azure Virtual Machines
|
On the Specify Azure Details panel, specify the following details to connect to Azure to browse the virtual machines:
|
•
|
Application (client) ID—Enter the registered client id. For more information, see App Registration. |
|
•
|
Directory (tenant) ID—Enter the registered tenant id. For more information, see App Registration. |
|
•
|
Resource Group—Enter the resource group where all resources will be included. For more information, see Create Resource Groups. |
|
|
Browse local machine
|
On the Select Virtual Machines panel, do one of the following:
To add an individual virtual machine:
|
1.
|
Click Browse Files. The Select Virtual Machine Image File dialog box opens. |
|
2.
|
Select the virtual machine image you want to add to the project and click Open. |
To add all of the virtual machines in a specific directory:
|
1.
|
Click Browse Folders. The Browse for Folder dialog box opens. |
|
2.
|
Select a directory that contains the virtual machine images that you want to add to your project and click OK. |
|
When you have finished this step, the virtual machines will be listed (but not selected) on the Select Virtual Machines panel.
|
7.
|
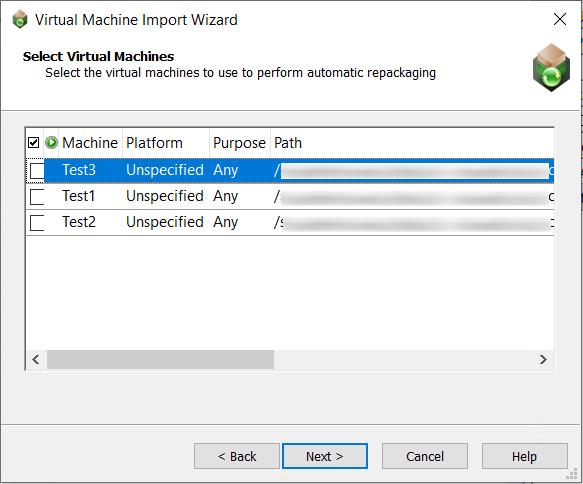
On the Select Virtual Machines panel, select the virtual machine images that you want to use to perform automated repackaging. |
|
8.
|
For each selected image, click in the Platform column and identify its platform. |
|
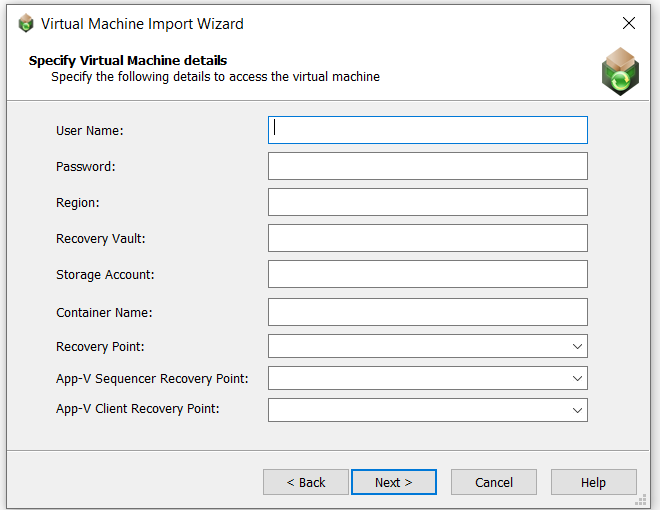
9.
|
Click Next. The Specify Virtual Machine details panel opens, prompting you to specify the login credentials to use to access the selected virtual machines. |
|
10.
|
Enter the user credentials and click Next. The Virtual Machine Import Wizard Complete panel opens. |
|
11.
|
Click Finish to close the wizard and add the selected virtual machines to your project. |
|
12.
|
On the File menu, click Save and enter a name for this project file. |