Backup Azure VMs with the Azure Backup service
This section explains how to back up Azure VMs with the Azure Backup service.
To back up Azure VMs with the Azure Backup service:
| 1. | Log in to Microsoft Azure using the obtained credentials: |
https://azure.microsoft.com/en-in/account/
| 2. | From the list of available Azure services, choose Virtual Machines. The Virtual Machines page appears. |
Note:Enter keywords (Virtual Machines) in search box on the Home page to search by name.
| 3. | From the list of VMs, select the VM you want to back up. Overview of the selected VM appears. |
| 4. | Select Backup in the center pane. On the right pane, Backup details appear. |
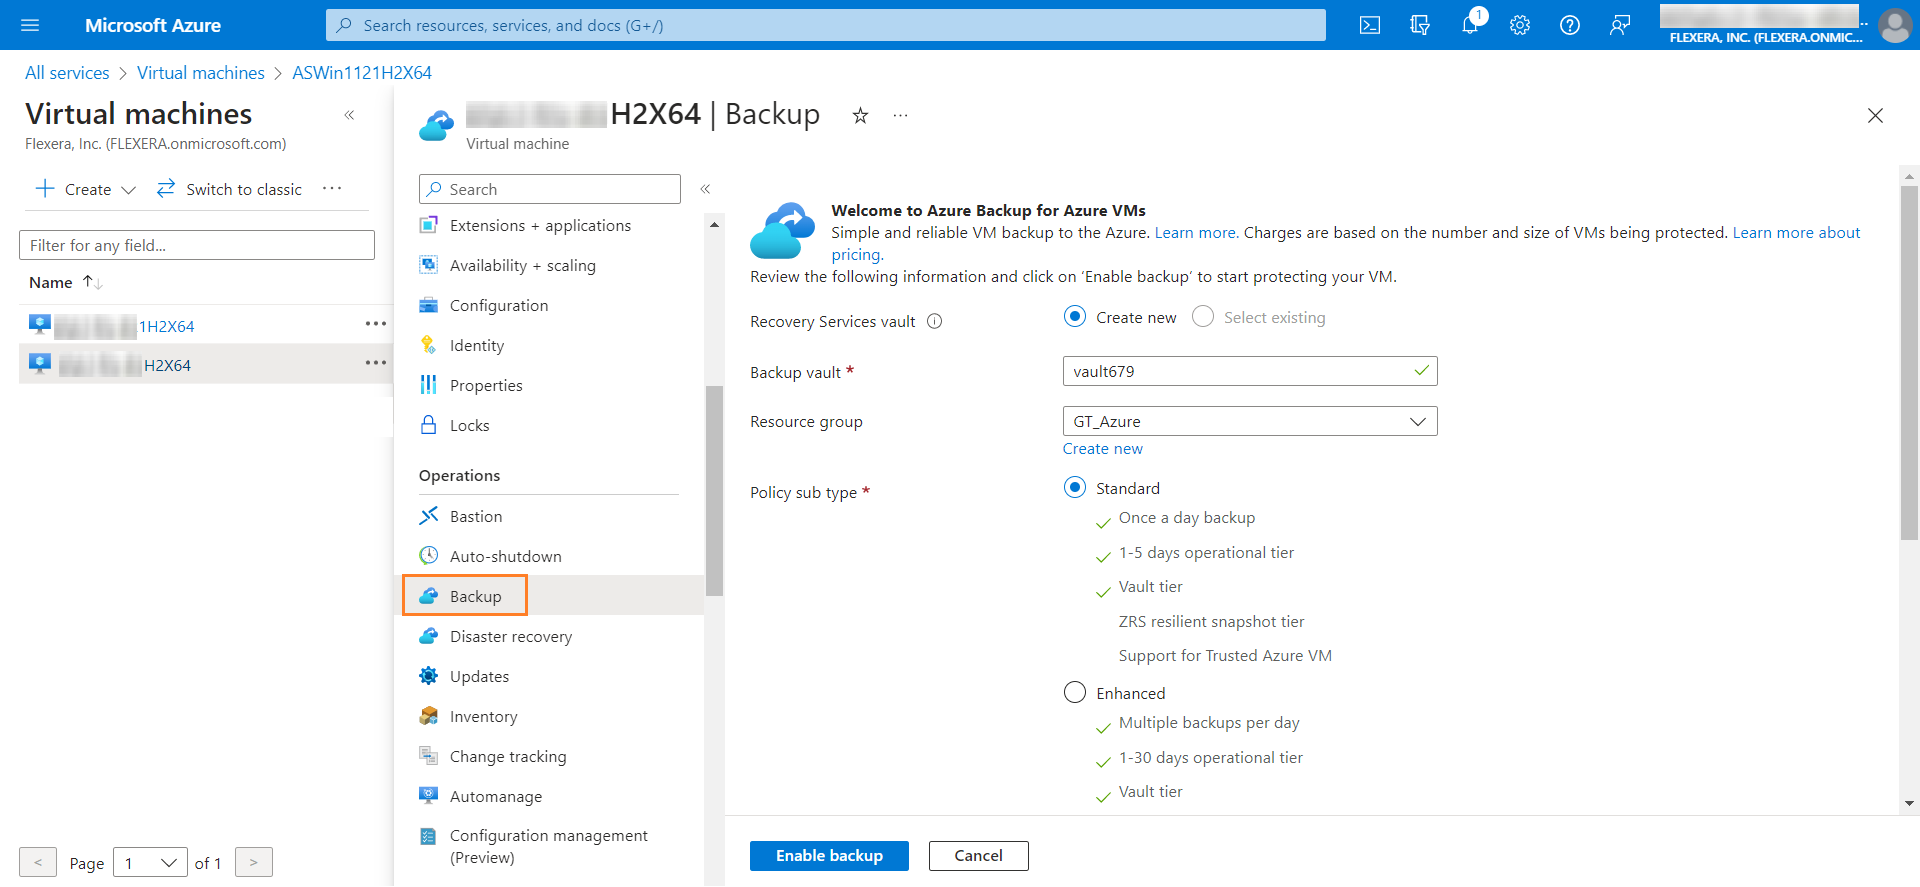
| 5. | Enter the following information: |
|
Field |
Description |
||||||
|
Recovery Services vault |
Select one of the following Recovery Services vault:
|
||||||
|
Backup vault |
This field is pre-populated with the backup vault. If required you can modify. This is a mandatory field. |
||||||
|
Resource group |
This field is pre-populated with the resource group. If required, you can add a new resource group by clicking on Create new link. For more information, see Create Resource Groups. |
||||||
|
Policy sub type |
Select one of the following policy type:
This is a mandatory field. |
||||||
|
Choose backup policy |
Select an existing backup policy from the drop down list. If you want to create a new policy, click Create a new policy link and define the policy settings. If you want to modify existing backup policy, click Edit this policy link and modify the required field. This is a mandatory field. |
||||||
|
Virtual machines |
Click Add button and select virtual machine for which need to take the backup. |
| 6. | After entering the above fields, click Enable backup button. |
| 7. | Upon successful action, the Backup page shown backup status for the VM, information about recovery points, jobs running, and alerts issued. |