Create Storage Accounts
An Azure storage account contains all Azure Storage data. To create a storage account, perform the following steps.
To create a storage account:
| 1. | Log in to Microsoft Azure using the obtained credentials: |
https://azure.microsoft.com/en-in/account/
| 2. | From the list of available Azure services, choose Storage accounts. The Storage accounts page appears. |
Note:Enter keywords (Storage accounts) in search box on the Home page to search by name.
| 3. | Click on Create. |

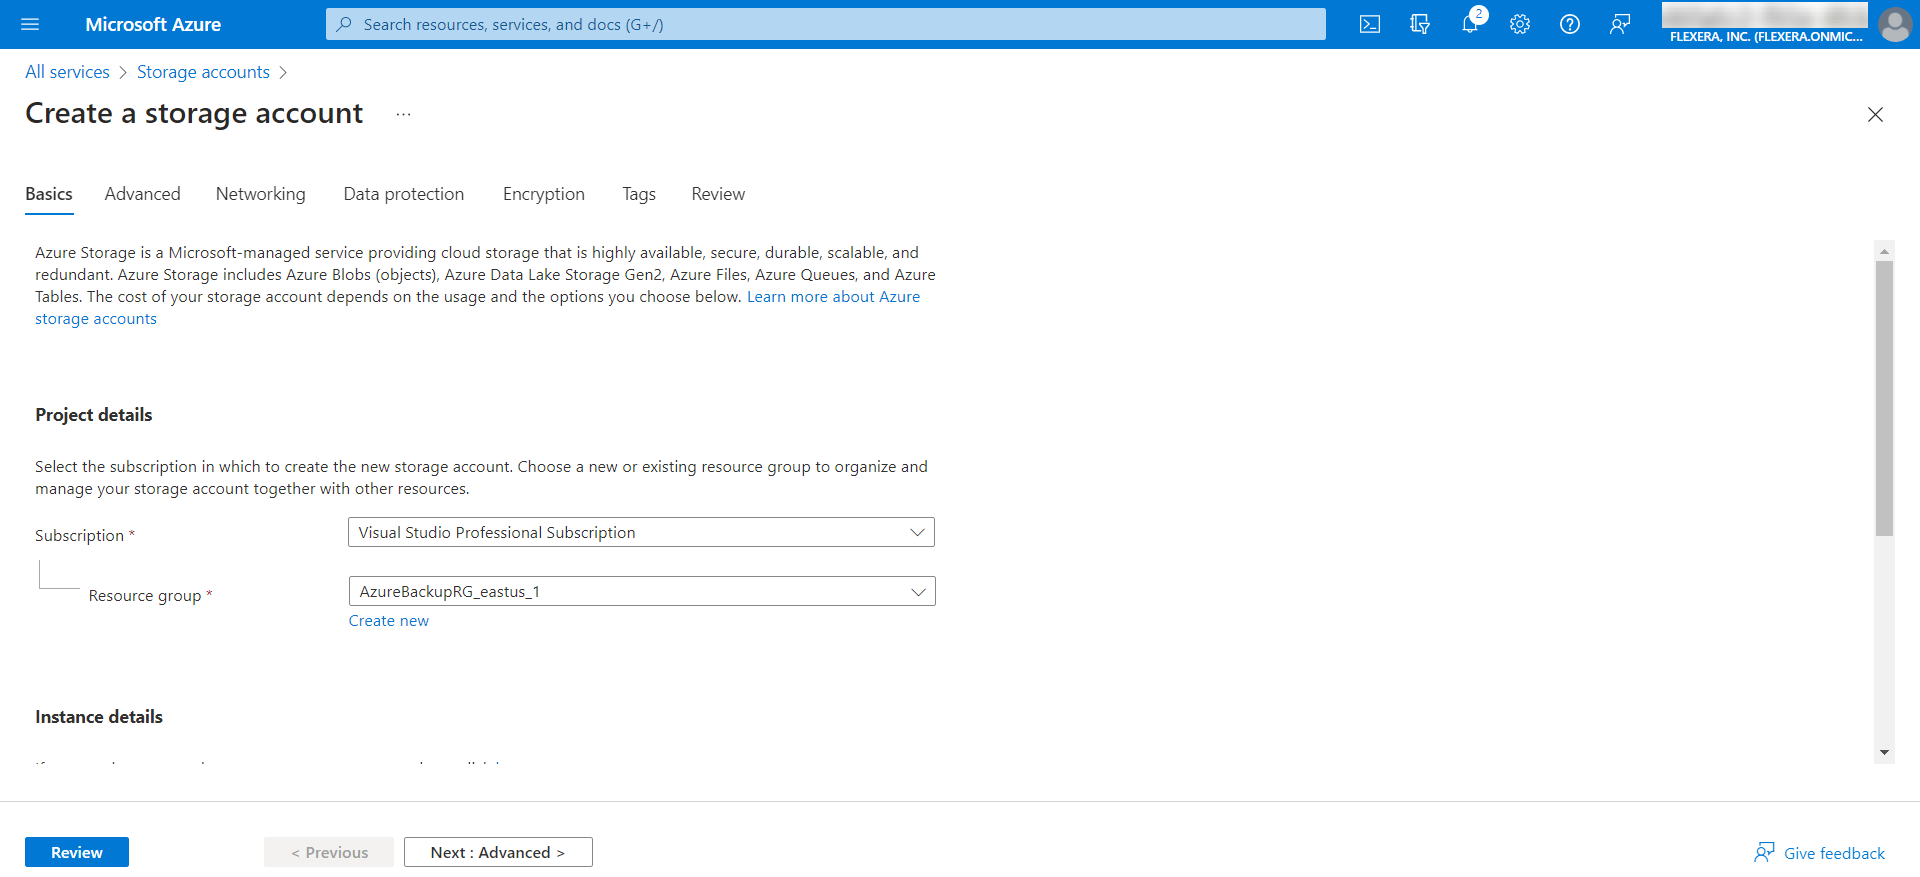
The Create a storage account page appears.
| 4. | Enter the following information: |
|
Field |
Description |
|||||||||
|
Subscription |
This field is pre-populated with the subscription. If required, you can select the required subscription from the drop down list. This is a mandatory field |
|||||||||
|
Resource group |
This field is pre-populated with the resource group. If required you can add a new resource group by clicking on Create new link. For more information, see Create Resource Groups. This is a mandatory field. |
|||||||||
|
Storage account name |
Enter the unique storage account name. This is a mandatory field. Note:The name must be unique across all existing storage account names in Azure. It must be 3 to 24 characters long, and can contain only lowercase letters and numbers. |
|||||||||
|
Region |
This field is pre-populated with the region. If required you can select the desired region from the drop down list. |
|||||||||
|
Performance |
Select one of the following performance:
This is a mandatory field. |
|||||||||
|
Premium storage accounts |
Select one of the following premium storage accounts:
Note:This filed populates only when you select Performance type to Premium. This is a mandatory field. |
|||||||||
|
Redundancy |
Select the required redundancy from the drop down list. This is a mandatory field. |
| 5. | After adding the above fields, click Review button. |
Note:Make sure that the required information has been added to all mandatory fields under all the tabs.
| 6. | Click Create button. |
| 7. | Upon successful action, a newly created storage account will be listed in the Storage accounts page |