Important:Do not use any special characters in the URL field. The only special character that is permitted is _ (underscore). Dashes (-) and other special characters are not permitted.
Important:The account used to connect must have access to invoke web methods in ServiceNow.
4.
Under ServiceNow Integration, click Test. App Broker will connect to that instance of ServiceNow and will obtain integration settings.
5.
Under ServiceNow Integration, click Create Default ITSM Operations to create the ITSM operations in App Portal for the Incident Management and Request Management features in ServiceNow.
6.
In in the ServiceNow State Mapping area, you can map request status values to ServiceNow request state values. App Portal / App Broker can only return three different statuses to ServiceNow: Pending, Success, or Failure. You can manually map those App Portal request statuses to ServiceNow request states by entering values in the ServiceNow Status fields. To discover the valid values for ServiceNow request states that you can enter in the ServiceNow Status fields, perform the following steps:
a.
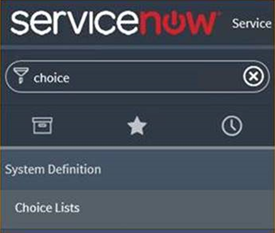
Login to ServiceNow and search for "choice" in the navigation panel, and then select System Definition > Choice Lists.
The Choice Lists page is displayed.
b.
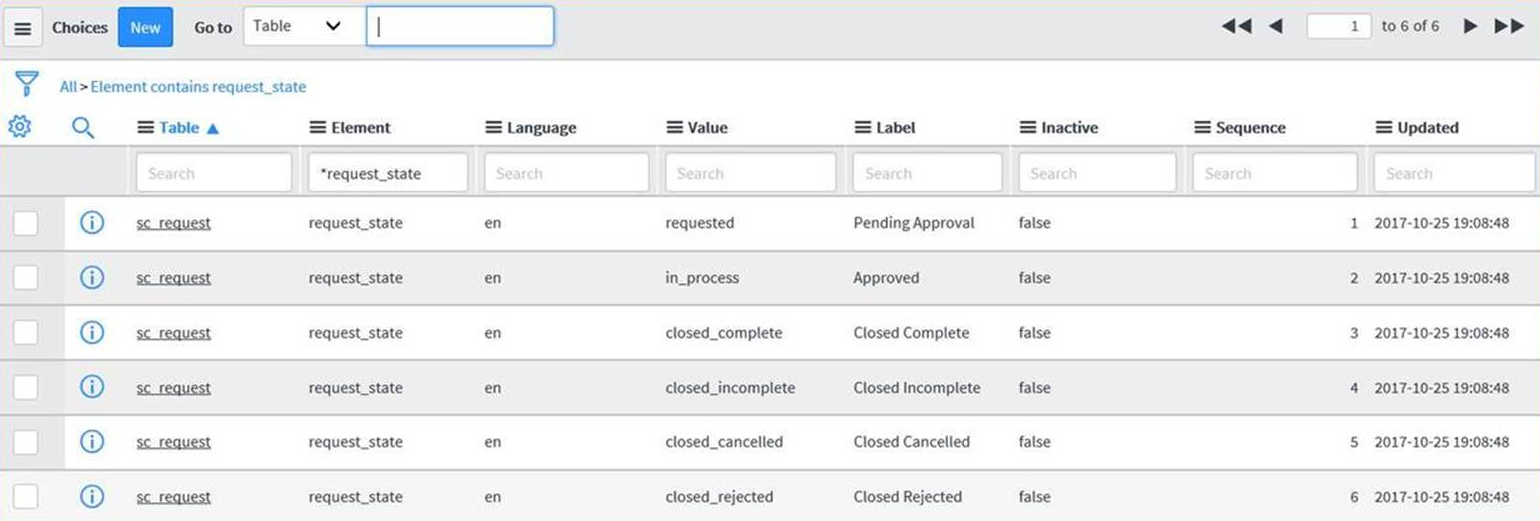
Use the Element column filter to filter down to *request_state to display the valid choices in the Value column that map to the desired statuses in App Portal / App Broker.
c.
Copy the value from the Value column in ServiceNow, return to App Portal / App Broker, and then paste the copied value into a ServiceNow Status field under ServiceNow Request State Mapping on the ServiceNow Integration view.
d.
Click Test to test the configuration of the ServiceNow Request State Mapping.
Note:Whenever you get updates from System Center Configuration Manager (such as a successful or failed deployment), the request state will be updated in ServiceNow.
7.
Under ServiceNow Employee App Provisioning, perform the following steps:
a.
Enter x_fls_appportal_task_sequence_requests in the ServiceNow Employee App Requests data table field.
b.
Click Test to test the connection to the table.
c.
Click Create Employee App Provision Operations to create operations in App Portal for this ServiceNow table.
8.
Under ServiceNow Catalog Item Integration, perform the following steps:
a.
Select the Sync catalog items with ServiceNow to automatically sync all new catalog items to the connected ServiceNow catalog.
b.
In the ServiceNow Variable Set Name field, enter App Portal Variable Set.
c.
In the ServiceNow Import Set table for saving App Portal catalog details, enter:
x_fls_appportal_import_service
d.
Click Test to validate the entries.
e.
Click Create Catalog Operations to create ServiceNow catalog operations.
f.
If you are an existing App Portal customer who has already defined catalog items, you have to click the Enable button next to Enable all software catalog items to sync with ServiceNow to sync existing catalog items with ServiceNow. If you do not click this button, only new and updated catalog items will be synced with ServiceNow.
9.
After you click the Create Catalog Operations button under ServiceNow Catalog Item Integration, the ServiceNow Catalog Operations area is displayed. Enter the following names of the ServiceNow operations that create, update, and delete a ServiceNow import set, which are:
•
Import Set create operation—By default, this is set to Create ServiceNow Import Set Record.
•
Import Set update operation—By default, this is set to Update ServiceNow Import Set Record.
•
Import Set delete operation—By default, this is set to Delete ServiceNow Import Set Record.
Click Sync Catalog Now to sync ServiceNow with the App Portal catalog.