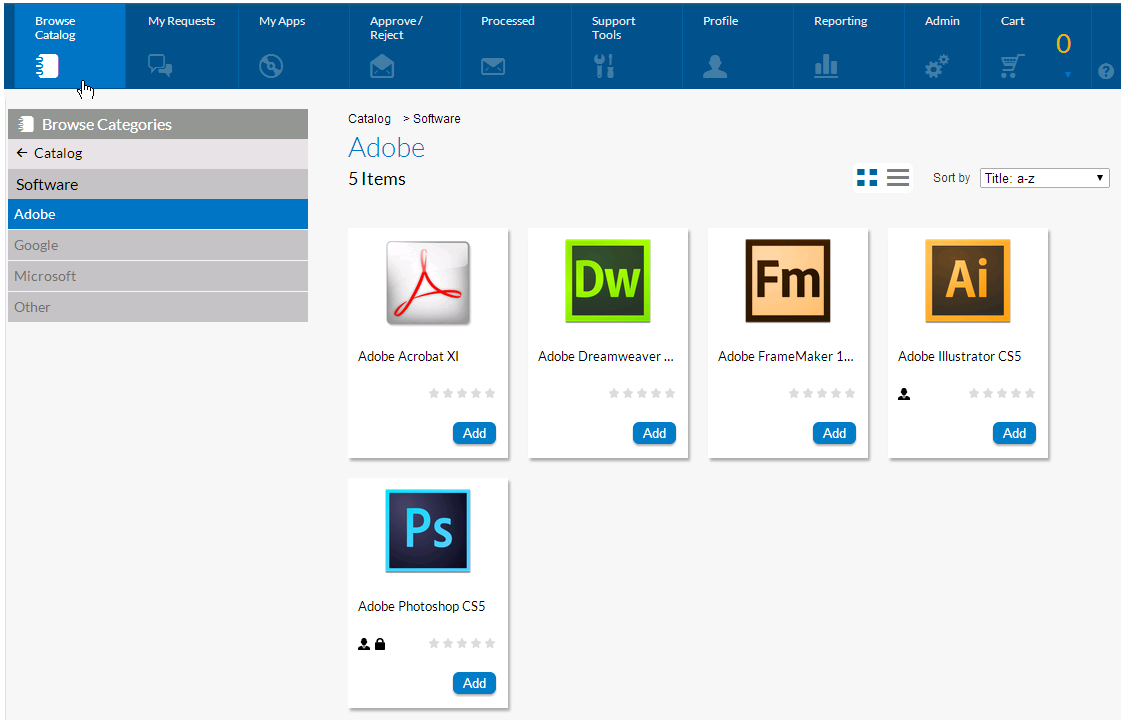
Catalog items are organized using categories. Categories, which are listed in the Browse Categories tree on the Browse Catalog tab, are visible to end users when they are creating an App Portal request. When an end user selects a category on the Browse Catalog tab, the catalog items in that category are listed:
Browse Catalog Tab With Microsoft Category Selected
Note:A catalog item can be a member of multiple categories.
When you create a category, you have the option of setting category security and setting a category owner:
•
Set Category Security—To control which users and/or groups are permitted to view (and request) the catalog items in that category, you can set category security.
When determining whether to display a catalog item to a user, App Portal performs two permissions checks:
•
First, App Portal checks to determine if the user has permission to view catalog items in the selected category.
•
Next, App Portal checks to determine if any of the catalog items in the selected category also belong to another category; if so, App Portal checks the permissions on those categories.
•
Then, if the user has permission to view all of the categories that a catalog item belongs to, the catalog item will be displayed.
A user cannot simultaneously have permission to view a catalog item and also be restricted from viewing it. Since categories are not just for organization, but also for security, App Portal applies the most restrictive permission.
•
Set Category Owner—To give specific users permission to manipulate the applications in a category, you can assign category owners.
To create a catalog category, perform the following steps.
To create a catalog category:
1.
Open the App Portal Admin tab.
2.
Select Catalog Management > Catalog Categories. Existing categories are listed in the right pane.
3.
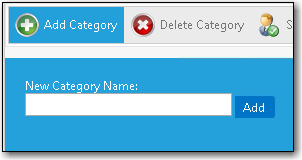
In the category tree, select the category that you would like to add a subcategory to, and then click Add Category. You are prompted to enter a New Category Name.
4.
Enter a name to identify the category and click Add. The new category is now listed in the tree.
5.
Set Category Owner—To give specific users permission to manipulate the applications in a category, you can assign category owners by performing the following steps:
a.
On the Catalog Categories view, select a category in the tree.
b.
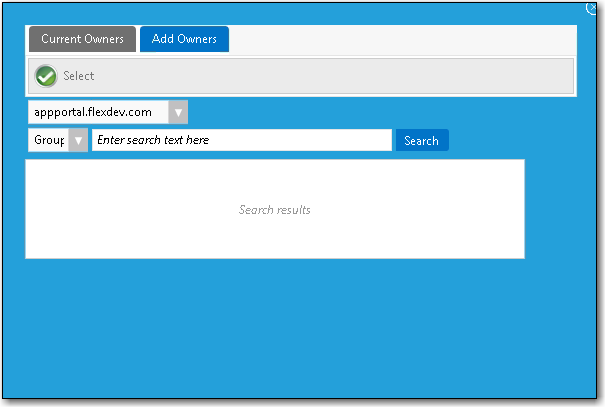
Click Set Category Owner. The Set Category Owner dialog box opens:
c.
Open the Add Owners tab.
d.
Use the search fields to locate the user or group that you would like to assign as an owner.
e.
Select a user or group in the Search Results box and click Select.
6.
To set category security to control which users and/or groups are permitted to view (and request) the applications in a category, perform the following steps:
a.
On the Catalog Categories view, select a category in the tree.
b.
Click Set Category Security. The Catalog Security dialog box opens:
c.
Open the tab of the condition type that you want to add: Group and OU, AD Property, or Collections.
d.
Click Add Condition. The Add Condition dialog box opens.
e.
Use the search box to search for the group, OU, property, or collection that you want to add, and select the checkbox next to the item in the search results list.
f.
Click the Select button to add the condition. After you add a condition to any of the three subtabs (Group and OU, AD Property, or Collections), that condition is listed on that subtab.
g.
After the condition is added, specify the enforcement option you want to take effect by making a selection in the Enforcement column: Include or Exclude.