Creating a Cloud Catalog Item
App Portal 2020 R1
When App Portal is connected to a cloud application, you can use the New Catalog Item Wizard to create a cloud catalog item that will obtain an account for the specified cloud application for the requester.
App Portal provides out-of-the-box support for Box, Office 365, and Salesforce, and a catalog item for each oif those cloud applications is automatically created:
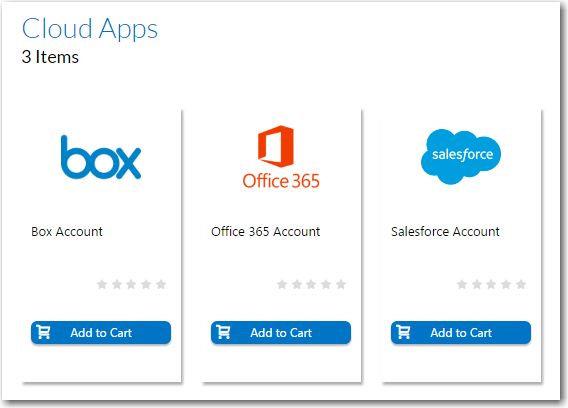
Default Cloud Catalog Items
These catalog items can be used to directly request an account from the cloud application vendor.
However, if you have connected to a cloud application other than Box, Office 365, or Salesforce (as described in Integrating With Other Cloud Applications), you will need to create a new cloud catalog item. You will also need to create a cloud catalog item if you want to use an ITSM system to request a Box, Office 365, or Salesforce account instead of requesting it directly from the vendor.
To create a cloud catalog item, perform the following steps.
To create a cloud catalog item:
| 1. | Make sure that you have connected App Portal to at least one cloud application, as described in Connecting to Box, Salesforce, and Office 365. |
| 2. | Under Catalog Management, select New Catalog Item Wizard. The Catalog Item Type panel of the New Catalog Item Wizard opens. |
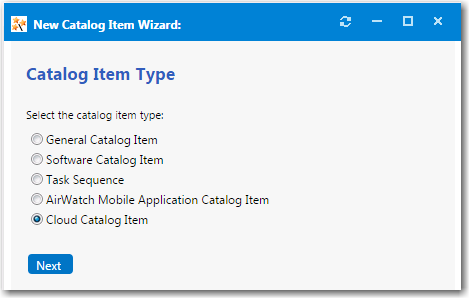
| 3. | Select Cloud Catalog Item and click Next. The Cloud Account Type panel opens. |
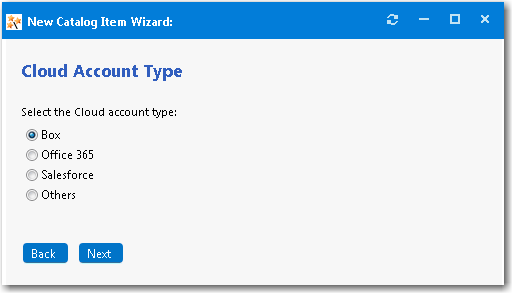
| 4. | Select the type of cloud application you want to add to this catalog item: Box, Office 365, Salesforce, or Others. |
| 5. | Click Next. The Catalog Item Title and Category panel opens. |
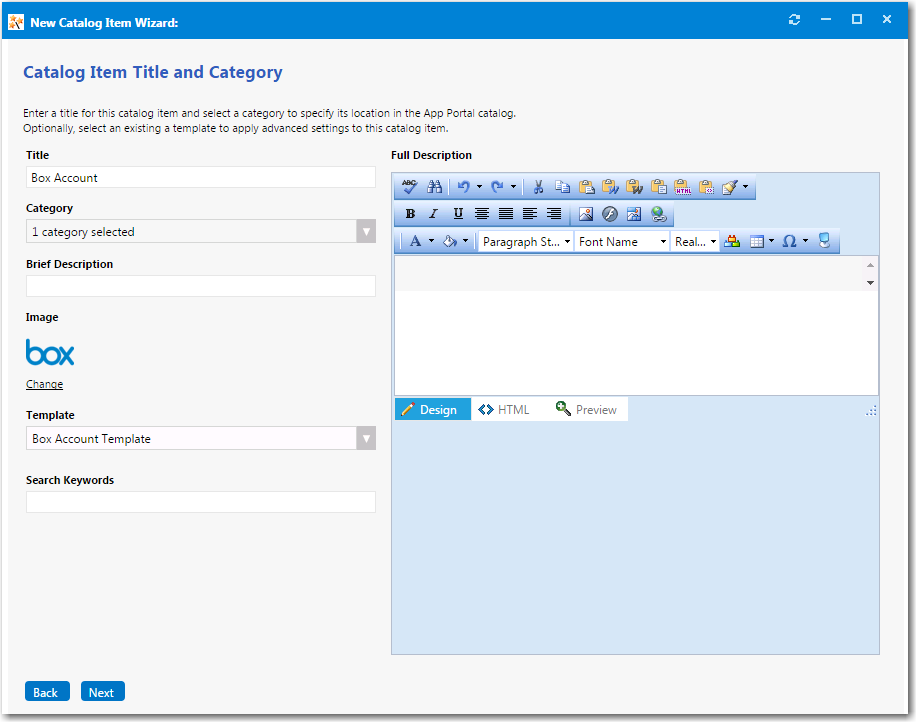
| 6. | In the Title field, enter a title to identify this catalog item in your App Portal storefront, such as Box Account or Office 365 Account.. |
| 7. | From the Category field, select the Cloud category to specify this catalog item’s location in the App Portal catalog. |
| 8. | In the Brief Description field, enter the text that you want to display under the catalog item Title in the App Portal storefront (when viewed in list view). |
| 9. | By default, a generic icon is associated with this catalog item. To associate a custom icon to this catalog item, click Change to open the Image Selection dialog box and select a .gif, .jpg, or .png icon file. |
Tip:For best results, the uploaded image should be 80 px by 80 px or larger.
| 10. | In the Search Keywords text box, enter single words that an end user might enter when searching for this catalog item. |
| 11. | In the Full Description text area, enter a longer description of this catalog item, and use the items on the toolbar to format it. |
The text entered in the Title, Brief Description, and Full Description fields will be displayed as follows:
| • | Title—The text entered in the Title field along with the catalog item icon, will be displayed when viewing this catalog item on the Browse Catalog tab. |
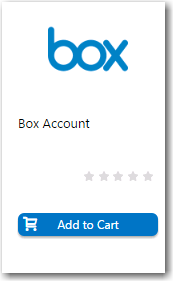
| • | Brief Description—When viewing catalog items in list view, the brief description will also be visible: |

| • | Full Description—The text entered in the Full Description field will be displayed when a catalog item is viewed in its detail view, which is opened by clicking on the catalog item name in either the list or card view. |
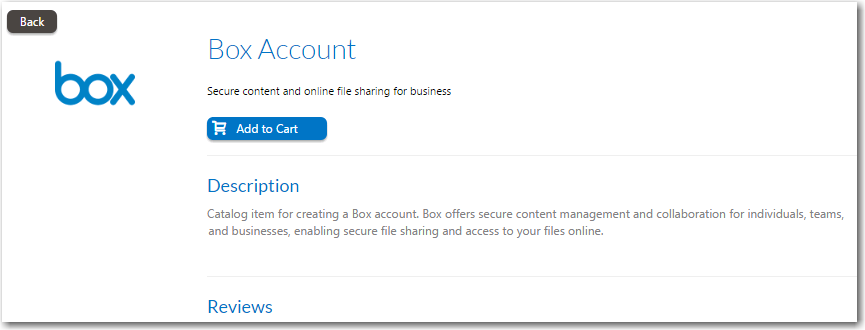
| 12. | When you are finished editing the fields on the Catalog Item Title and Category panel, click Next. If you are connected to the Flexera Service Gateway, the Flexera ID panel opens |
| 13. | To track licenses for this catalog item using its Flexera ID, use the column filters to locate this catalog item in FlexNet Manager Suite, select it, and click Next. The Ready to Create panel opens. |
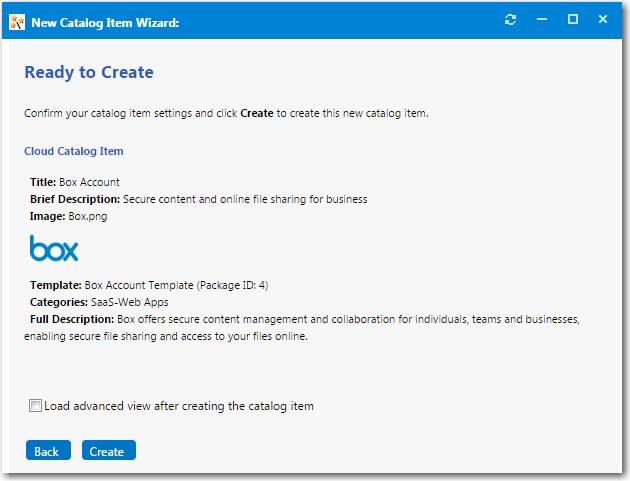
| 14. | If, after this catalog item is created, you want to immediately open this catalog item’s Catalog Item Properties dialog box, where you can specify advanced settings, select the Load advanced view after creating the catalog item option. |
| 15. | Review the summary information and then click Create to create this new catalog item. The catalog item will now be listed on the Browse Catalog tab in the category you selected. |
Note:After creating a catalog item, you can edit its basic and advanced settings on the Catalog Item Properties dialog box, as described in Setting Catalog Item Properties.
See Also
Catalog Item Properties Dialog Box
App Portal / App Broker 2020 R1 Administration GuideAugust 2020 |