To create a new approval workflow, perform the following steps.
To create a new approval workflow:
1.
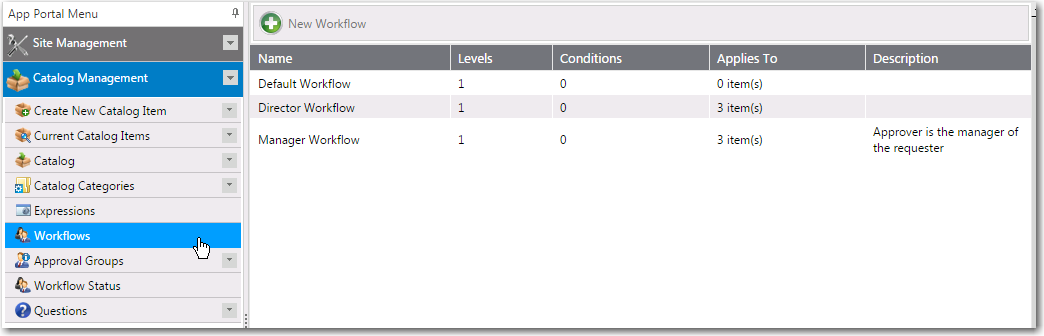
On the Admin tab, select Workflows under Catalog Management. The Workflows View opens.
2.
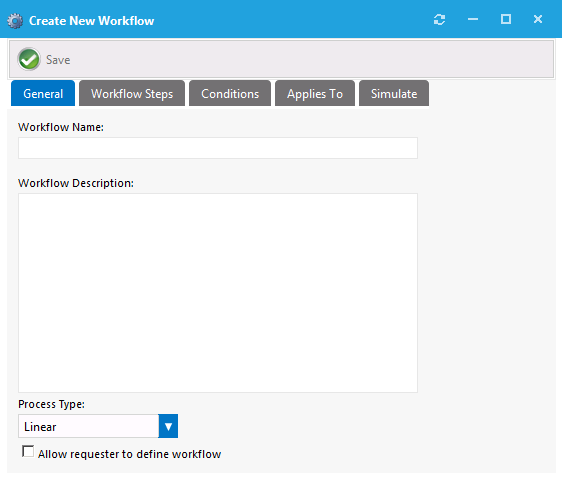
Click New Workflow. The General tab of the Create New Workflow dialog box opens.
3.
In the Workflow Name field, enter a friendly name to identify this workflow, such as Finance Workflow, Engineering Application Workflow, Expensive Software Workflow, etc.
4.
In the Workflow Description field, provide details about the workflow and its use.
5.
From the Process Type list, select one of the following options:
•
Linear—The approval process functions in a linear fashion. Each approver must approve the request in order as defined in each workflow step.
•
Pool—Anyone in any workflow step can approve the request. It takes only one approver to approve the request. All approvers will be notified of the request.
•
Pool within Group—This option will allow anyone within a workflow to approve the request before it is forwarded to the next workflow step.
6.
To enable the requester to change who the members of the workflow step are, select the Allow requester to define workflow option.
7.
To force the requester to define the workflow members, select the Force requester to define workflow option.
8.
Click Save to save the edits you made on the General tab.
9.
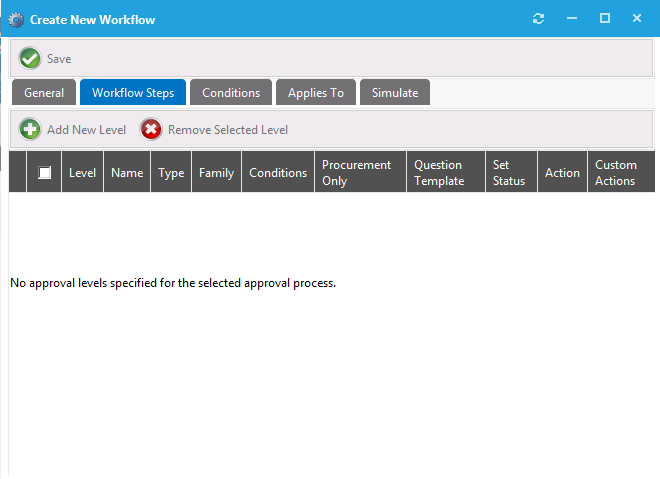
Open the Workflow Steps tab.
Note the following regarding workflow steps:
•
Workflow steps are executed from top to bottom.
•
Each step can be configured with conditions to determine whether the step will be used.
•
Steps can contain direct members, static workflow groups, and dynamic workflow groups.
•
Steps can also execute custom actions when that step is processed.
10.
Click Add New Level. A dialog box pops up prompting you to make a selection.
11.
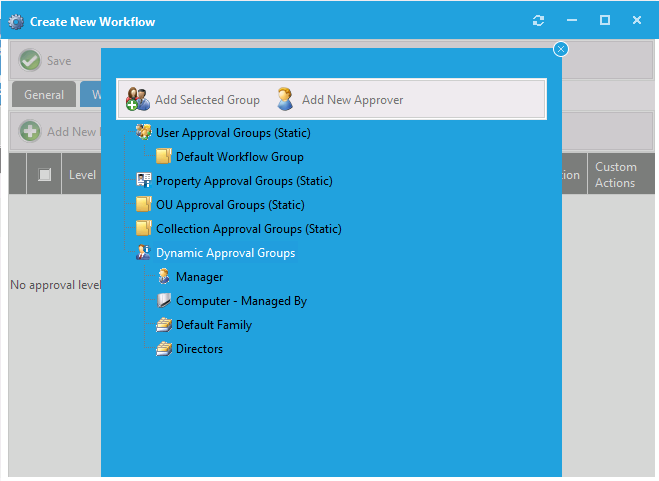
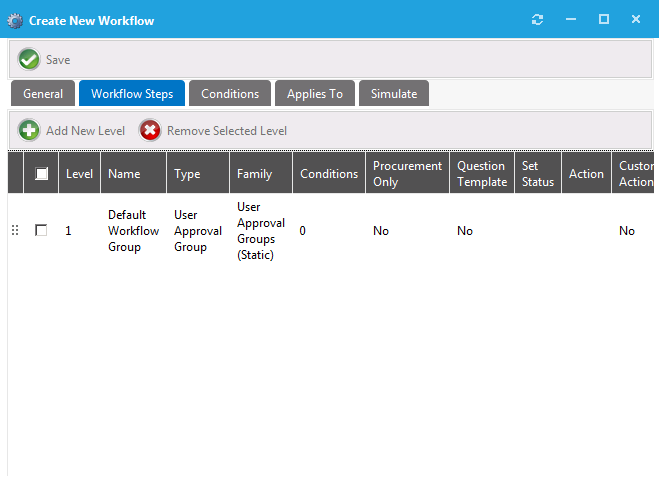
To add a static set of approvers, select a group in one of the following workflow group categories and then click Add Selected Group:
•
User Approval Group (Static)
•
Property Approval Group (Static)
•
OU Approval Group (Static)
•
Collection Approval Group (Static)
For example, under User Approval Group (Static), select Default Workflow Group and then click Add Selected Group. The new workflow step is now listed on the Workflow Steps tab.
Note:To create a new workflow group, select Workflow Groups under Site Management.
Note:Approvers within these types of groups are static; they do not change based on user or computer conditions.
12.
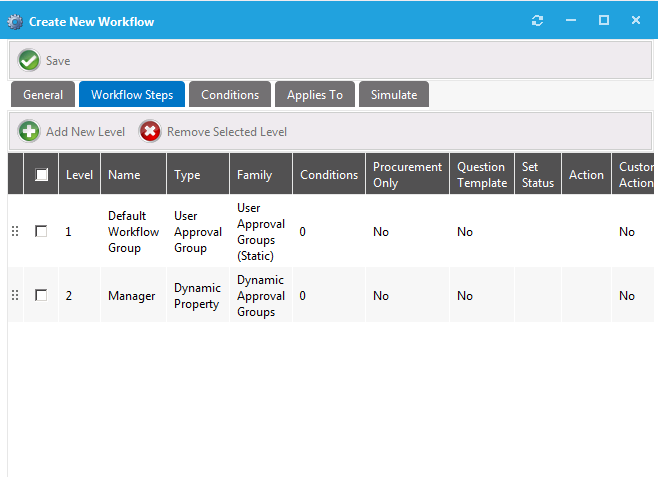
If you want to add a dynamic set of approvers, click Add New Level, and select one of the following under Dynamic Approval Groups:
Option
Description
Manager
Uses the Manager attribute from Active Directory.
Computer - Managed By
Uses the Managed By attributes of the computer object in Active Directory.
<Property Defined Group>
Uses the approvers specified for the property defined.
For example, create a property-based workflow group for the IT Department. Then, specify the group to use the department attribute and the values include IT Department, Info Tech, and Information Technology values from the department attribute in Active Directory. This action exposes the Department attribute under the Dynamic Approval Group.
Adding the Department as a workflow step will cause the workflow to look at the requesting users department, search for a value that matches IT Department, Info Tech, or Information Technology and use the corresponding approvers identified for that group.
Note:In order to effectively use dynamic approval groups you should have Workflow Groups created for every value of the property you choose to use.
Note:Dynamic approval groups display properties, not actual groups. When you create a dynamic workflow group for at least one property (department, OU, collection, etc.) that property is exposed here.
13.
Click Add Selected Group. The new workflow step is now listed on the Workflow Steps tab.
Click Save to save the edits you made on the Workflow Steps tab.
15.
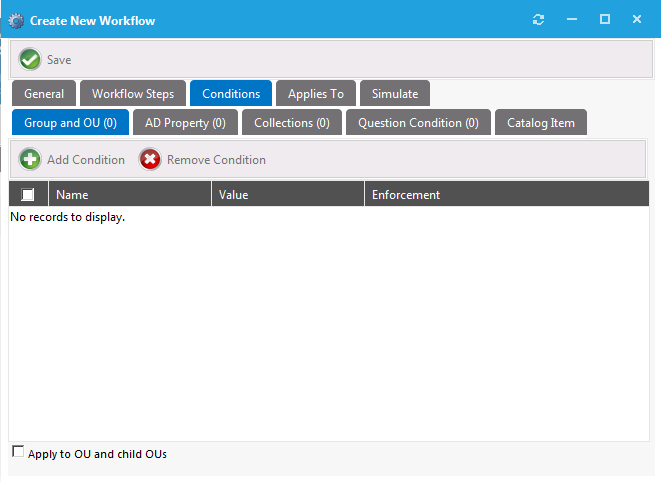
Open the Conditions tab, which lists any conditions that are applied to the workflow step.
The conditions that you apply to a workflow step determines when the step should apply.
•
Conditions specified here are limited to Include, meaning you define conditions when you want the item to apply.
•
An additional condition, Catalog Item, offers the ability to include a step based on the license availability and cost of a catalog item.
16.
To add a condition, perform the following steps:
a.
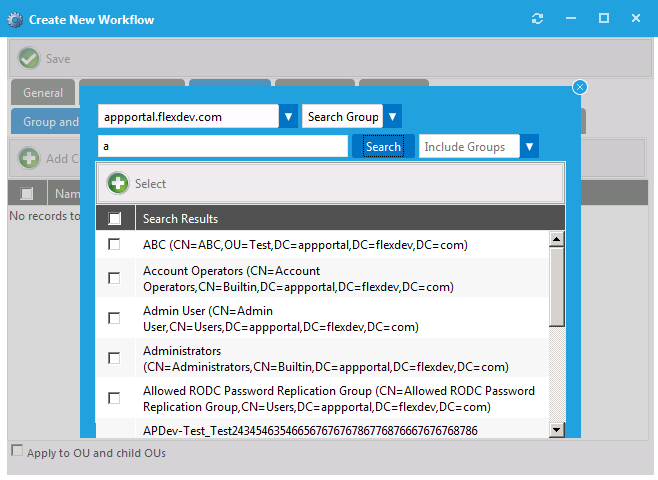
Click Add Condition. A dialog box pops up and prompts you search for a group or OU.
b.
Select one or multiple groups or OUs and click Select. The selected groups or OUs are now listed on the Conditions tab.
c.
If you selected OUs, select the Apply to OU and child OUs option, if desired.
17.
Click Save to save the edits you made on the Conditions tab.
18.
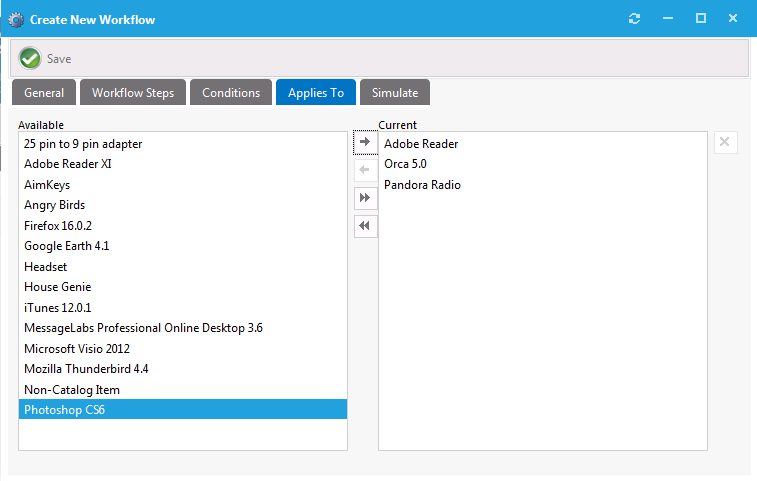
Open the Applies To tab, which you can use to identify which catalog items that this workflow applies to.
Note:If more than one workflow is applied to a single catalog item, the conditions on the workflow will be evaluated to determine which one to use. If more than one workflow applies to a given catalog item, the first workflow identified will be used.
Note:Be cautious not to create conditions that overlap.
19.
Click Save to save the edits you made on the Applies To tab.
20.
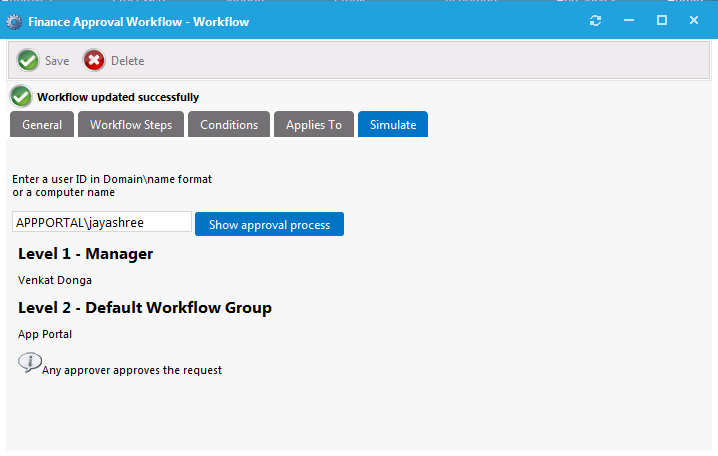
Open the Simulate tab, on which you can enter a user ID or a computer name so that you can simulate the approval process for that user or computer.
21.
Enter the user ID or computer name and click Show approval process. The approval process is displayed:
22.
Click Save. The new approval workflow is now listed on the Workflows View.