Flexera SVM Patch Configuration
Flexera Software Vulnerability Manager Patch Configuration integrates Software Vulnerability Manager application with the configured WSUS server to achieve the automation for subscribed packages.
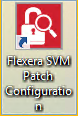
On successful installation of Software Vulnerability Manager Client ToolKit, a shortcut with a name Flexera SVM Patch Configuration will get created.
To use Flexera Software Vulnerability Manager Patch Configuration follow the below steps:
|
1.
|
Double click on the shortcut created on your desktop, Flexera SVM Patch Configuration windows pane appears. |
|
2.
|
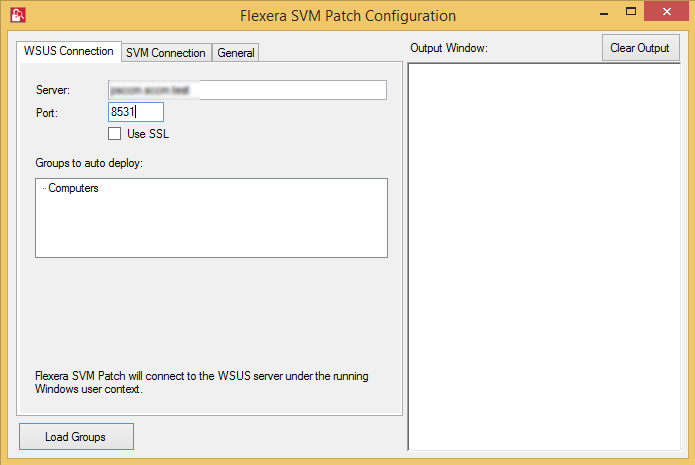
It consist of three tabs: |
|
3.
|
In WSUS Connection tab, enter the WSUS server details and the port number, click Load Groups. |
|
4.
|
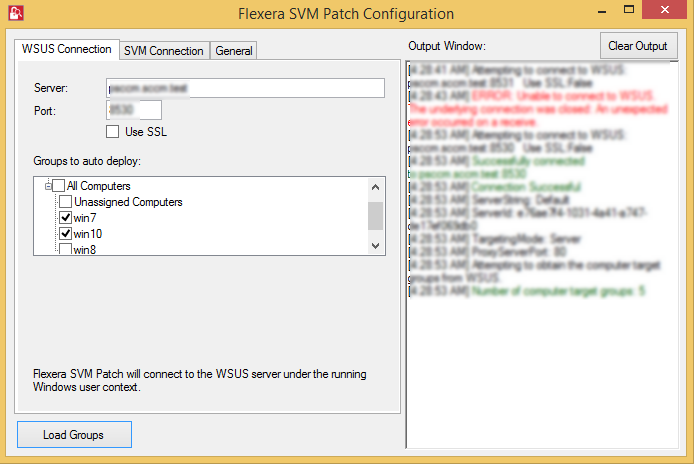
In Groups to auto deploy, you can see the list of computer groups configured in WSUS Server. |
|
5.
|
Select the computer groups which you wanted to deploy the packages. To know more about a package publishing, see Automating Patch Deployment. |
|
7.
|
Click Test Connection button, on successful connection you will receive a successful message in the Output Window. |
|
8.
|
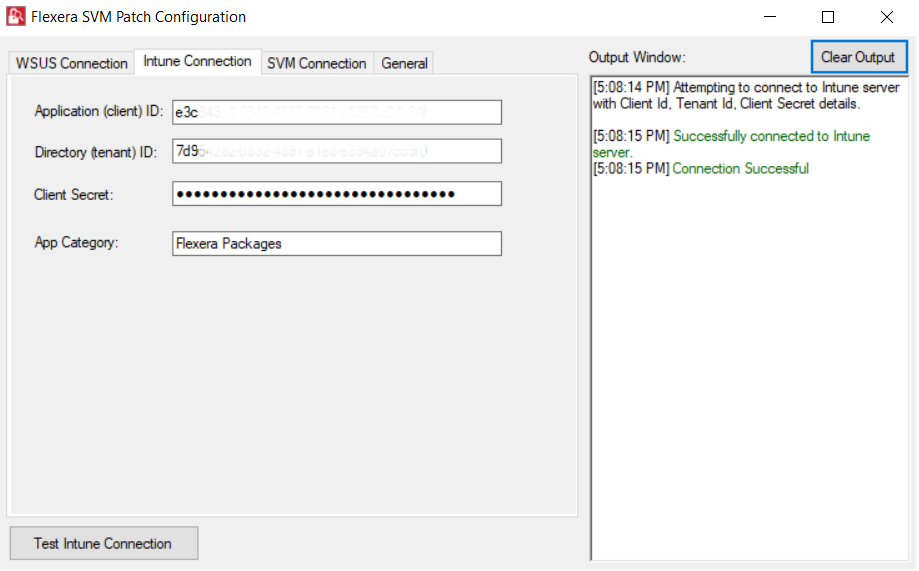
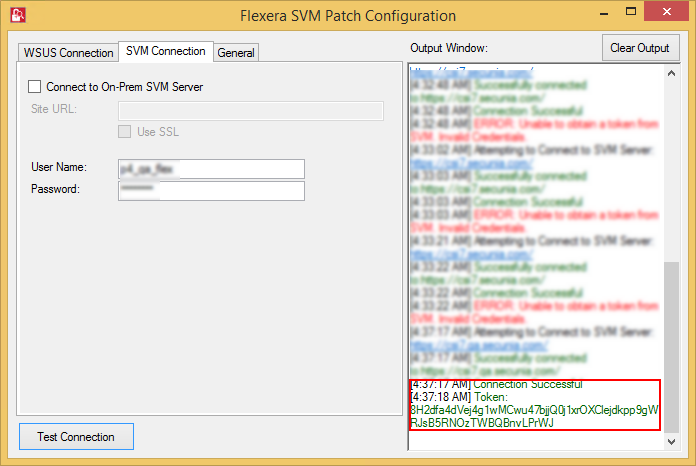
In SVM Connection tab, you will be prompted to enter your Software Vulnerability Manager Cloud credentials. |
|
9.
|
Click Test Connection button, on successful connection you will receive a Token in the Output Window. |
|
10.
|
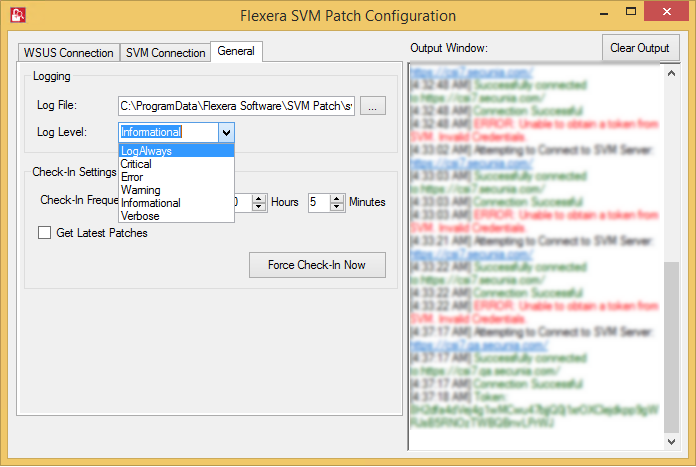
In the General tab, you can edit the folder path to save the action logs of this Tool. By default, the folder path will be C:\ProgramData\Flexera Software\SVM Patch\svmpatch.log. |
|
11.
|
You can set any one of the below preferences to save the log files: |
|
12.
|
In Check-In Settings, you can set the frequencies to pull the relevant packages from the server. |

Note:Force Check-In Now button can be used to pull relevant packages immediately.
|
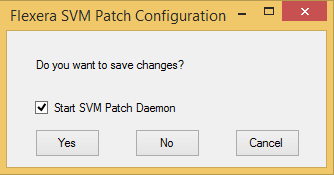
13.
|
To run the services, click close button. You will be prompted to enable Start SVM Patch Daemon in the closing window. |