Patch Template
The Software Vulnerability Manager Patching tab includes a Patch Template feature so that users can save a template of their patches for a product. With the Patch Template feature, the user can prepopulate Flexera’s Software Package System (SPS) four-step deployment process and publish directly to WSUS using previously selected options.

Creating a Patch Template
To create a patch template, perform the following steps.
To create a Patch Template:
| 1. | From the Patching > Flexera Patching System (SPS) tab, select an insecure product from the grid. Right click and choose an option from the context menu. For example, select Create Update Package. |
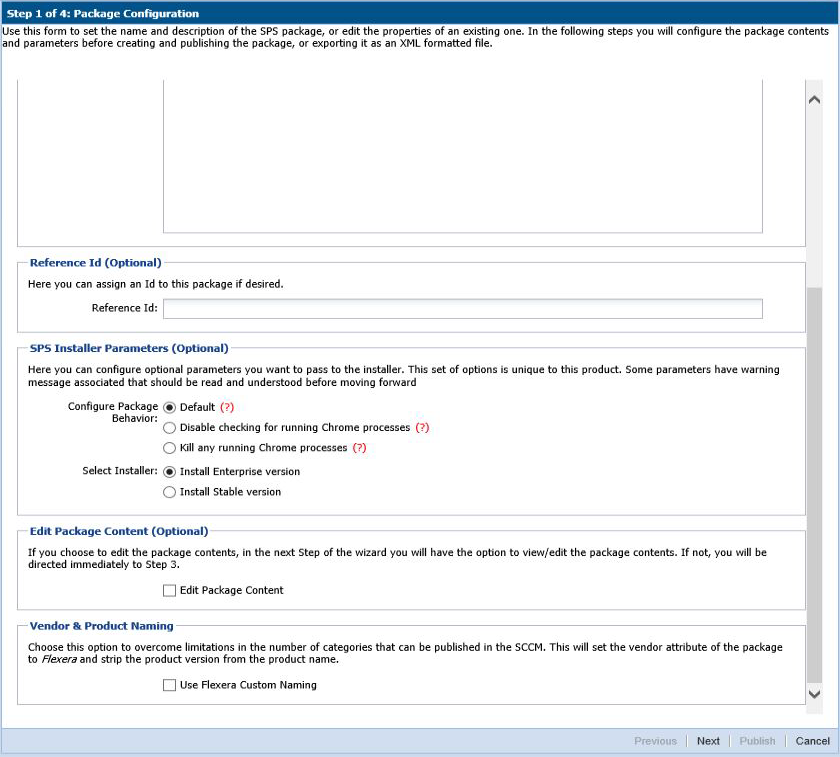
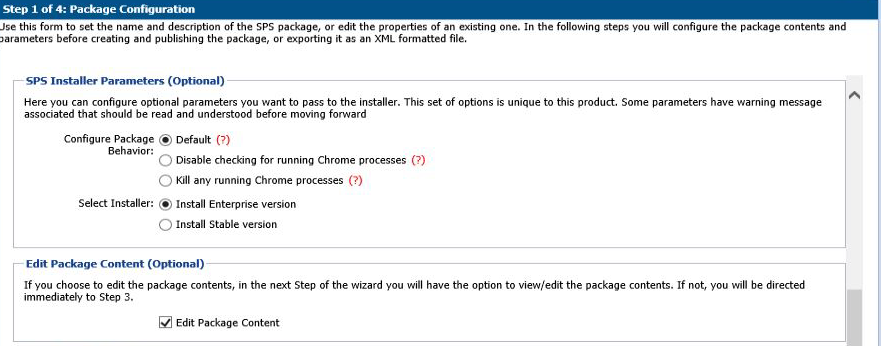
| 2. | In Step 1 of 4 of the SPS wizard (Package Configuration), select the appropriate SPS Installer Parameters and choose whether you want to edit the package contents. Click Next when done. |
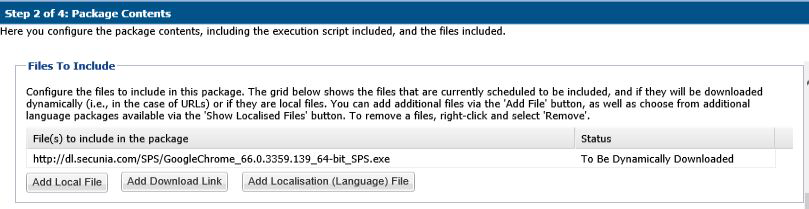
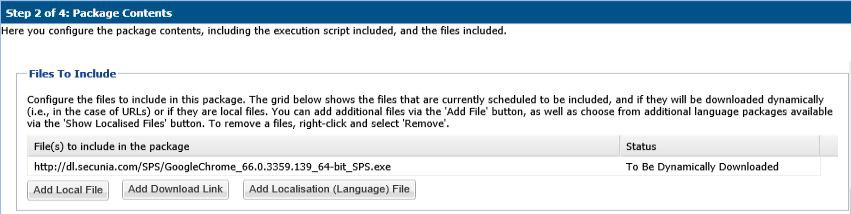
| 3. | Step 2 of 4 of the SPS wizard (Package Contents) lists the latest files to include in the package. Click Next. |
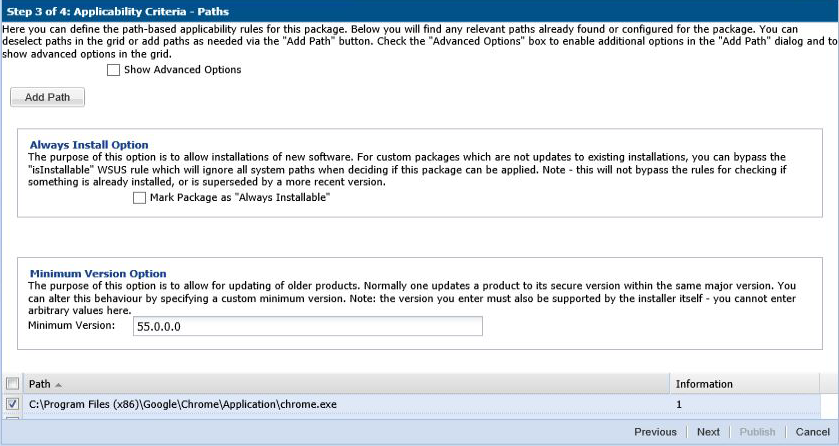
| 4. | In Step 3 of 4 of the SPS wizard (Applicability Criteria - Paths), select the appropriate paths to save the package. Click Next. |
Note:The Patch Template will always show paths based on the latest assessment.
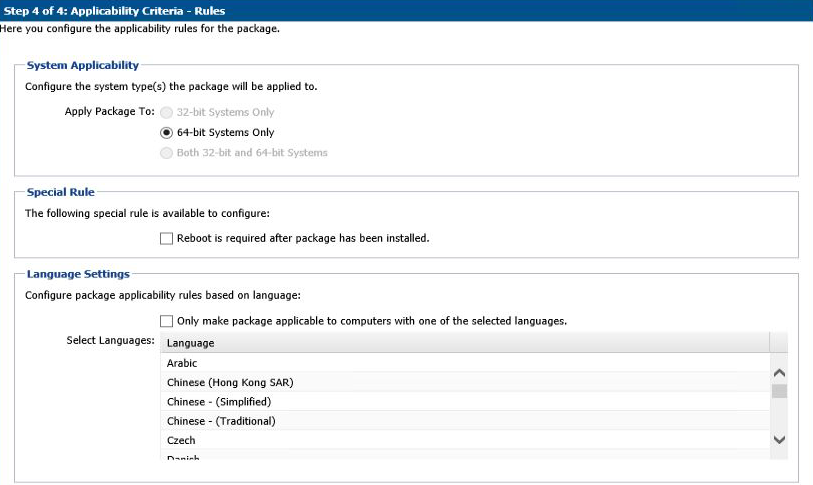
| 5. | In Step 4 of 4 of the SPS wizard (Applicability Criteria - Rules), select the appropriate System Applicability, Special Rules, and Language Settings. |
| 6. | In the Patch Template (Optional) field, enter the Template Name and select Save Template. Click Publish to create the new template, which is saved under the Patch Template tab. |
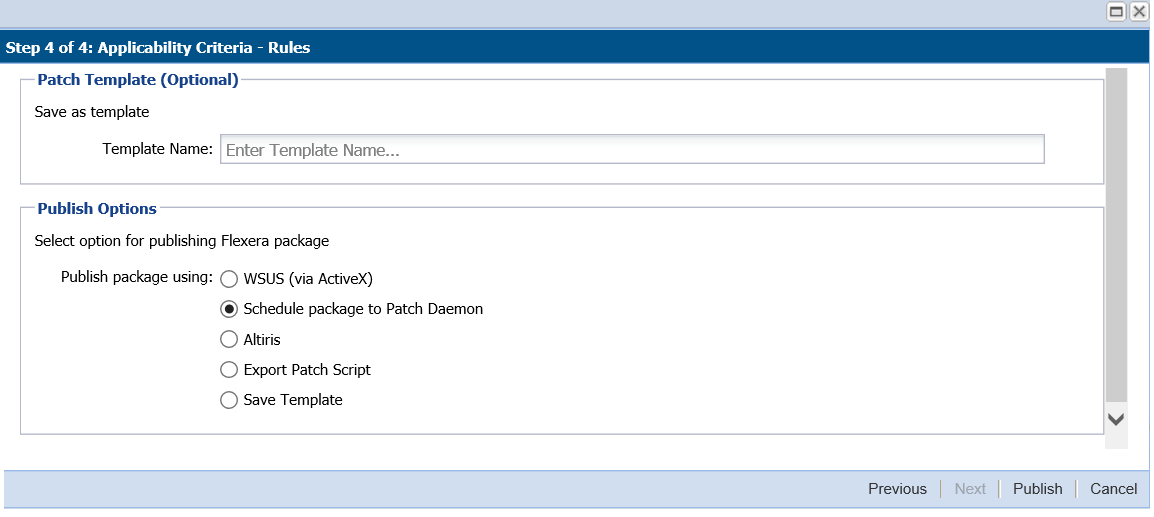
Note:Providing a template name while publishing a package to WSUS will publish and create a template at the same time. If the template name is empty, it will only publish the package as a regular workflow.
A patch template only needs to be created once for the life of the product, provided that there are no changes to the product’s architecture (32-bit versus 64-bit) or to the SPS Installer Parameters from Step 1 of 4: Package Configuration. Over time, the product’s Patched Version listed under the Flexera Package System (SPS) menu will increase. Patch Templates automatically update up to within three patched versions as listed under the Flexera Package System (SPS) menu. After three patched versions, you can edit the Patch Template to deploy the latest patched version to your system.

Editing a Patch Template or Publishing from a Patch Template
To edit a patch template or publish from a patch template, perform the following steps.
To edit a Patch Template or to publish from a Patch Template:
| 1. | From the Patching > Patch Template tab, select a template and select Publish/Edit Template from the context menu. |

| 2. | Step 1 of 4 of the Flexera SPS wizard will open with the SPS parameters prefilled. From the same SPS wizard, you can either publish the package to various channels or you can save only the template. |
| 3. | To update the Patch Template to the latest patched version: |
| a. | Select Edit Package Content in the Edit Package Content field and click Next. |
Important:If you need to publish the package from the template without updating the template, update the Package Name in Step 1 of 4 of the SPS wizard to identify the package version that you deploy to your system. The package will be published with the updated settings.
| b. | Confirm the updated patched version file appears under Files to Include in Step 2 of 4 of the Flexera SPS wizard and click Next. |
| c. | When Step 3 of 4 of the Flexera SPS wizard appears, click Next. |
| d. | When Step 4 of 4 of the Flexera SPS wizard appears, click Publish. |
Deleting a Patch Template
To delete a Patch Template, perform the following steps.
To delete a Patch Template:
| 1. | From the Patching > Patch Template tab, select a template and select Delete Template from the context menu. |
| 2. | Select Yes or No to confirm whether or not to delete the Patch Template. |
Publishing a Patch Template to WSUS
To publish a Patch Template to WSUS, perform the following steps.
To publish a Patch Template to WSUS:
| 1. | From the Patching > Patch Template tab, select the template to be published to WSUS. Right click and select Publish/Edit Template from the context menu. |
| 2. | When Step 1 of 4 of the SPS wizard (Package Configuration) appears, update the Package Name to indicate this package is for WSUS publishing and click Next. |

| 3. | When Step 3 of 4 of the SPS wizard (Applicability Criteria - Paths) appears, click Next. |
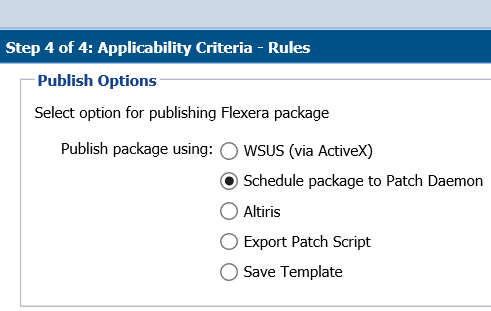
| 4. | In Step 4 of 4 of the SPS wizard (Applicability Criteria - Rules), select WSUS for the publishing option and click Publish. |
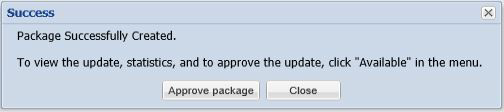
| 5. | The Attempting to Publish Package - Please Wait status appears. After the WSUS package is successfully created, a Success pop-up window appears. Click Approve package. |
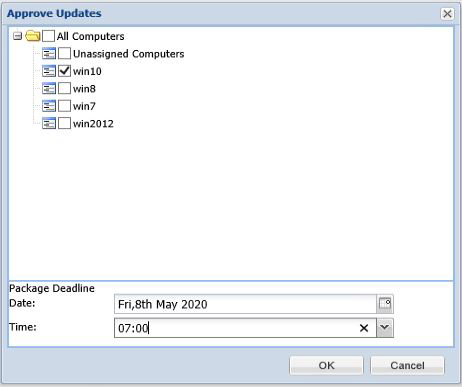
| 6. | When the Approve Updates pop-up window appears, select the appropriate computers to deploy the WSUS package to, select the appropriate date and time to deploy the WSUS package, and click OK. |
| 7. | When the Success - Package successfully approved pop-up window appears, click OK. |
| 8. | You can confirm the WSUS package listing under Patching > WSUS / System Center > Available Packages. |
The following topics are releted to Patch Template:
| • | Subscribe to Patch |
| • | Edit Subscription |
| • | Pause Subscription |
| • | Resume Subscription |