Using a CSV File as a Data Source

BDNA Data Platform 5.5

Note • You must create and customize the CSV, before adding it as a data source for a Purchase Order process. For more information, see Creating a Purchase Order CSV File.

To configure a csv file as a data source:

1. Click Create Process, located in the upper section of the Administration Console. The Process Type screen opens.
2. Click the Purchase Order radio button.
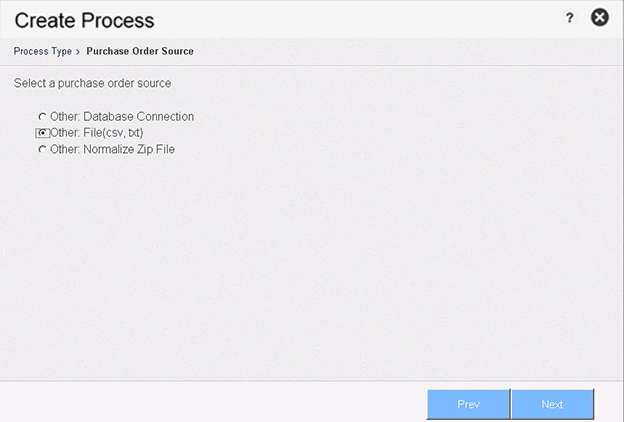
3. Click Next. The Purchase Order Source screen opens.

Purchase Order Source

4. Click the radio button: Other: File (csv, txt).
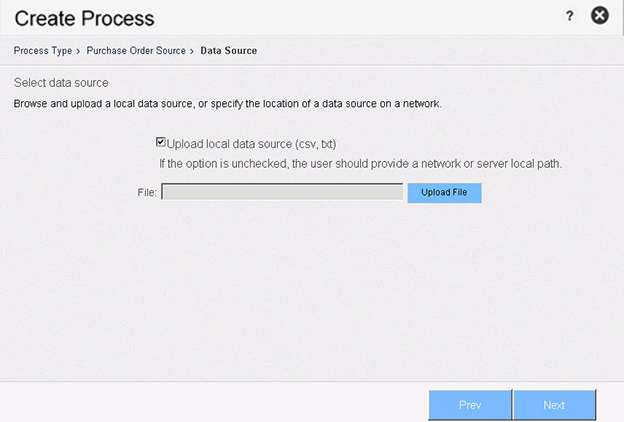
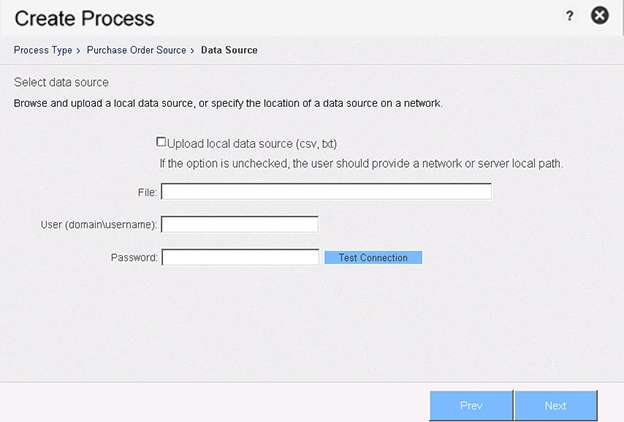
5. Click Next. The Purchase Order Data Source screen opens.
6. Complete the steps for one of the following options.
If the file is on a local server: (see Purchase Order Data Source—ZIP File on Local Server)
Click the checkbox: Upload local data source.
Click Upload ZIP and select the file to upload.
If the file is on a network or Data Platform server: (see Purchase Order Data Source—ZIP File on Network Server)
Uncheck the Upload local data source checkbox.
Enter a local path and authentication for the file located on either a network or Normalize server.
Click Test Connection to confirm that BDNA Normalize can connect to the data source.

Note • You must see the status message “Connected Successfully” to activate the Next button and proceed with the configuration.

7. Complete one of the following options:
To configure the Process Settings now: Go to Configuring Purchase Order Process Settings for detailed instructions.
To configure Process Settings later: Click Finish to add the process to the Administration Console.
Purchase Order Data Source—CSV File on Local Server


Purchase Order Data Source—CSV File on Network Server