Tips for Editing an Adapter
The following principles are helpful when you are developing and testing your inventory adapter. If you need information about the fields in the editing pane and the permitted values, see Edit panel.
Minimize processing times
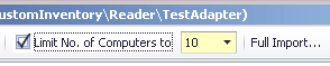
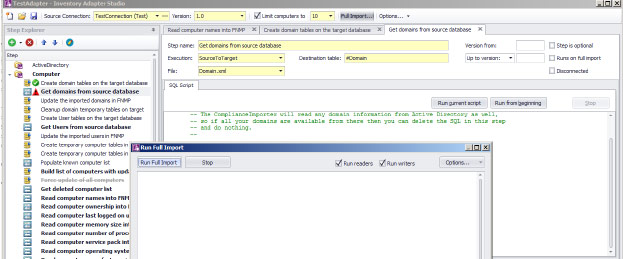
During development, use the setting to limit the number of computers for test imports. This will potentially save hours of processing while testing your adapter. The control applies a filter to the number of computers that the adapter reads from the source database, allowing validation of your work without requiring that all the data is read and processed.
Start with a template
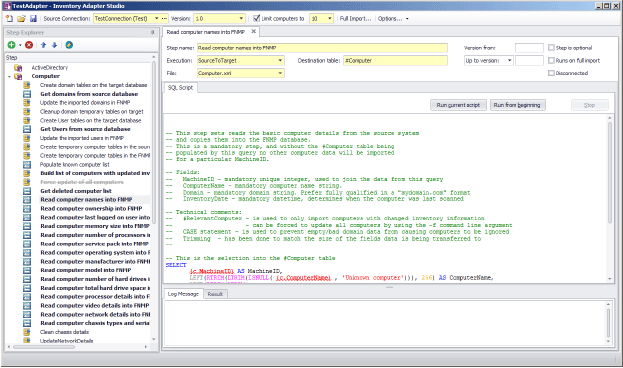
- In the Step Explorer, each step that requires editing is shown in bold text. The bold is automatically removed when all areas requiring change have been modified.
- When you have selected a step so that its details are shown in the edit panel, the individual edits required are shown within curly braces, underlined, and in red.
- Every step that needs editing has extensive comments on the data structures and requirements provided in the step details. Following these guidelines will provide the quickest path to a working adapter.
Test each SQL step
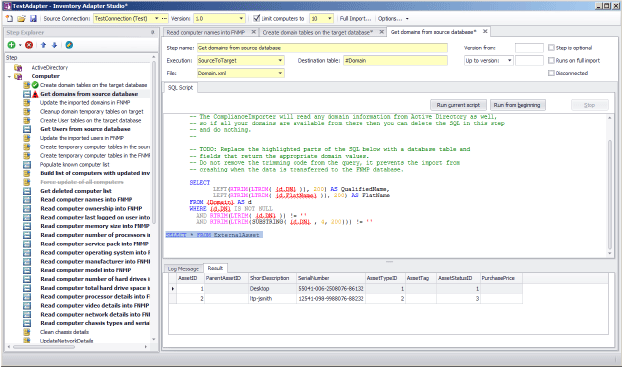
Test progressively
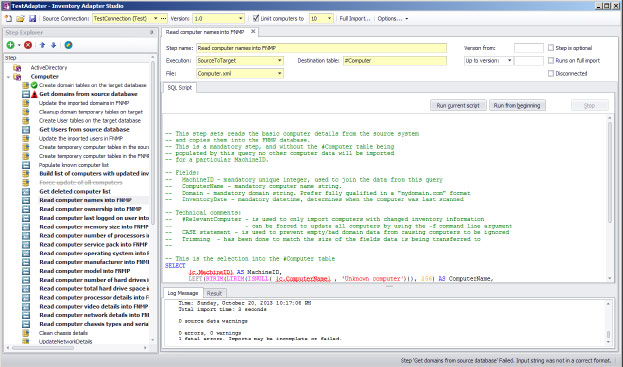
As you complete each step, click the Run from beginning button. This executes all the steps in the adapter from the start up to and including the one currently being edited. Errors are shown in the Log Message tab. In the Step Explorer, steps which succeed are marked with a check mark (tick) and those that fail show a red warning symbol.
Final test
Finally, when you are ready to run an end-to-end test of your adapter, use the Full Import toolbar button.
Whereas your earlier testing displayed results in the Inventory Adapter Studio, a full import also writes the gathered inventory into a zipped archive ready for upload to the operations database. Look for your created intermediate package in C:\Program Data\Flexera Software\Beacon\IntermediateData. You can unzip the archive package, and examine the XML file it contains to ensure it contains all the required data.
When you are working on an inventory beacon (disconnected mode), in the Run Full Import dialog, the Run readers check box is set, and the Run writers check box is cleared, and both are disabled. This indicates that your full import gathers the data from your source databases to the intermediate package; but that the stage of writing data to the operations database is completely asynchronous, and cannot be controlled from the beacon. As long as the connection for this adapter is in test mode, the inventory data it gathers is never visible in the IT Asset Management compliance console.
IT Asset Management (Cloud)
Current