Adding Automation Workflows
To add Automation Workflows for the package automation, perform the following steps.
To add Automation Workflows:
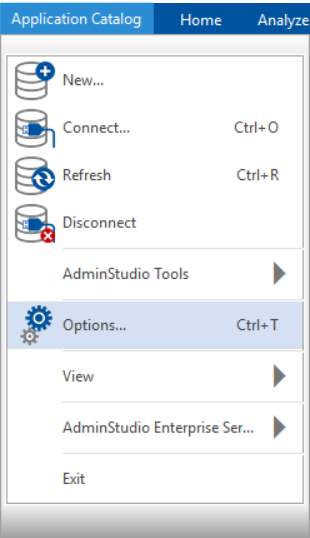
| 1. | In the Application Catalog tab, select Options. The Options dialog box opens. |
| 2. | Under Package Automation Options, select Automation Workflows. The Configure Workflow dialog box appears. |
| 3. | To add a new Automation Workflow, click on New button in the center pane. On the right pane, configuration details appear. |
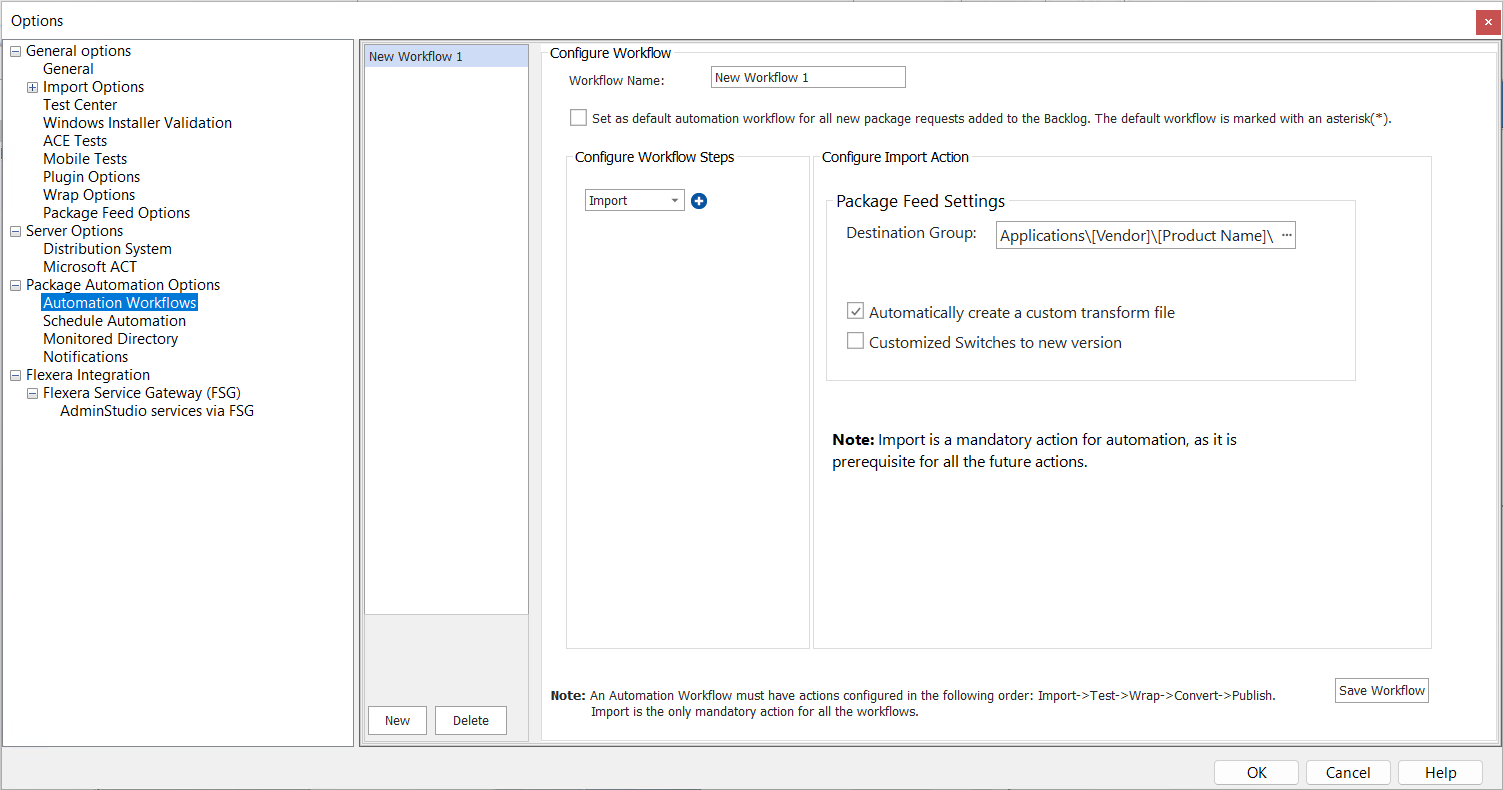
| 4. | Enter the following information: |
|
Field |
Description |
|||||||||||||||
|
Workflow Name |
Enter the valid name of the workflow. |
|||||||||||||||
|
Set as default automation workflow for all new package requests added to the Backlog. The default workflow is marked with an asterisk(*) |
Select this check box to set the workflow as a default automation workflow for all new package requests added to the Backlog. By default, this option will be unchecked. |
|||||||||||||||
|
Configure Workflow Steps |
In configuring workflow step, Import action will be selected by default. To configure other workflow steps, click + icon and proceed with respective configuration details. To delete any workflow step, click x icon beside the workflow steps. Configure the following Workflow steps:
Note:Import is prerequisite for Automation therefore it is a mandatory action. This action will be executed as a first step during automation execution. |
| 5. | After configuring the required workflow steps, click on the Save Workflow button to validate and save the workflow details. |
| 6. | Upon successful action, a newly created Automation Workflow will be listed in the center pane of the page. |
Note:Previously configured actions after upgrading to the current version of the AdminStudio will be converted to default Automation Workflow with the name of PackageAutomation.