Creating a New Role
You can use roles to manage software deployments. A role is a logical container that you can use to apply and or group software applications, tasks, settings and/or functions. In a role, you can assign dynamic conditions directly to a catalog item that will enable that role to detect its deployment target.
Perform the following steps to create a new role.
To create a new role based on OU membership:
|
1.
|
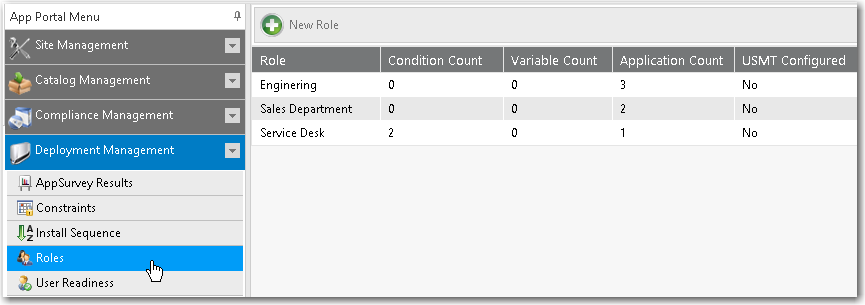
On the Admin menu, expand the Deployment Management node and select Roles. You should see a listing of existing roles, if there are any defined. |
|
2.
|
Click the New Role button. The Create New Role dialog box opens. |

|
3.
|
On the General tab, enter a name in the Application Role Name field, to describe this role. |
|
4.
|
In the Application Role Description field, enter a description for the role. |
|
5.
|
Click the Save Role button. |
|
6.
|
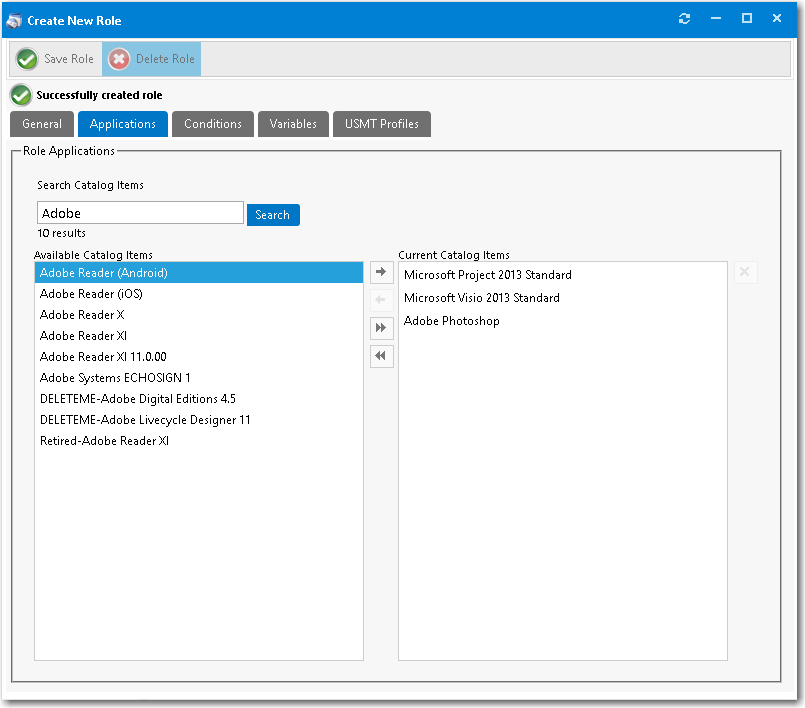
Open the Applications tab. |
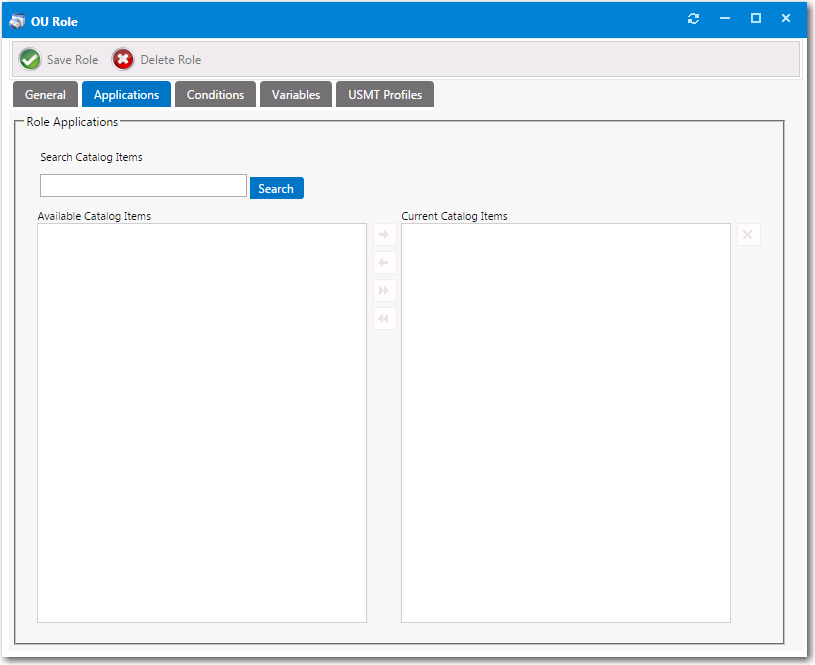
Note:If a catalog item has been designated as a core application, as described in Prevent a Catalog Item from Being Included in OS Deployment By Designating it as Core Application, that catalog item will not be returned in search results when performing a search on the Applications tab.
|
7.
|
Use the Search Catalog Items box to locate catalog items to add to the role. Select a catalog item and then click the right arrow button to move it from the Available Catalog Items list to the Current Catalog Items list, adding the catalog item to the role. |
|
8.
|
Click Save Role to create the new role. You will notice the following tabs become available for you to further configure the role properties: Conditions, Variables, and USMT Profiles. |
|
9.
|
Proceed with the following steps to perform additional configuration of this role: |