Creating a New Inventory Record
App Portal 2017
For each application that you want to include in OS deployment, you need to create an inventory record. To create an inventory record in App Portal, perform the following steps.
To create an inventory record:
|
1.
|
On the Admin tab, expand the Compliance Management section and click Add Inventory. |
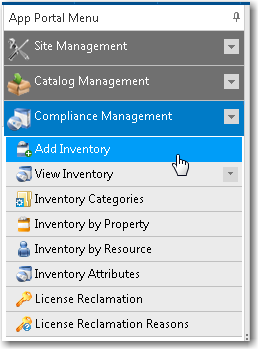
The Add New Inventory wizard opens.
|
2.
|
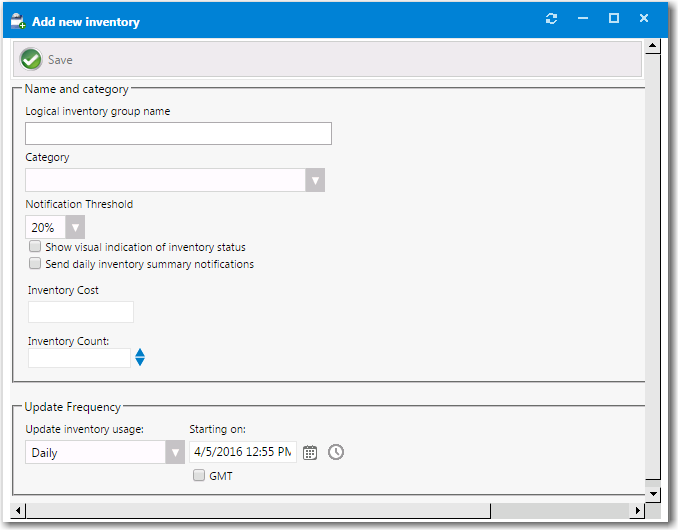
In the Logical inventory group name field, enter a name that will represent the inventory record. |
This name can be general, if you want to track multiple versions of a program, or very specific, if you want to track a single instance of a program. For example, to track all versions of Visio, enter Microsoft Visio. To track a single version, enter Microsoft Visio 2017.
|
3.
|
Select the inventory Category for this new inventory item. |
Note • For information on creating an inventory category, see Creating a New Inventory Category.
|
5.
|
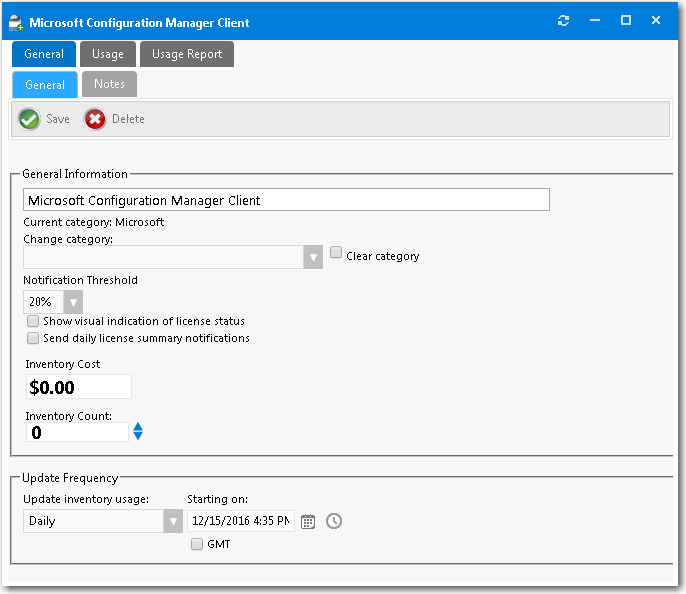
Click Save. Additional tabs are displayed. |
|
6.
|
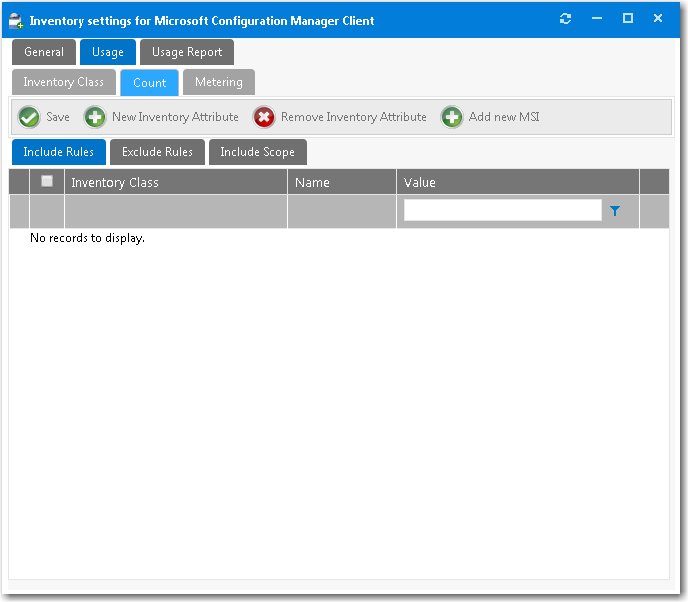
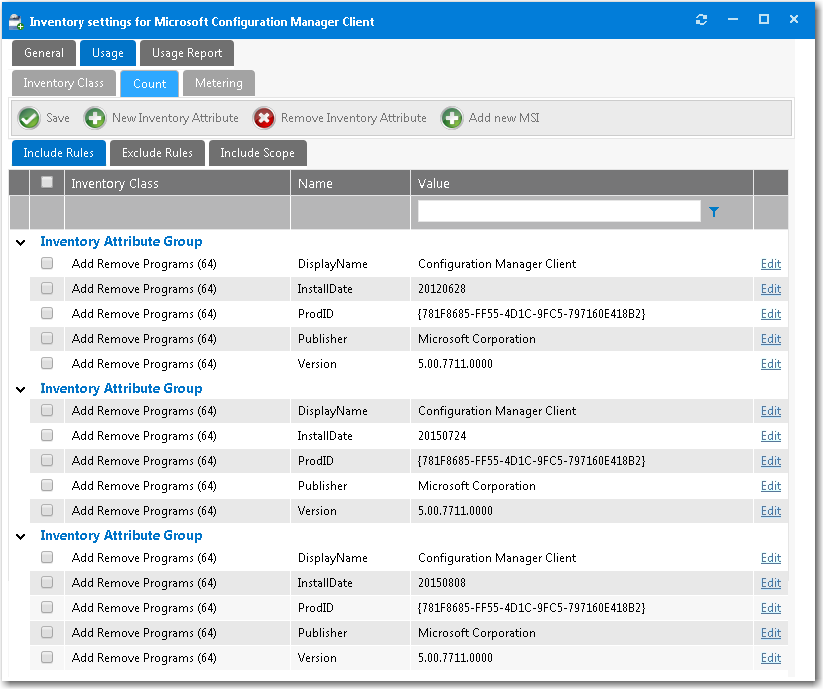
Open the Usage > Count > Include Rules tab. On this tab, you need to locate and select the versions of this application in System Center Configuration Manager that you want to include in this inventory record. |
|
7.
|
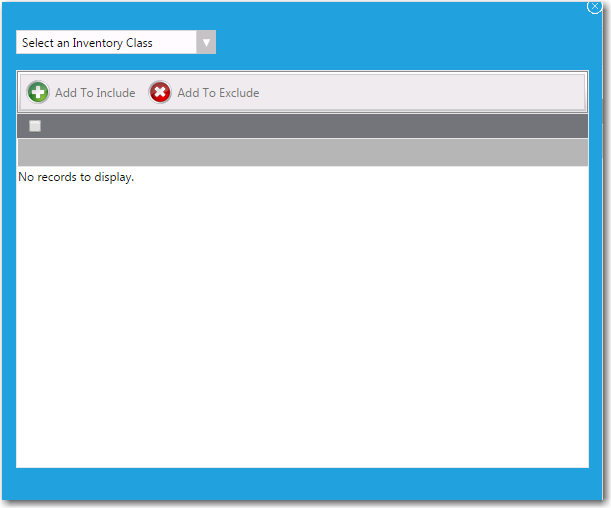
Click New Inventory Attribute. The New Inventory Attribute dialog box opens, prompting you to select an Inventory Class to search for attributes. |
|
8.
|
From the Select an Inventory Class list, select one of the following to use to determine application usage: |
Tip • Typically, you would select Add Remove Programs or, for 64-bit programs, Add Remove Programs 64.
Note • For information on creating an inventory category, see Creating a New Inventory Category.
|
9.
|
Use the filter boxes to search for an item. |
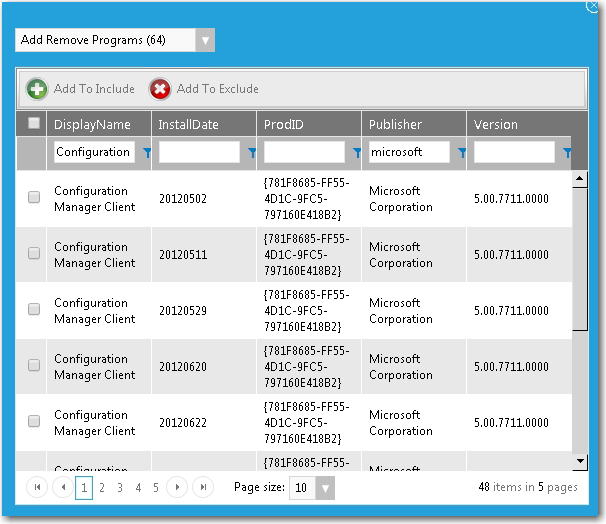
Note • In some cases, there could be hundreds of discovered inventory properties or versions of an application. If this occurs, select 20 or 50 from the Page size list to see more entries per page. If your criterion returns multiple pages, you will need to select all of the items listed on that page, click Add to Include, and then proceed to the next page and repeat the steps to add all of the listed items. This should be a very rare occurrence, and may be due to the installation behavior of some applications.
|
10.
|
Select one or more of the found items, then click the Add To Include button. |
|
11.
|
Close the New Inventory Attribute screen. At least one Inventory Attribute Group, with one to three properties per version/group will be listed in the grid. In some cases, there may be no version number, or no publisher, leaving the DisplayName as the only populated attribute. |
|
13.
|
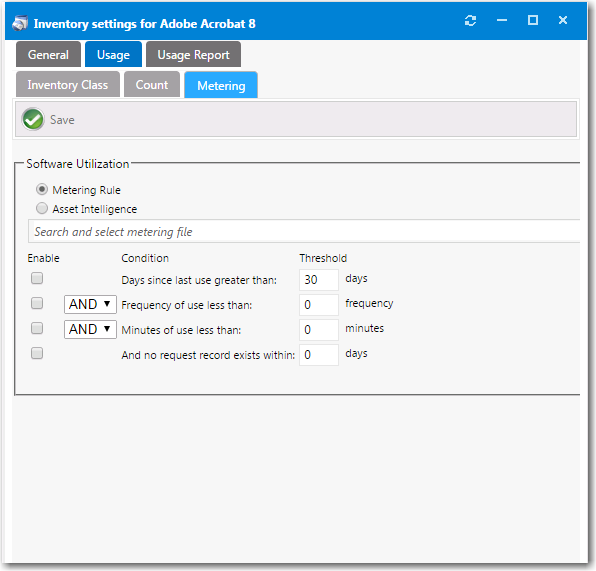
Open the Usage > Metering tab. |
|
14.
|
Select the Metering Rule or Asset Intelligence rule that you want to use to identify usage for the application. |
|
15.
|
Click the Save button and close the Inventory settings window. |
Open topic with navigation