Download Local Agent
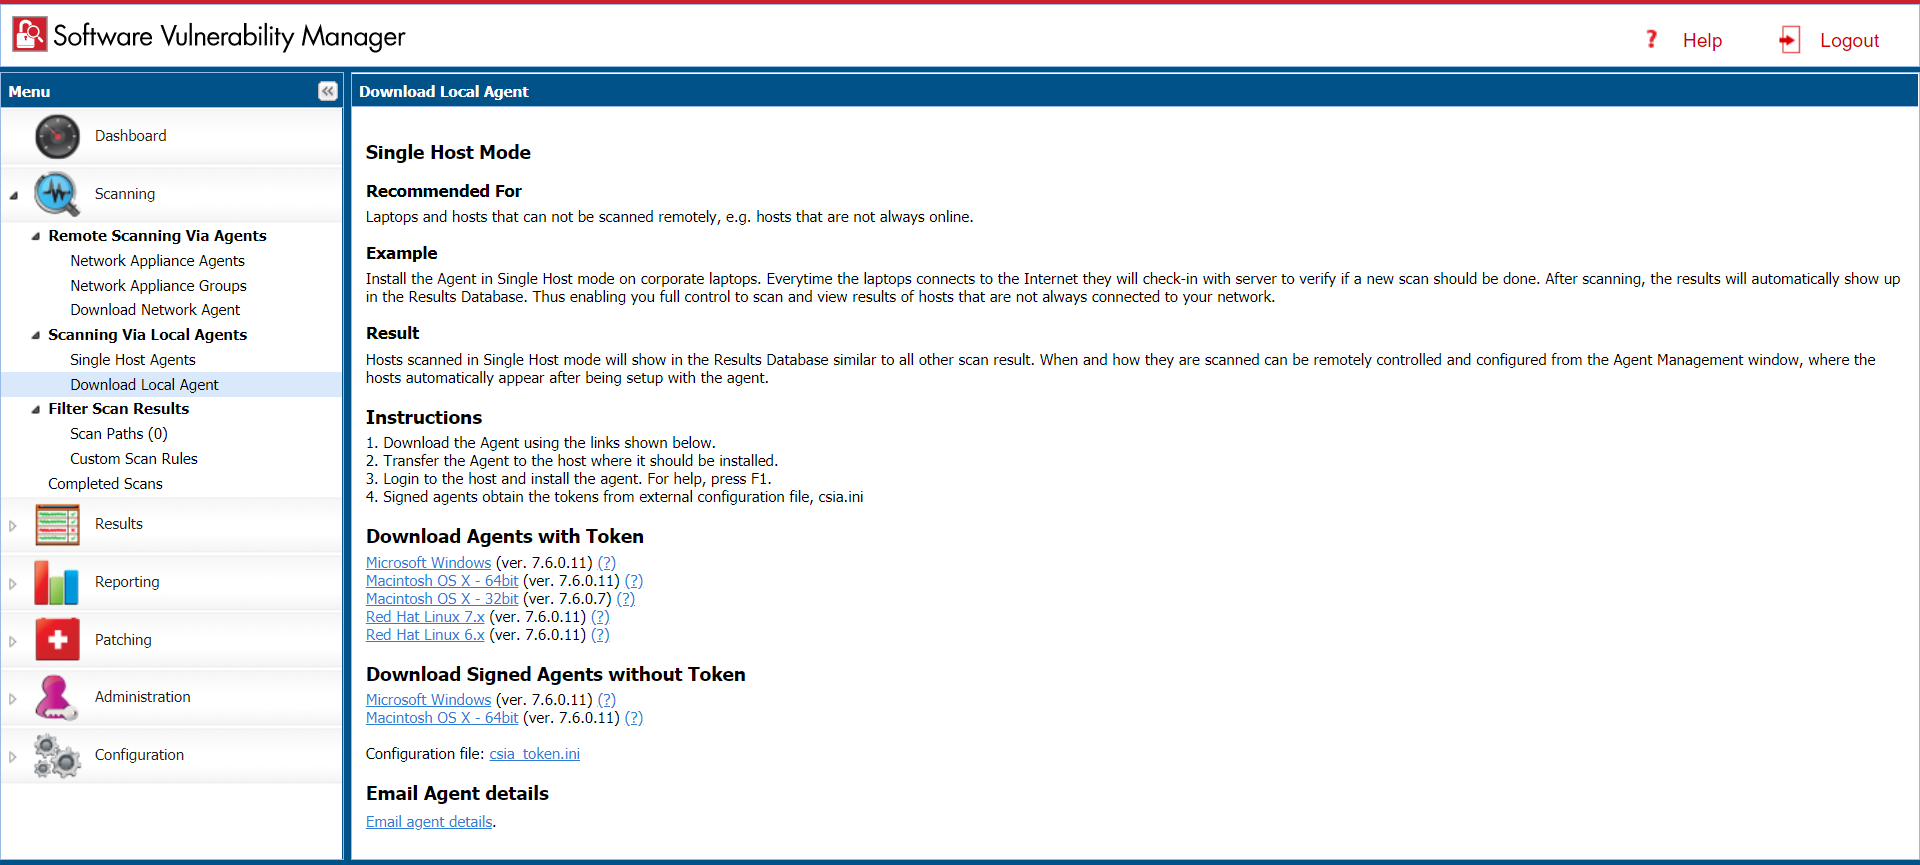
Use this page to download the signed and unsigned Agents (csia.exe) as well as read an explanation on how to install the Agent in Single Host mode. For the signed Agents you shall download the token file csia_token.ini.
The following unsigned Agents are available:
| • | Download Agents with Token |
| • | Microsoft Windows (ver. 7.6.0.10) |
| • | Macintosh OS X - 64bit (ver. 7.6.0.10) |
| • | Macintosh OS X - 32bit (ver. 7.6.0.7) |
| • | Red Hat Linux 7.x (ver. 7.6.0.10) |
| • | Red Hat Linux 6.x (ver. 7.6.0.10) |
The following Signed Agents are available:
| • | Download Signed Agents without Token |
| • | Microsoft Windows (ver. 7.6.0.10) |
| • | Macintosh OS X - 64bit (ver. 7.6.0.10) |
Important:Note the following for Signed Agents:
| • | To install signed agent for Windows, download csia_token.ini and place it in the same folder where agent is saved. |
| • | To install signed agent for MacOS, see Prepare Your Mac. |
If your intention is to deploy the Software Vulnerability Manager Agent through WSUS/System Center please refer to Agent Deployment for further information.
Important:Ensure that the Agent (csia.exe) is available in a local folder on the target PC before installing.
Example
Install the csia.exe (Agent) in Single Host mode; download the Agent from the Software Vulnerability Manager console under Scanning > Scanning via Local Agents > Download Local Agent.

Note:Make sure to right click on the .exe in the deployment share to “Unblock” it. Click Apply > OK.
Once the Agent is installed, every time, for example, the laptop goes online (Internet connection) it will verify if a new scan should be conducted.
After scanning, the result will be displayed in Scanning > Completed Scans in the Software Vulnerability Manager console.
Important:When the Agent is installed a unique identifier is generated so that each Agent has its own unique ID. For this reason, the Agent should not be included in OS images. Doing so will result in having several instances of the same Agent and in the inability to correlate the scan results with the scanned hosts.
Result
Hosts scanned with the Agent in Single Host mode will be displayed in Results > Host Smart Groups.
When and how the hosts are scanned can be controlled from the Software Vulnerability Manager console under Single Host Agents. Right-click a host name and select Edit Configuration to change the Agent settings.
Install the Agent from the command prompt with Local Admin account using:
csia.exe -i -L
Example of an installation:

By using the -L parameter, the Agent will be installed as a service running under the LocalService user account. For further information, refer to: http://msdn.microsoft.com/en-us/library/windows/desktop/ms684190%28v=vs.85%29.aspx
If you are a member of a domain and you do not use the -L switch, the service will be installed under the user account performing this action, granting the “logon as a service” privilege.
However, this privilege is usually removed in the next GPO background refresh since domain policies will not allow it. As a consequence, the Agent will stop working after the privilege has been removed.
Refer to Agent Deployment to deploy the csia.exe through WSUS/System Center for further information of how to deploy the csia.exe via Group Policy.
Important:The csia.exe file is a customized executable, unique and private for your Software Vulnerability Manager account. This means that the csia.exe automatically links all scan results to your Software Vulnerability Manager account.
Once the Agent is installed it will automatically scan after ten minutes. You can also initiate an on demand scan by executing csia.exe –c.